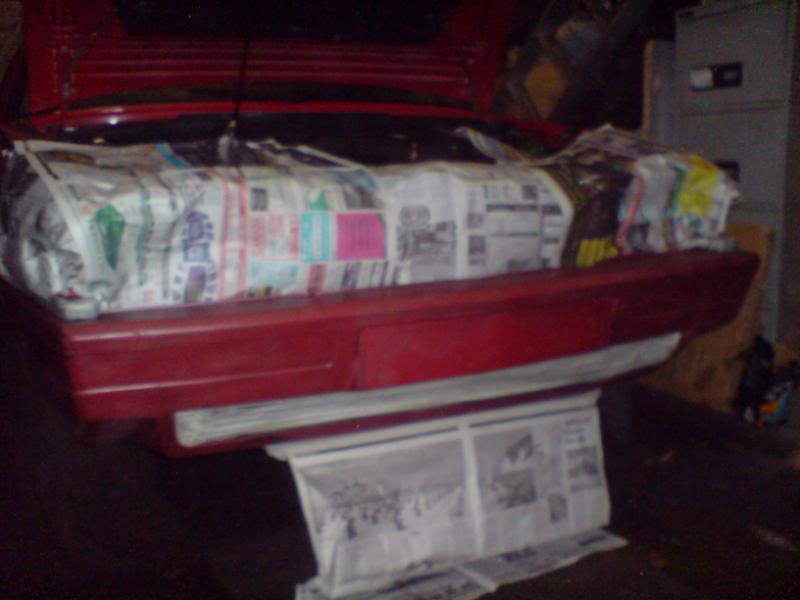
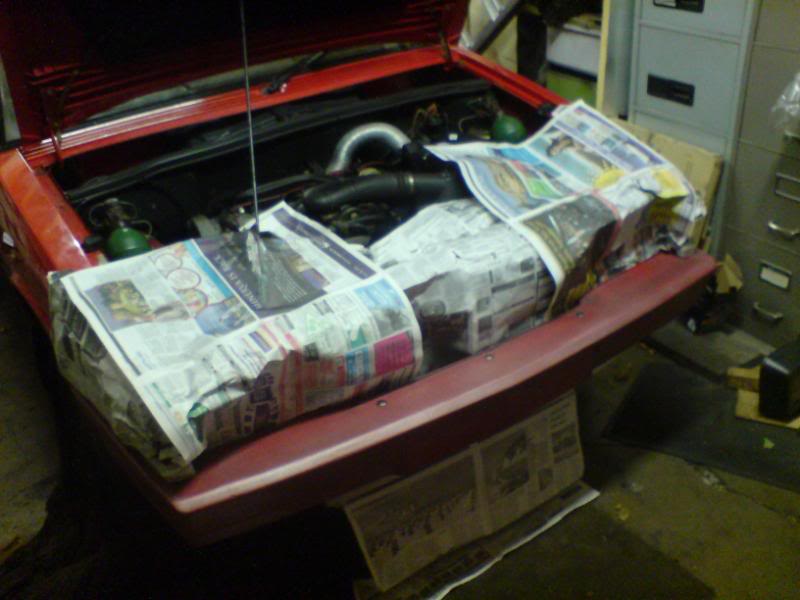
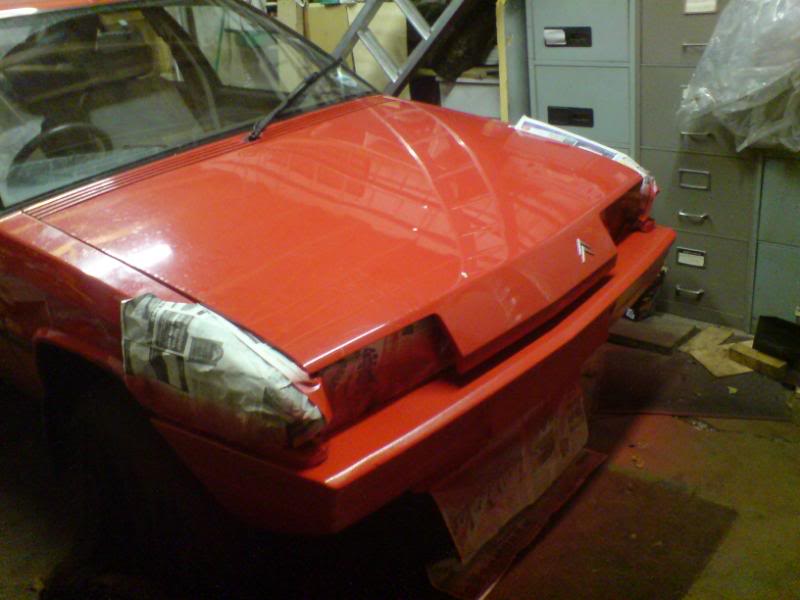
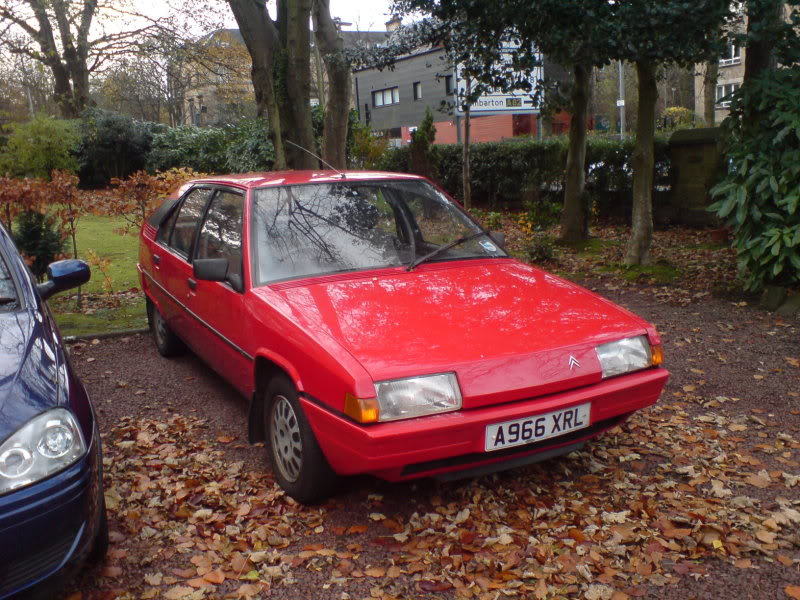
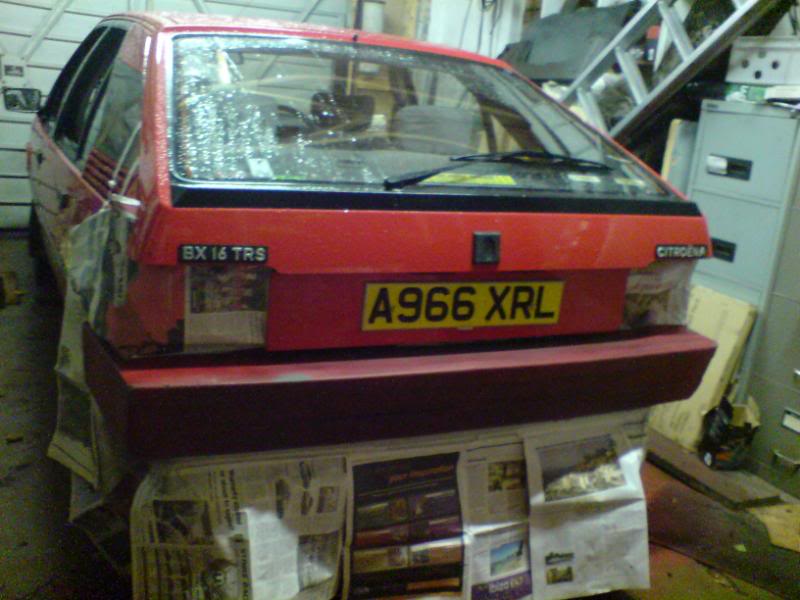
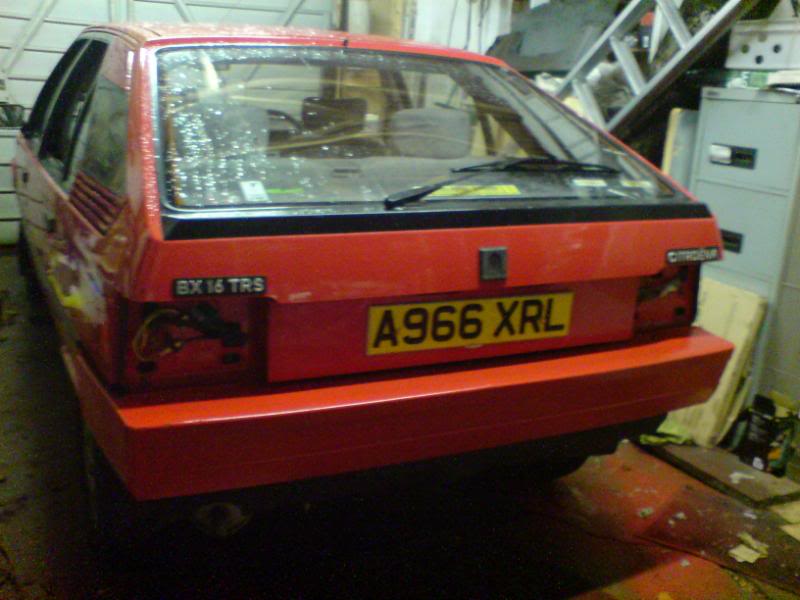
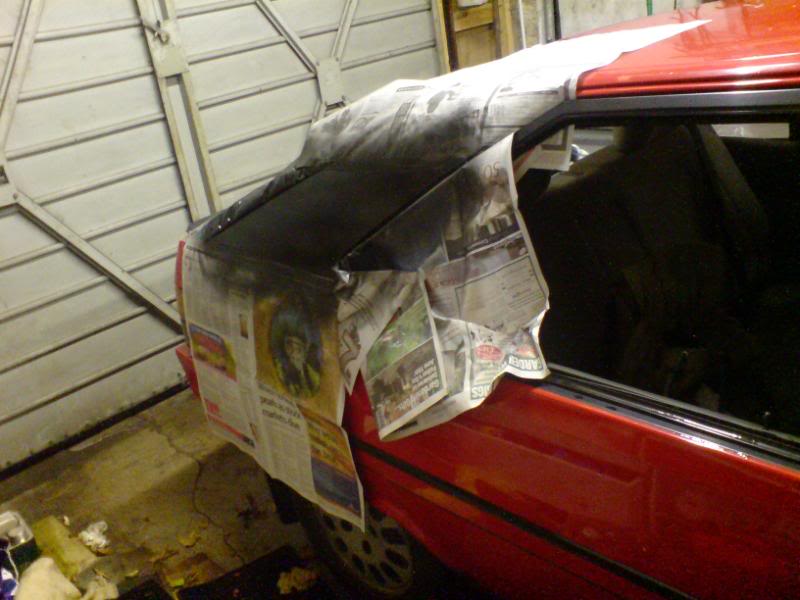
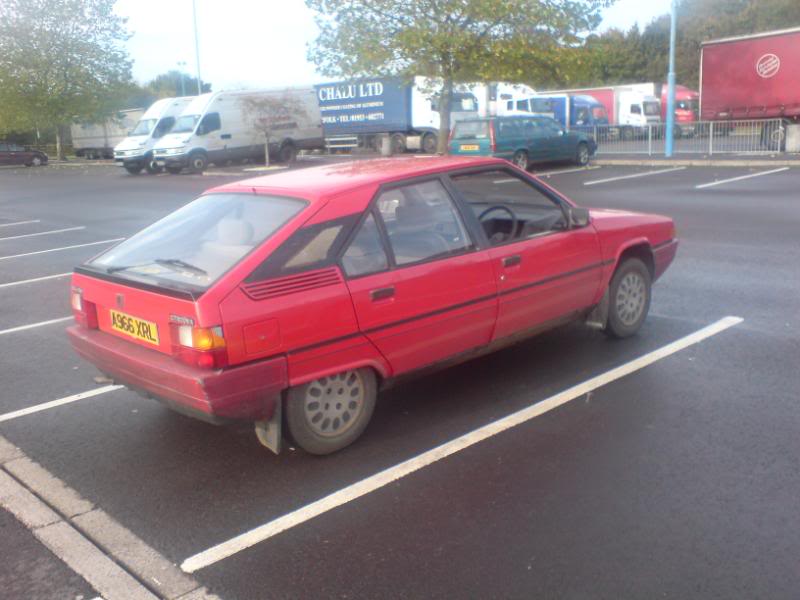
So the rear bumper got some of the same.
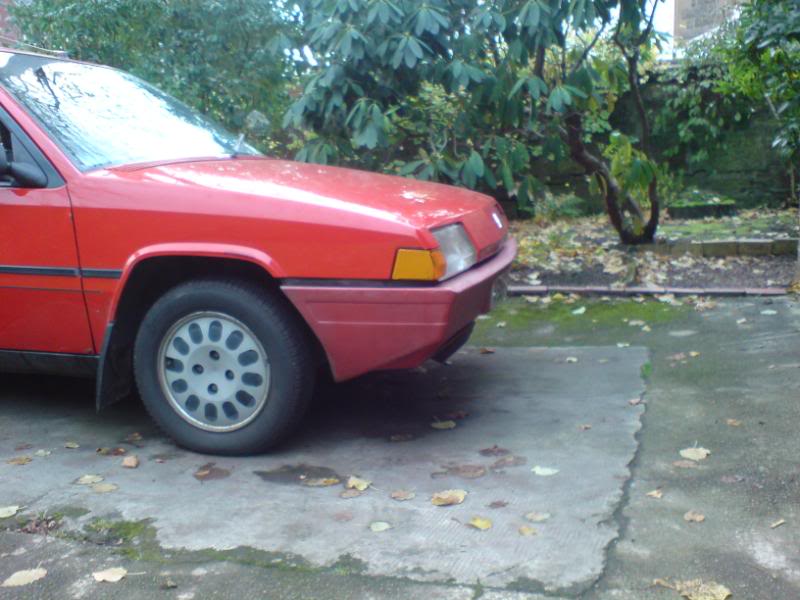
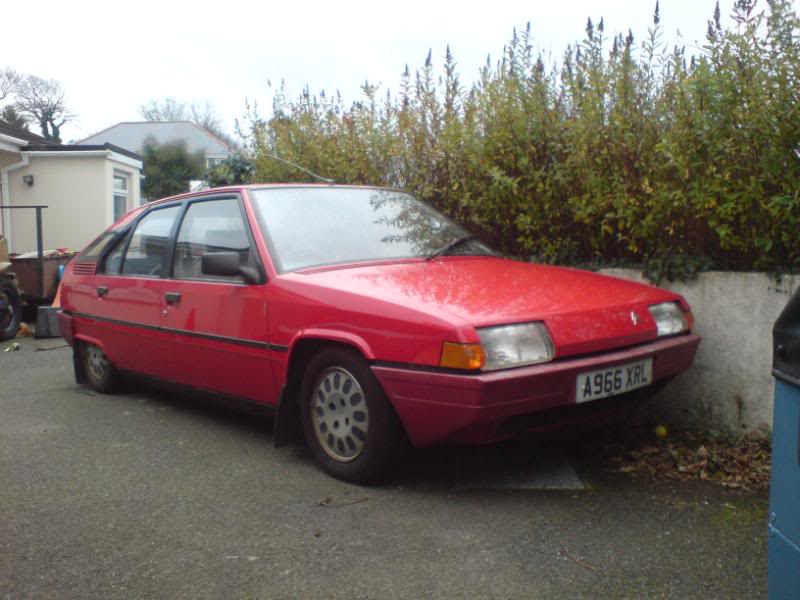
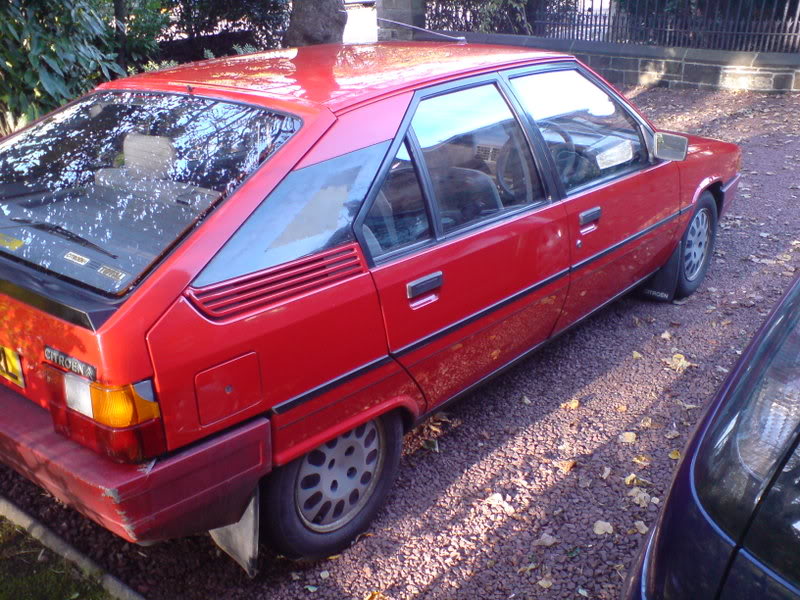
I noticed even from the original ebay photos that the rear bumper had some gray patches where red paint had rubbed off - it used to be a sign on Mk 1 BXs that the bumper had been replaced since the replacement items all came in gray and had to be painted - the factory fitted items were self coloured plastic to (almost) match the car.
I was not concerned as the car is structurally solid - the only rust being cosmetic on the off side door.
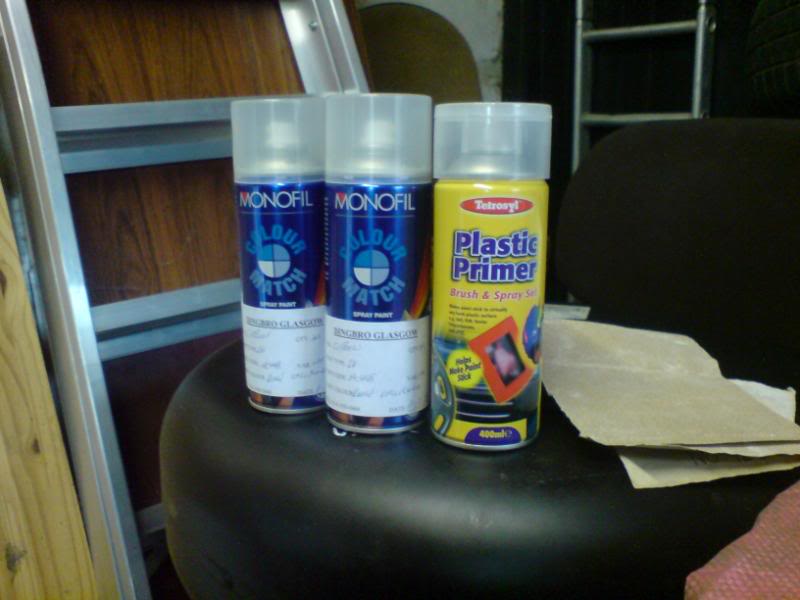
But I chose to plastic primer the rear anyway - couldn't be arsed to remove all the paint...
Skip to the end..
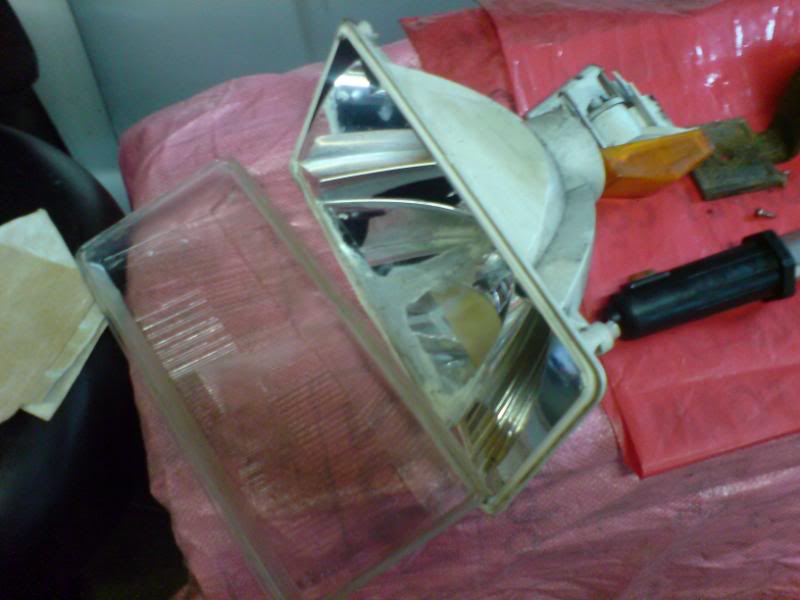
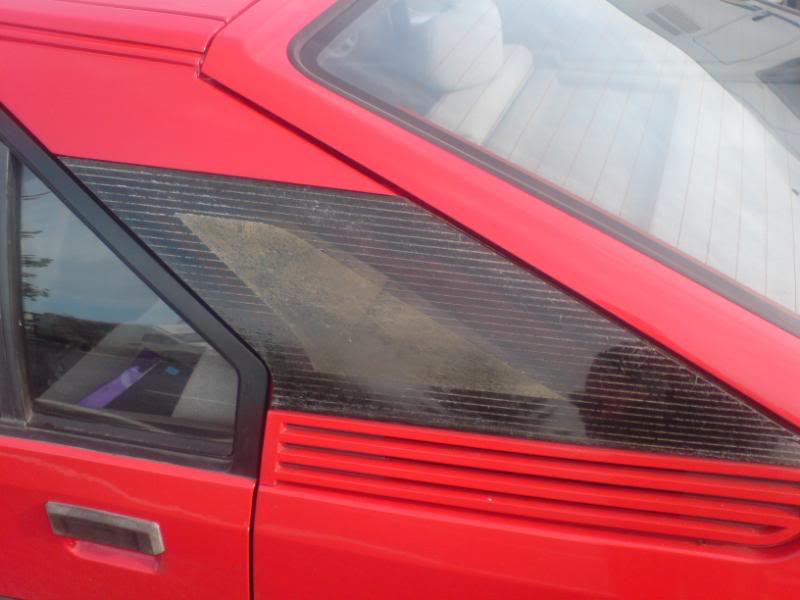
And between the drying paint layers I had a closer look at the C pillar windows: here's a close up of the crazed patch edge - I'd tried, solvents, cleaners, brushes etc to no avail - I even put a tine dab of nitro mors on this area
to see if I could persuade it to melt of the crusty but but leave the smooth under layer..
It was a no..
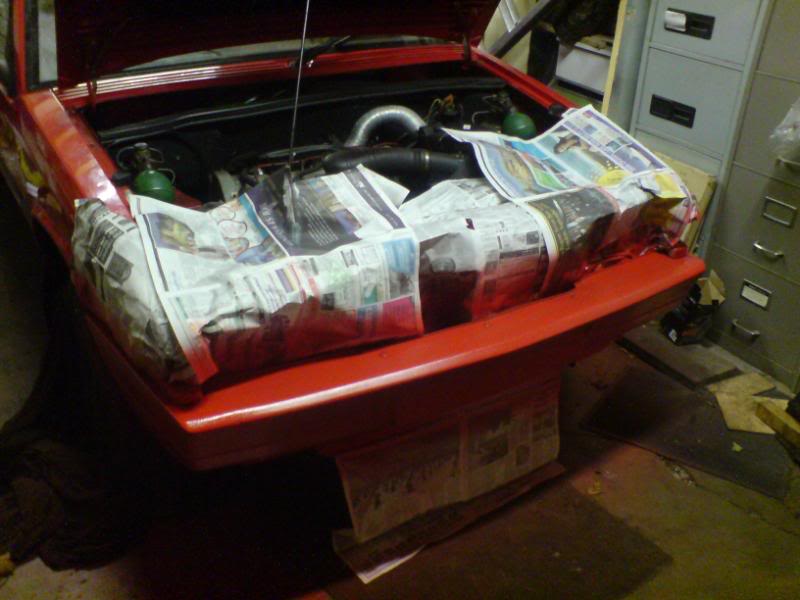
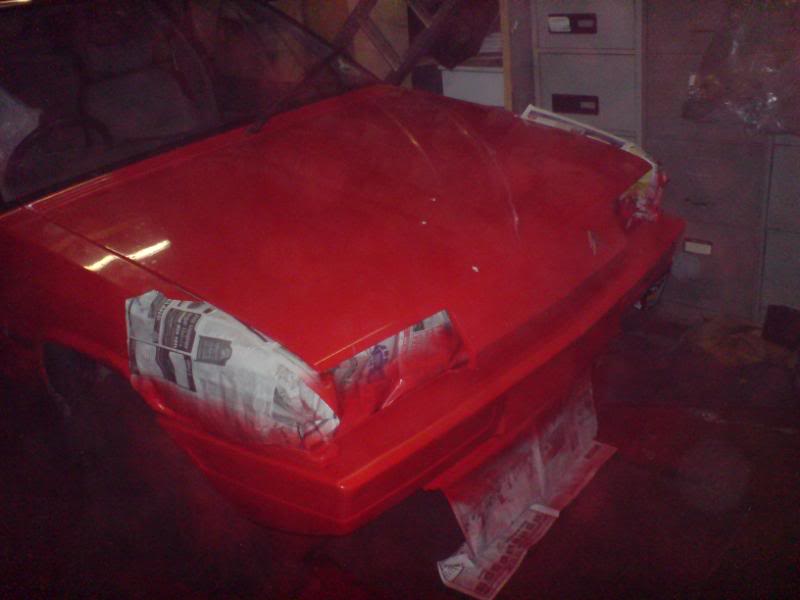
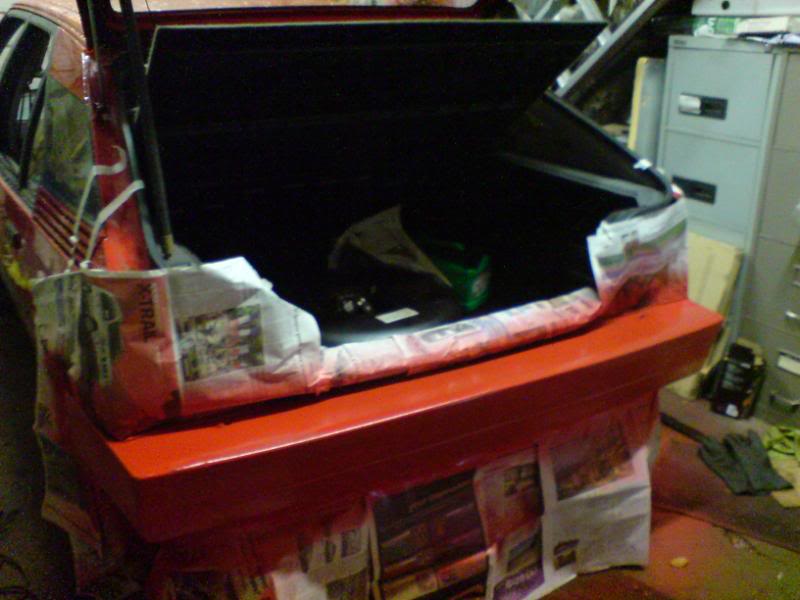
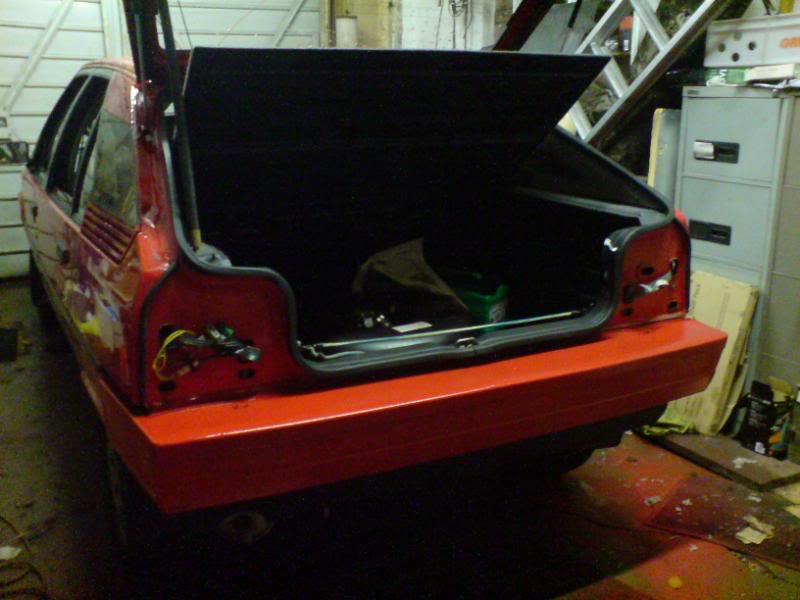
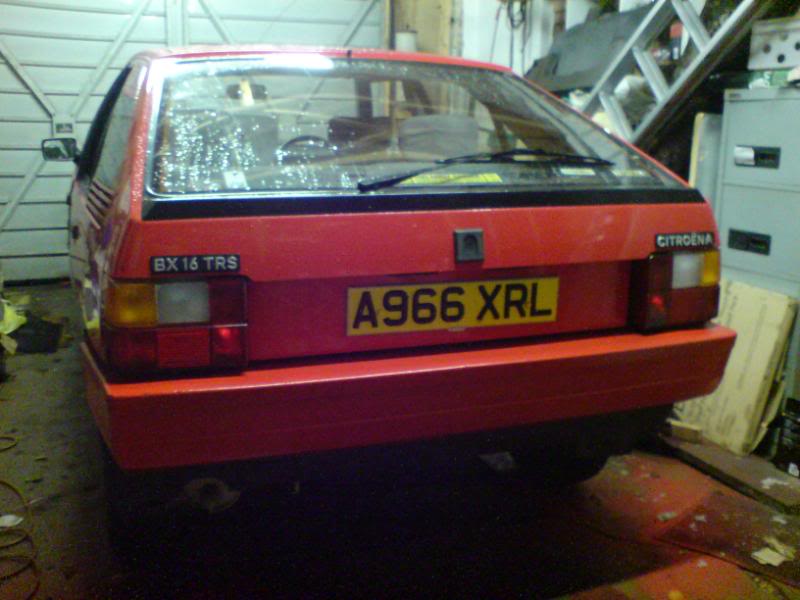
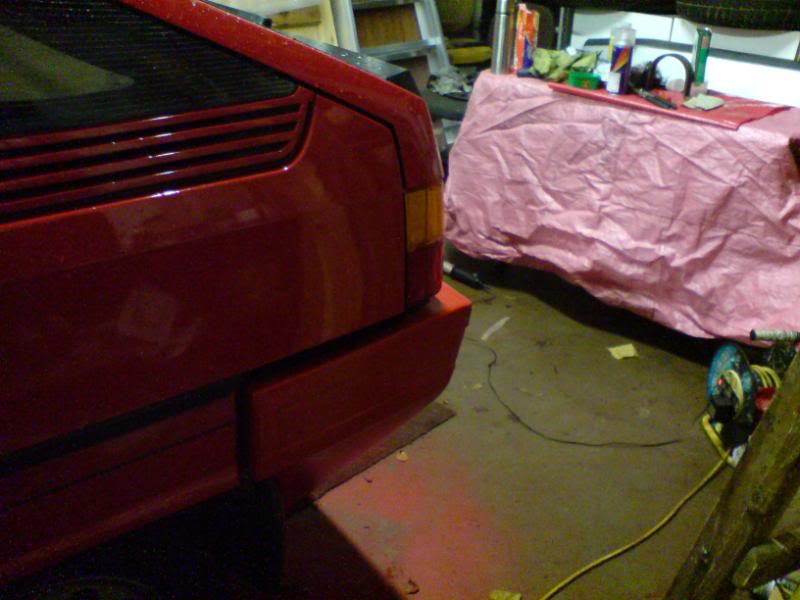
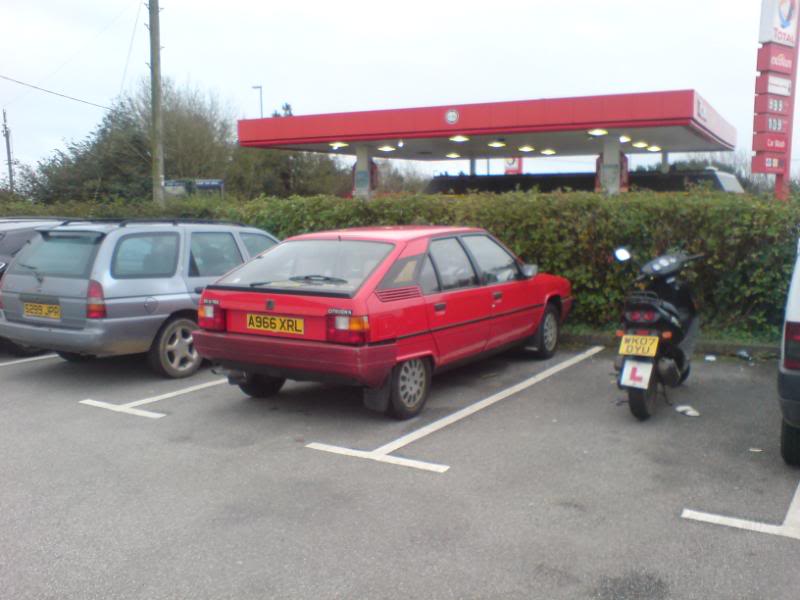
Still, rear bumper looked better:
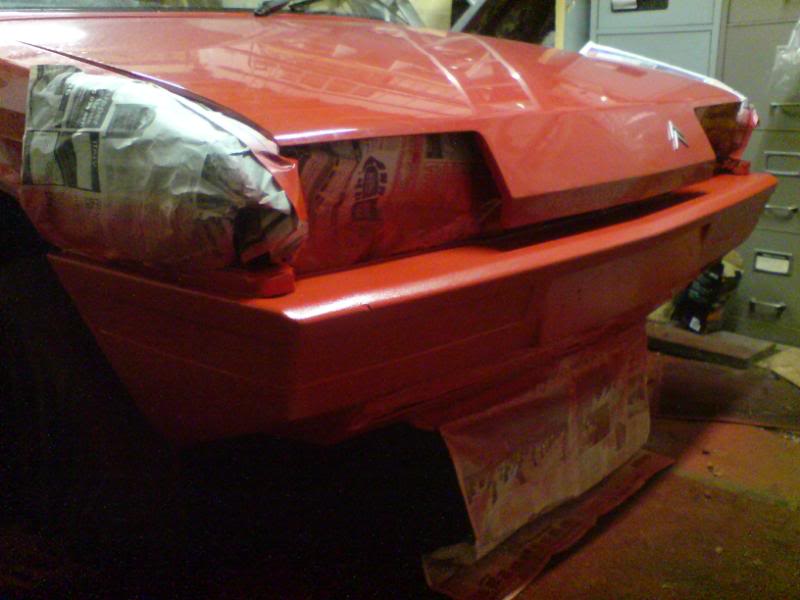
Then in my frustration I went to town on the other C - pillar window and ended up completely ruining it (well, it was wrecked already but it was now uniformally bad looking after the lacquer I sprayed on it reacted with the plastic! I returned the following night and sanded it and painted it matt black for the time being:
So now one is matt black and the other is as it was. I would really like to replace them but why can't I find any?
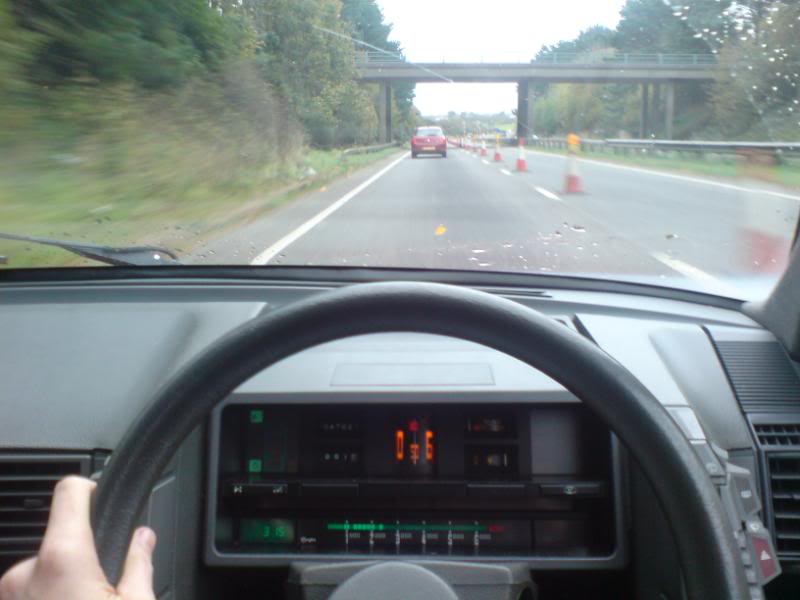
By now I'd been running Cyril for some weeks and this revealed some shortcomings in the suspension. The rear spheres seemed good, the fronts had plenty of movement but seemed oddly underdamped - were they wrong? I removed and inspected the damper center hole - it measured up to the size on my chart for the BX 16 front. I reckoned they just needed regassing so off to Mr Harper's in Glasgow (he's about 10 mins drive from me or 10-15mins cycling) so I had them bashed up to 55bar and refitted that afternoon - much better.
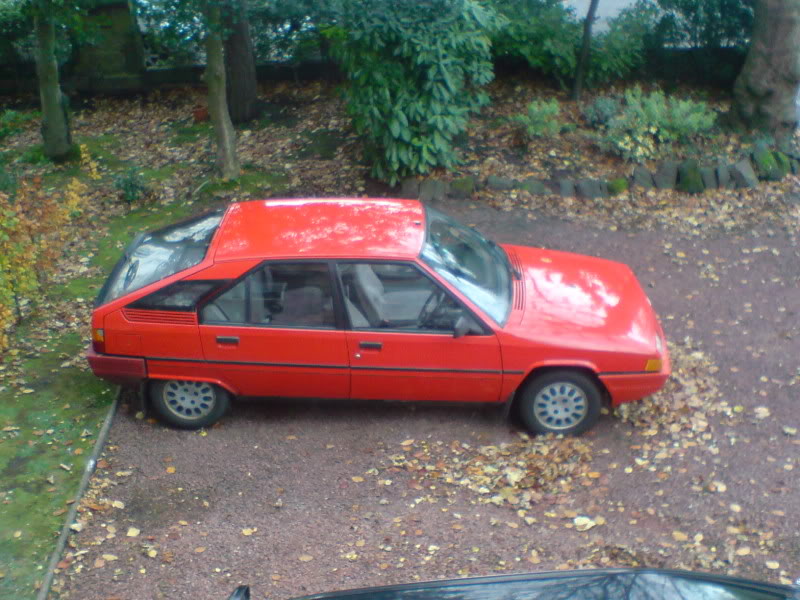
I had adjusted the ride height down frant and rear as they were both out by about 25mm giving the car a gawky appearance. It looked better and handled better after that but the height correctors were not very responsive - intermediate height was there on the way up but not on the way down and experience has now shown this is a sign of gungy correctors and/or worn out linkages.
Next job: front corrector rebuild and fix linkage.
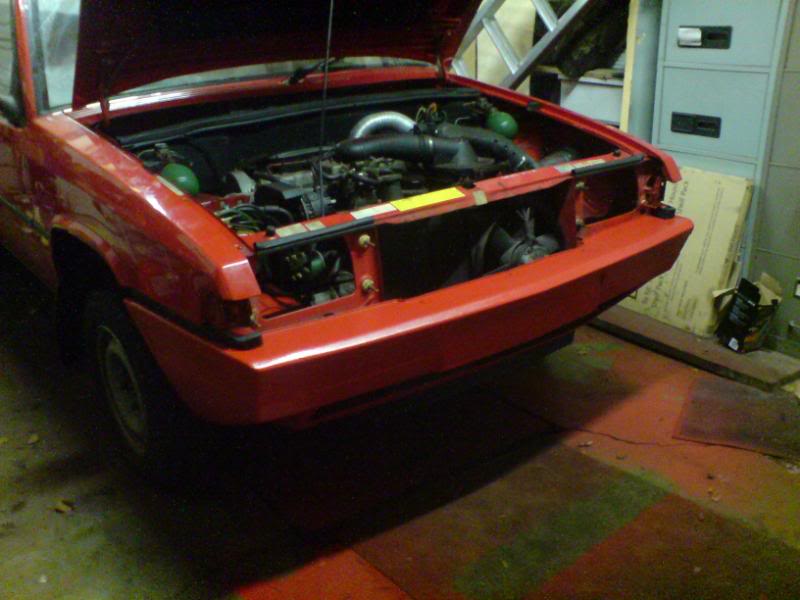
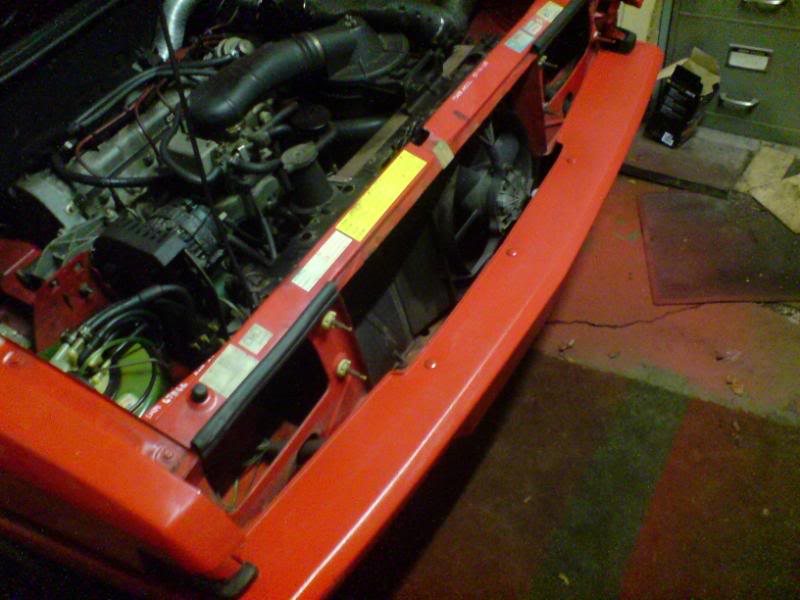
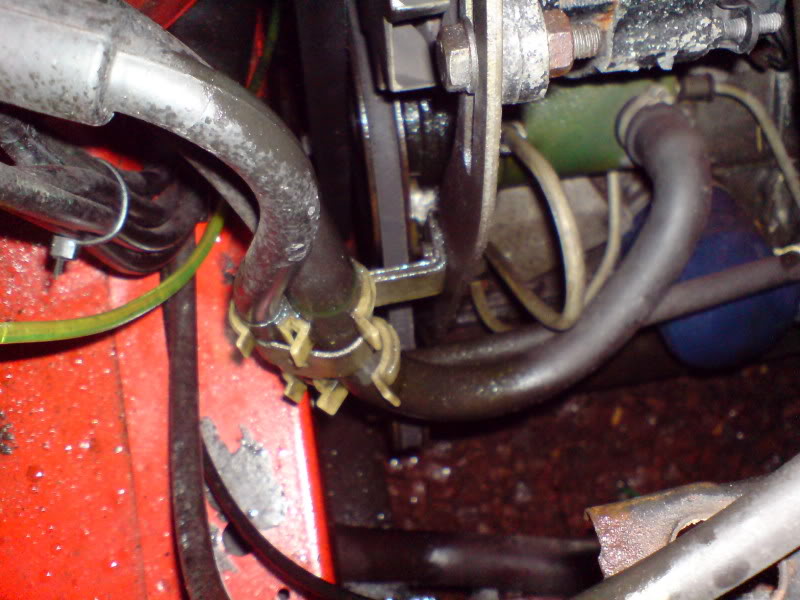
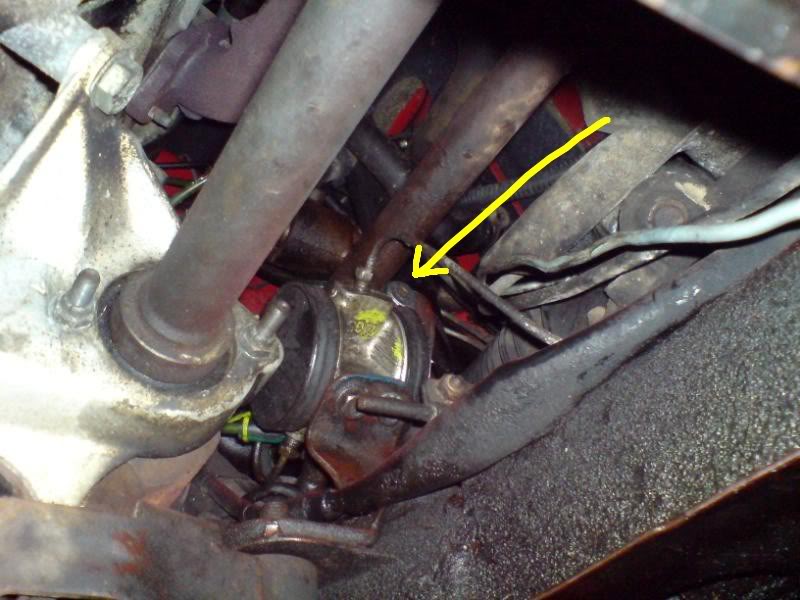
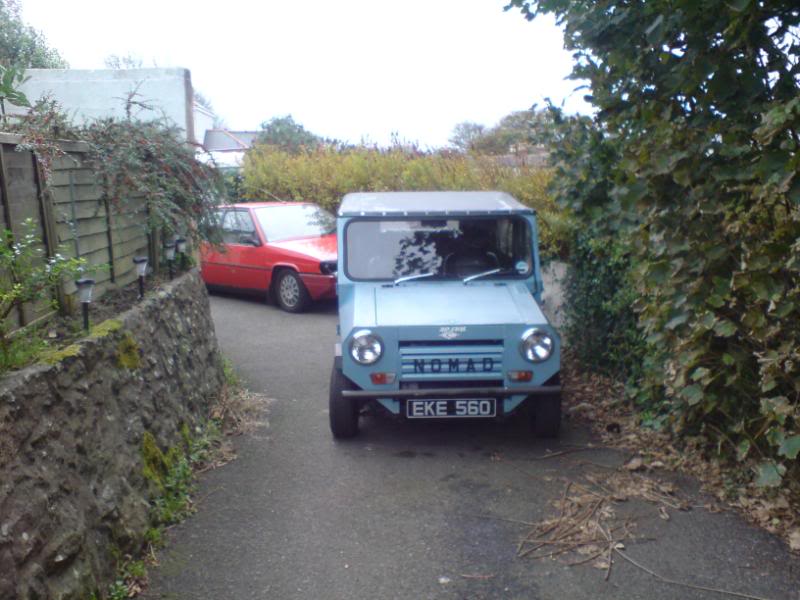
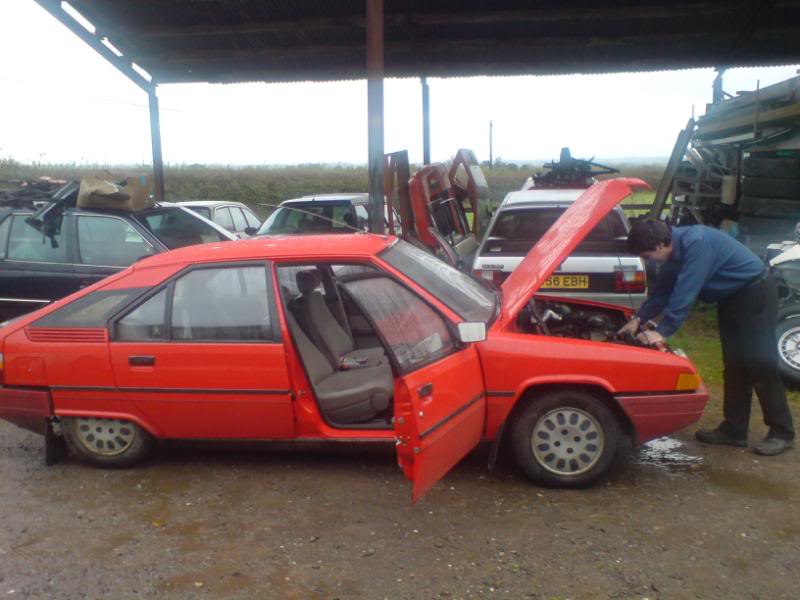
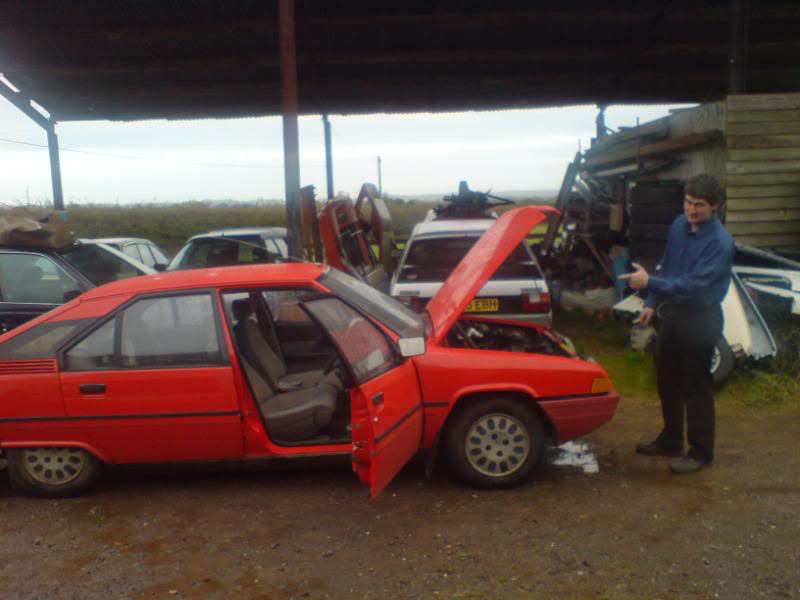
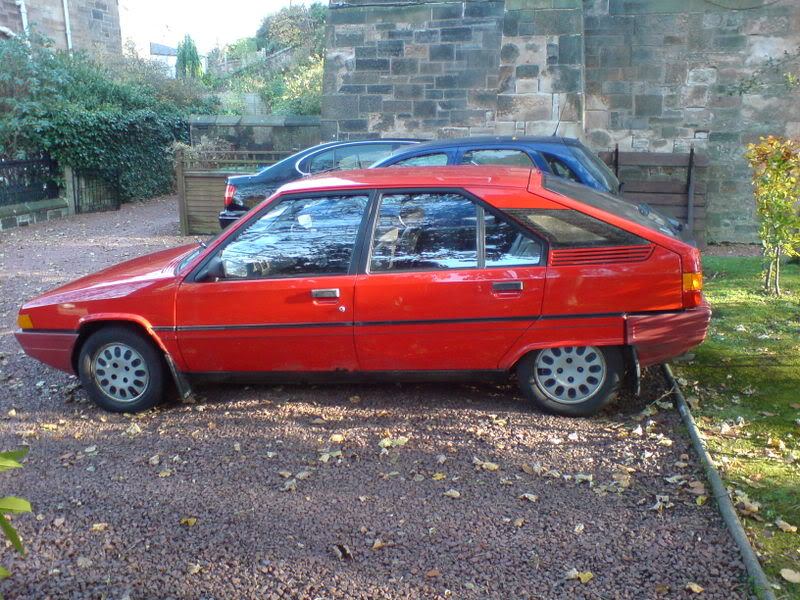
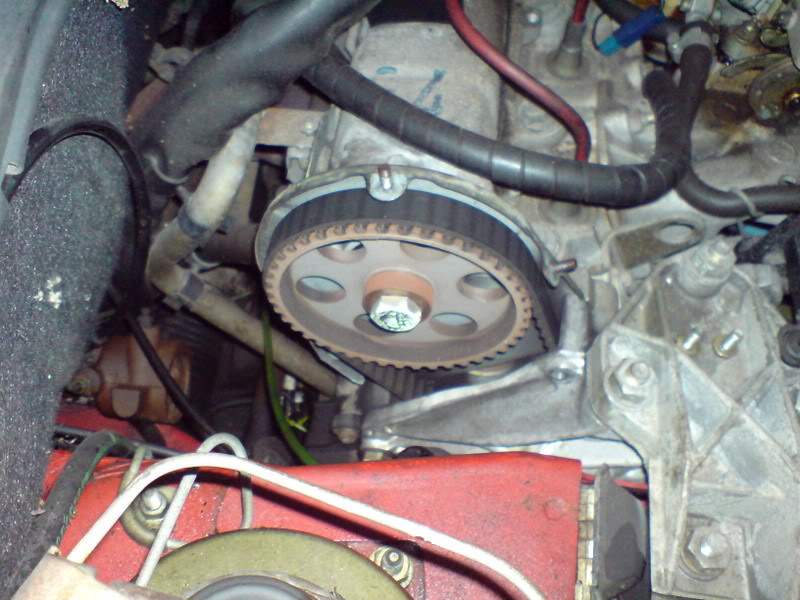
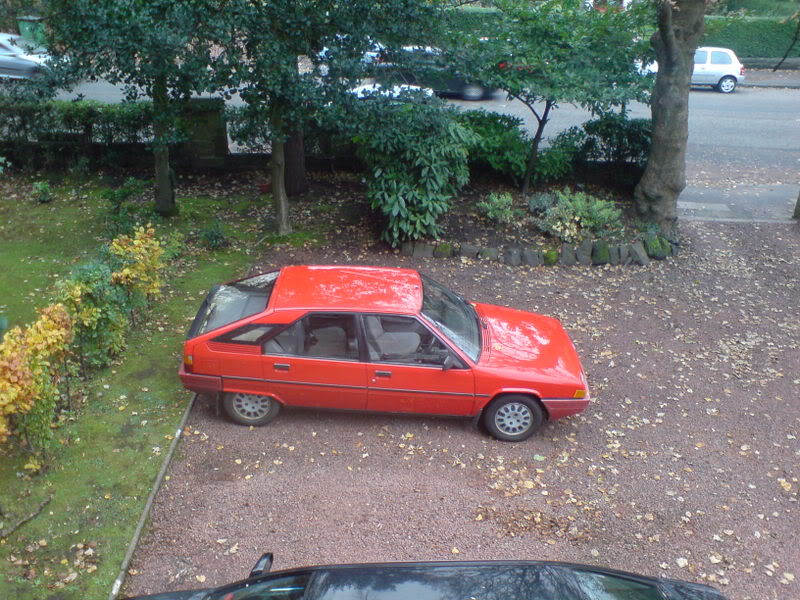
Here's the beast
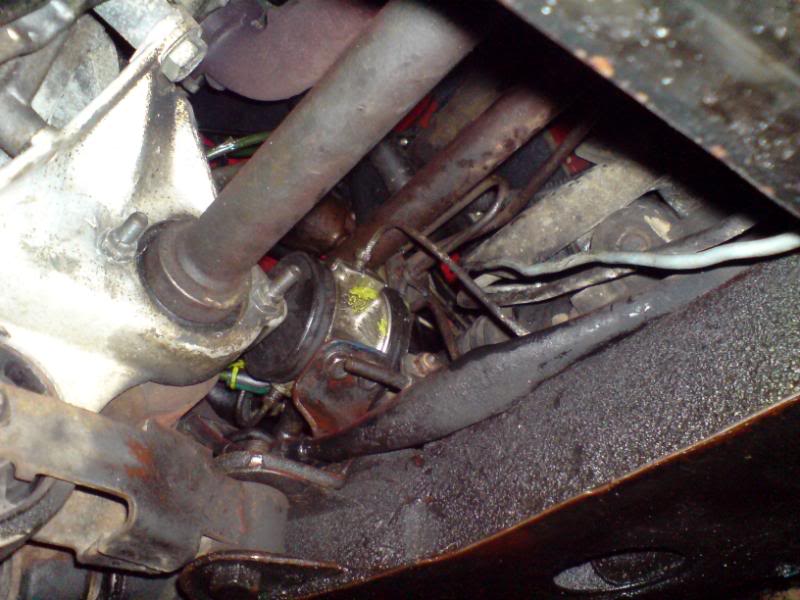
Nice accessable mounting bolts and one pipe but the other 2 pipes looked hard to reach. The pressure supply pipe was a bit fiddly but not too bad and the return pipe -usually a rigid steel item like the others- on the BX it's a fixing with a rubber return hose connected to it - this is better because you can crack it while the correctors still mounted, remove the 2 easier pipes and then take the corrector mounting screws out so that you can simply hold the return pipe and wind the corrector unit off the connection! - never really been able to do that on any other Citroen I've worked on.
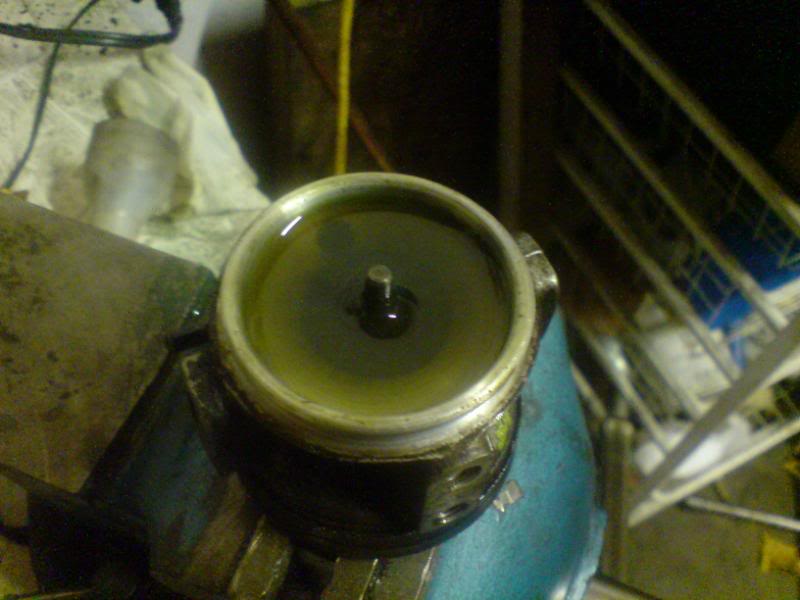
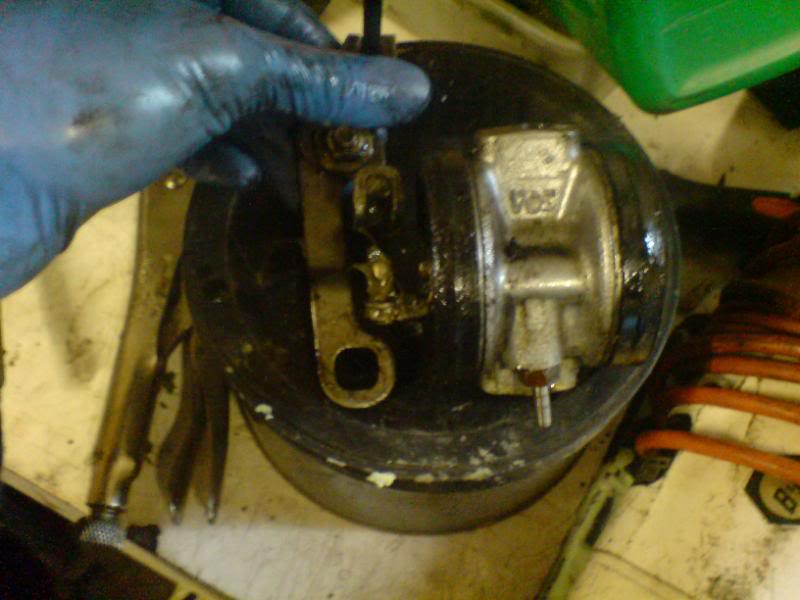
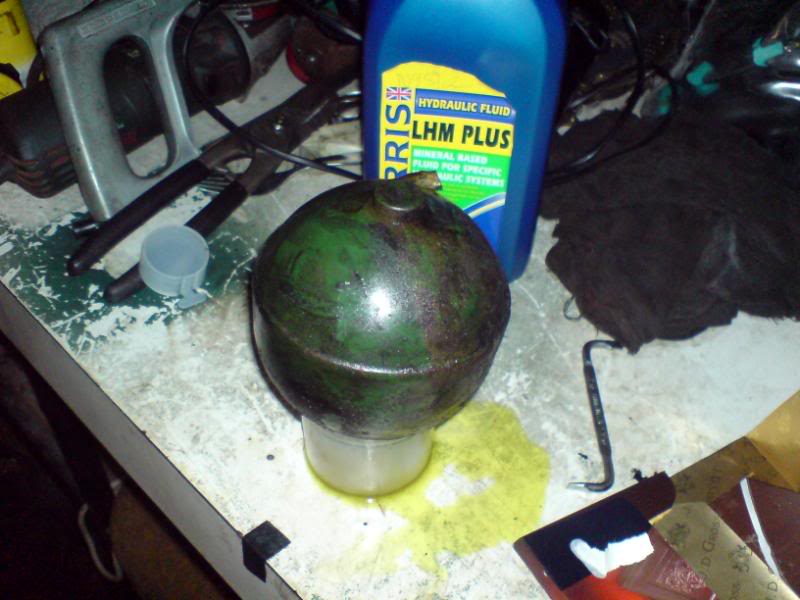
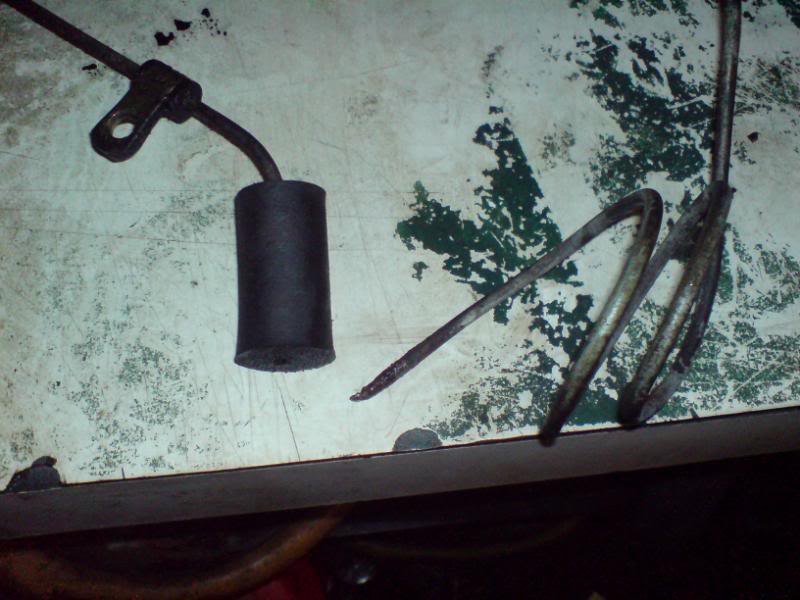
The part dismantled and gunged-up front corrector
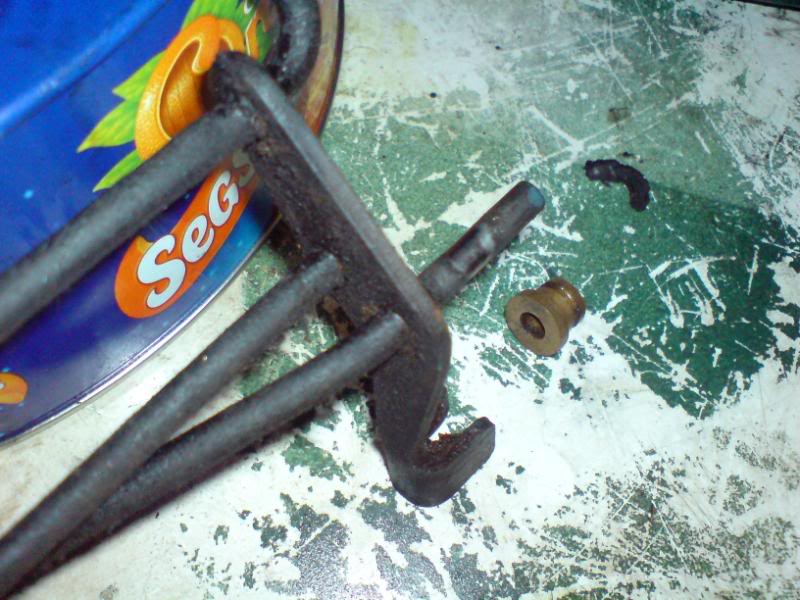
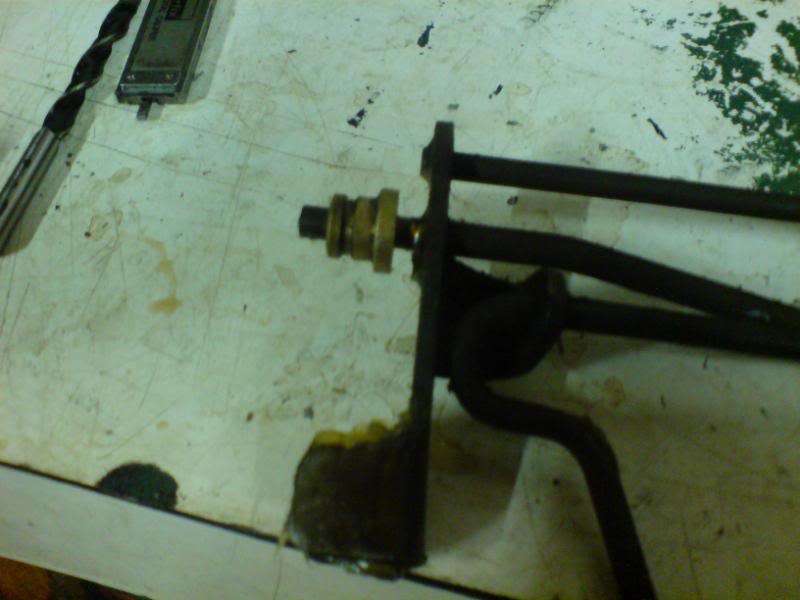
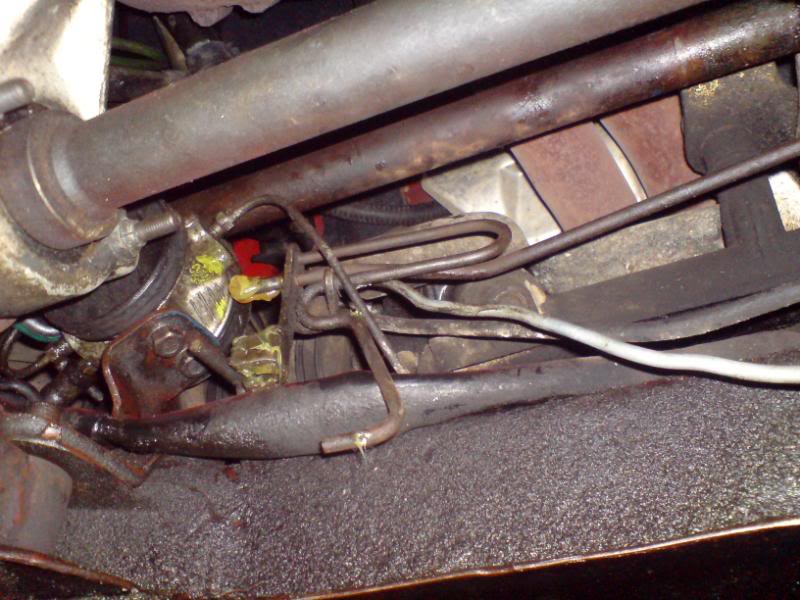
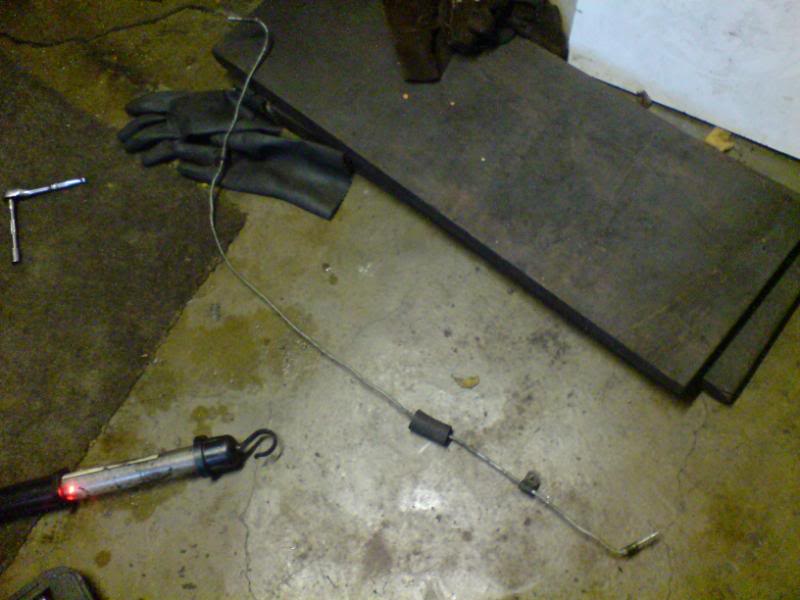
Here's the height corrector flexible linkage between the anti roll bar and the corrector's ball joint:

This photo is actually the rear one coz I seem to have lost the front picture but they are very similar

the brass pivot bush fitted on the end of the rod and on the bench a spare bush and a modified one. This bush has a loose fit in the subframe and the rod (steel) that pivots in the bush wears and altogether they have lots of slack play that cause the suspension to ride a little high or low - it's the same on CXs. The other part where it wears it the 'fork' that fits on the corrector's ball joint - both are steel and both wear at their respective contact points. Fork can be seen at the highest part of the photo.
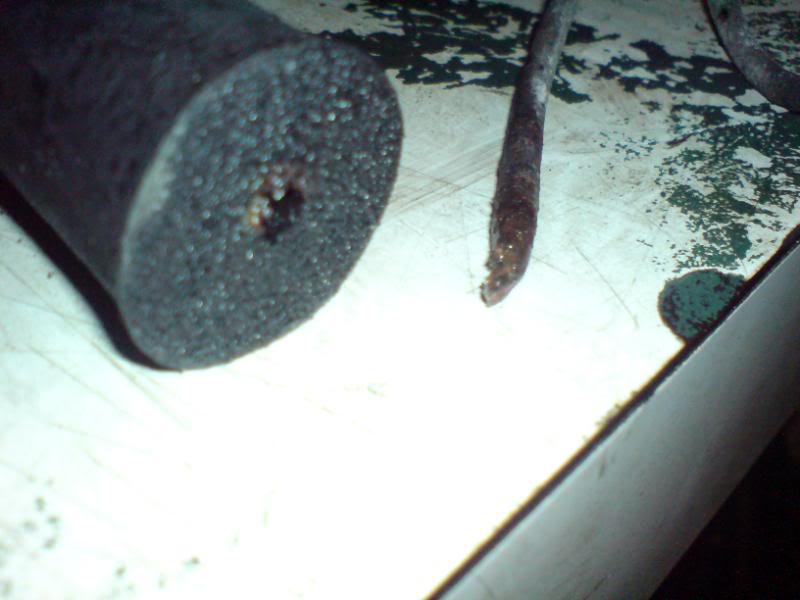
Here, the rod and bush - you can see the years of wear on the rod about 20mm from the end
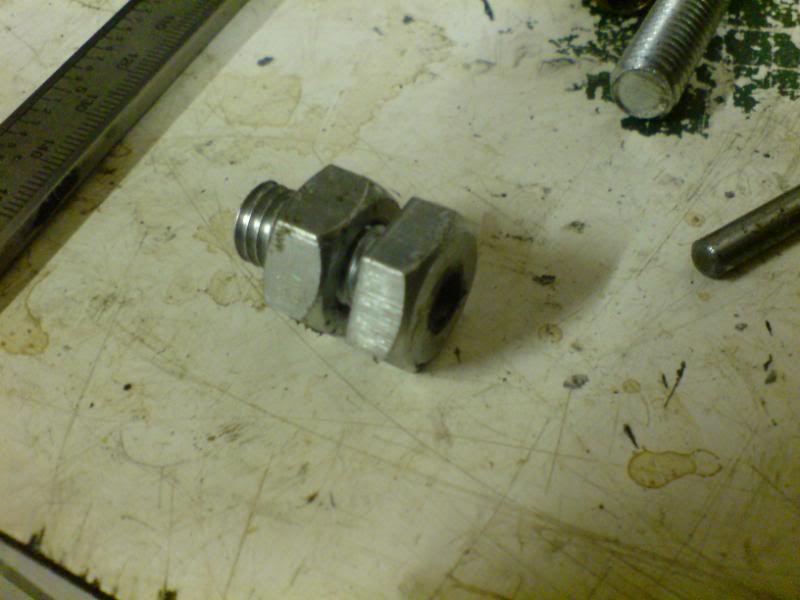
This replaced the brass bush. It's just an M10 screw with a series of stepped bores in side going from 7.5mm down to 5.5
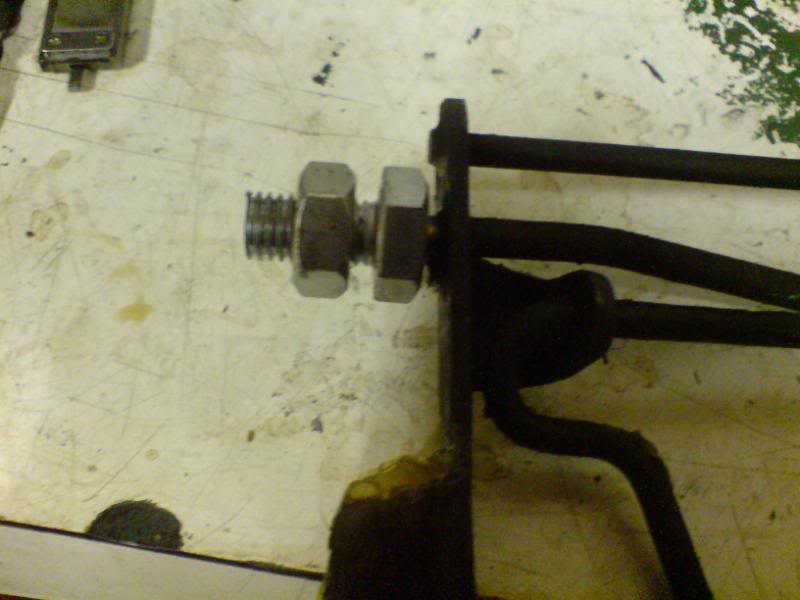
The linkage with the old bush
And fitted with the new type
This makes a great difference when it's back together.
Next to fix the wear on the corrector ball joint:
The ball had to flat spots at either side as the fork of the linkage had pushed and pulled at it for 24years. Simply, you can turn the ball in its fixing just a little to move the flats away - it's stiff but it works. The fork wear can't be fixed so you just bend the fork dimensions in a vice to reduce the play to a fraction of a mm (careful not to over bend!) and check the ball and fork have a close but free fit seen here on a CX front corrector and linkage fork - loads a grease too!
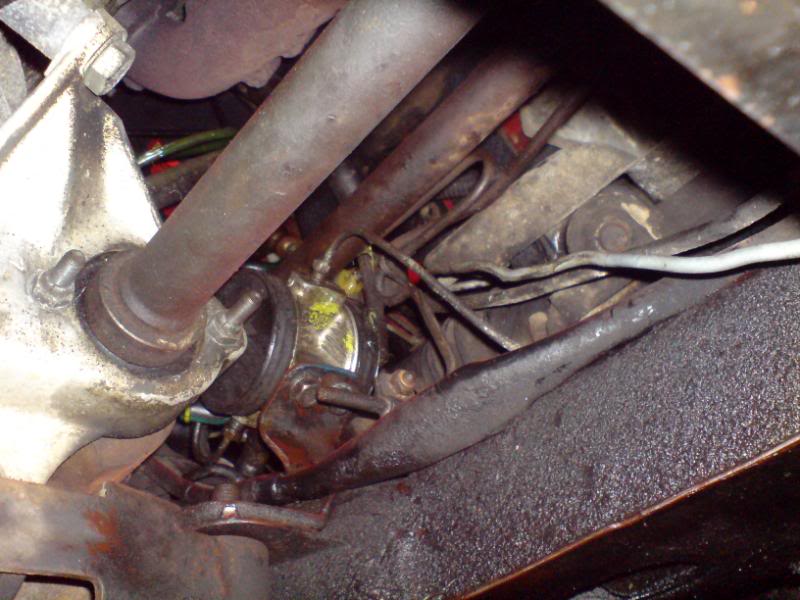
Started to fit it back together, corrector was refitted first by winding it back onto the return pipe and then the others and finally the 2 mountings.
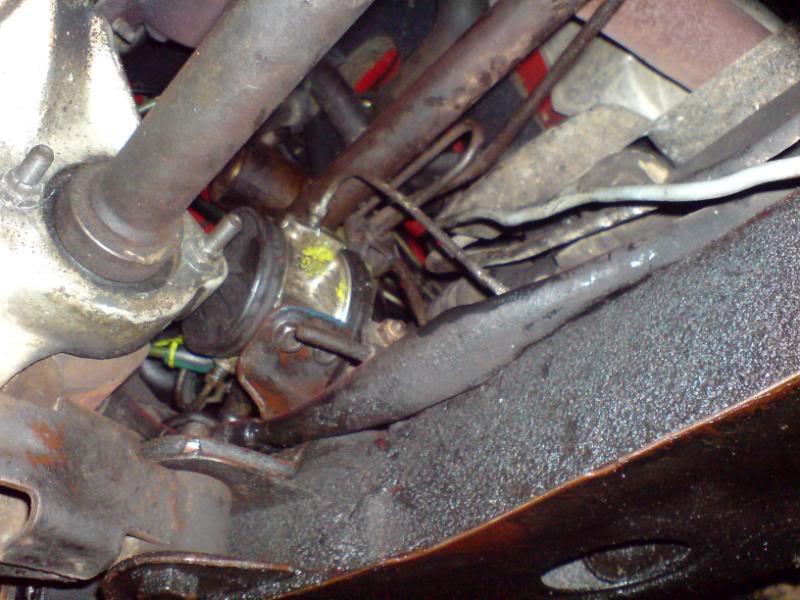
Here it's back on and you can just see the new bush (arrowed) fitted tight in the subframe beyond the corrector:
Linkage going back in with loads of grease:
Lining up the bits
Finally in place - here you can check how good the contact of the moving parts is before setting the ride height and tightening the clamp on the roll bar again
Result: excellent front suspension after a few weeks (takes the modified bush a while to 'bed in')
Rear corrector linkage got similar treatment and access there is a bit easier.
After a few more miles of driving it turned out that the rattling from the front axle was the infamous anti roll bar links! very cheap from GSF and with a 10% discount even better. So easy to do that both were fitted in 2 hours.
Old and new:
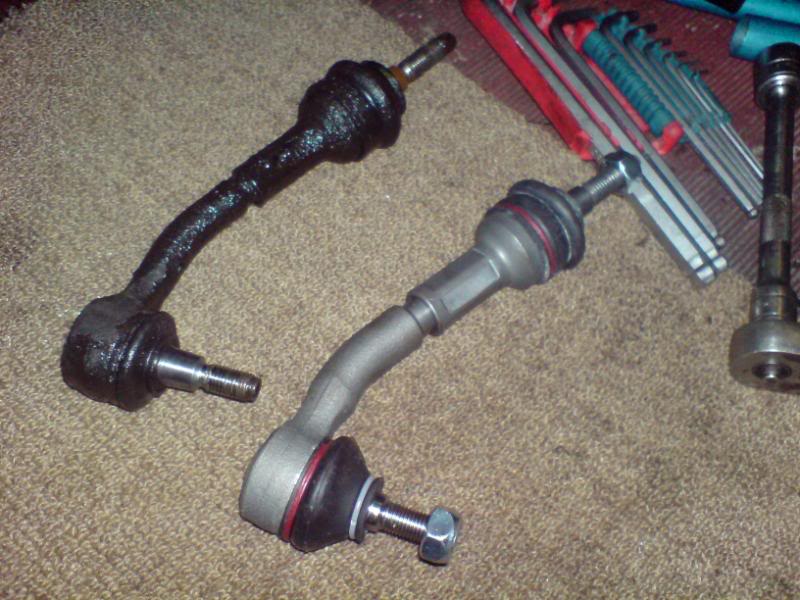
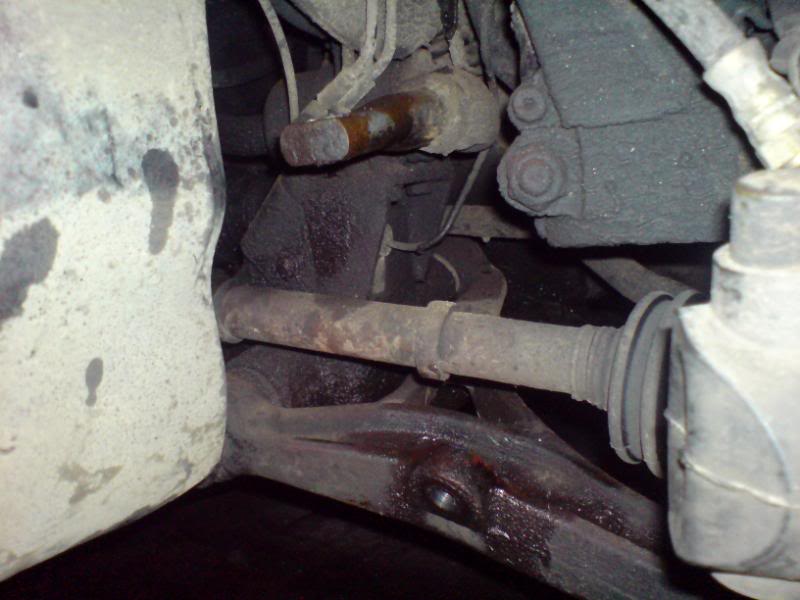
Old out
New going in
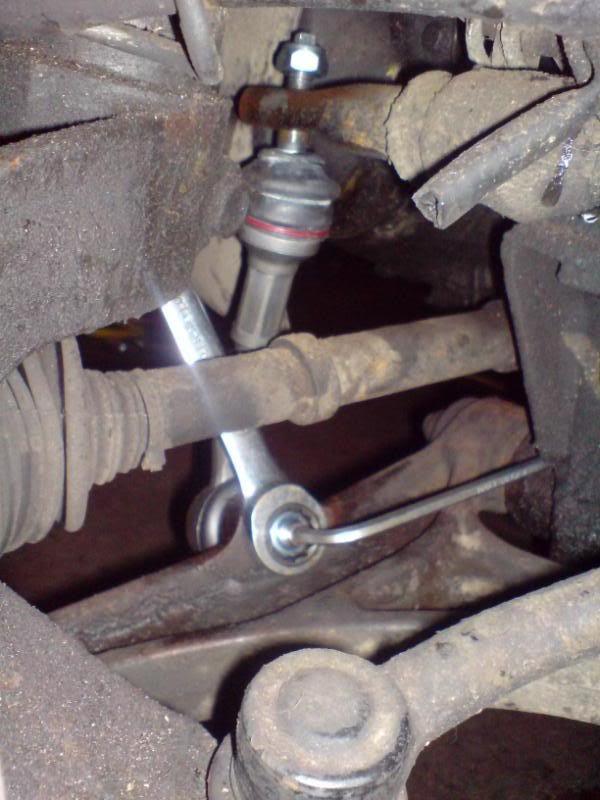
New in

Other side
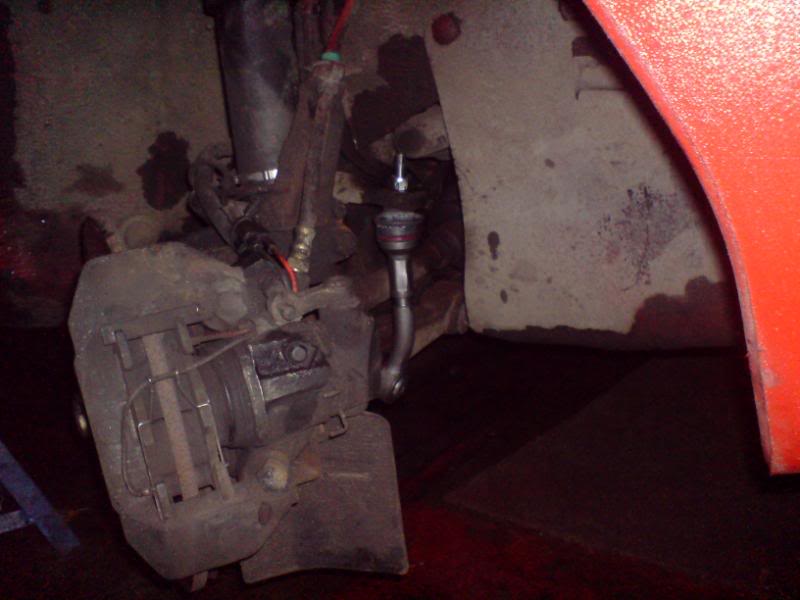
Job done - that WAS satisfying due to the success/time spent/result factor


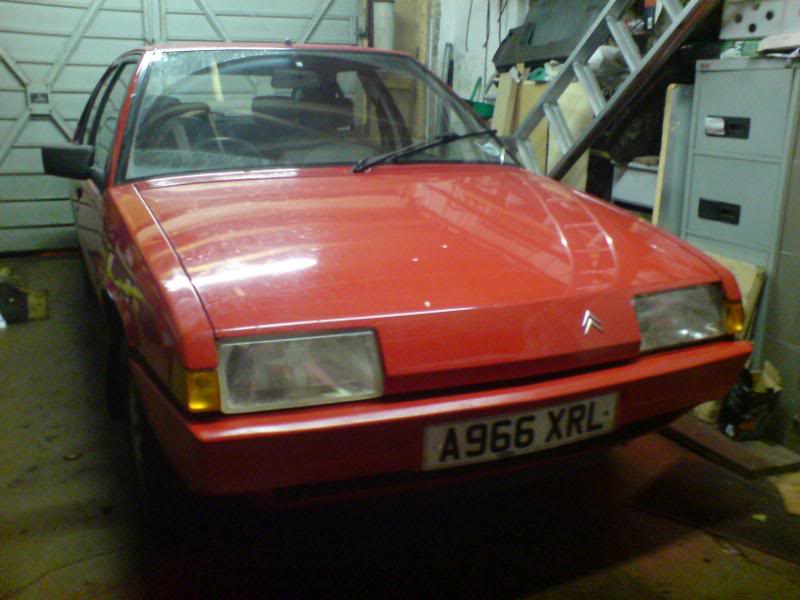
 It has stayed like this ever since and takes over 2 days to fully lower now!