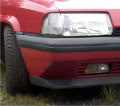
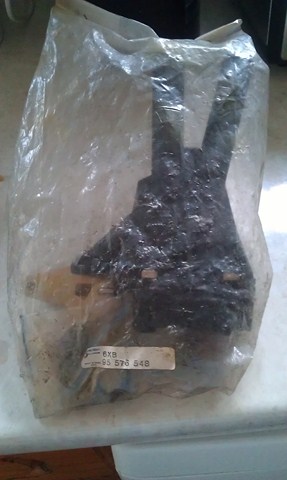
So this is what a new tap looks like! Brand new, bought by a friend of mine back in 2008 at the Stratford Rally, we’re not sure how much he paid for it, but he’s been well recompensed.
We’ll split this into two parts, taking the old one out, and putting the new one in!
Removal
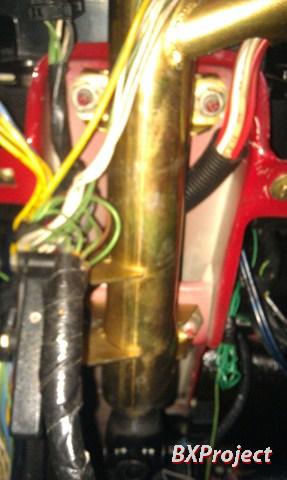
You can start in many places on this job, I prefer to start under the bonnet, you don’t then have to return there until the very end. So you need to undo the two hoses that run from the engine to the heater pipes. The TD is probably the hardest, followed by the Valver, there are many combinations but the sequence is typically the same, remove the top hose, then the bottom hose. Like this;
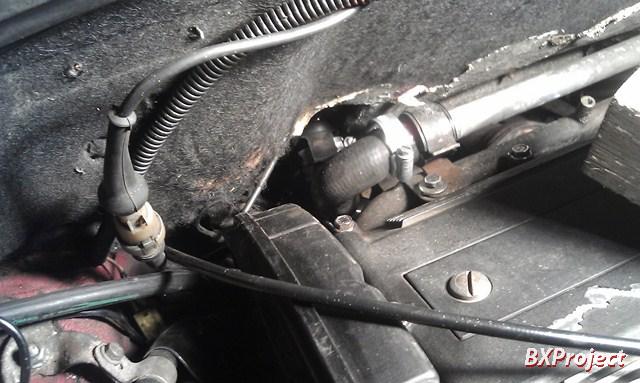
Close up of the top hose;
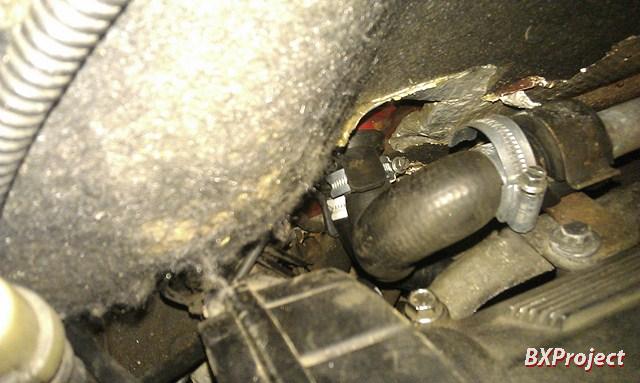
Disconnect top rail (not on all models, this is well worth doing, its one extra hose clamp, and gives a lot of extra movement). At this hose you’ll get a bit of coolant leak.
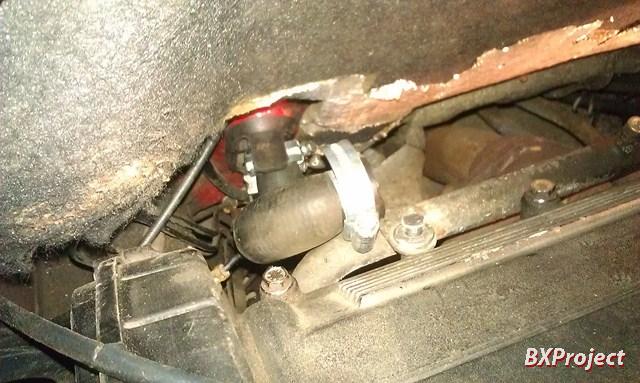
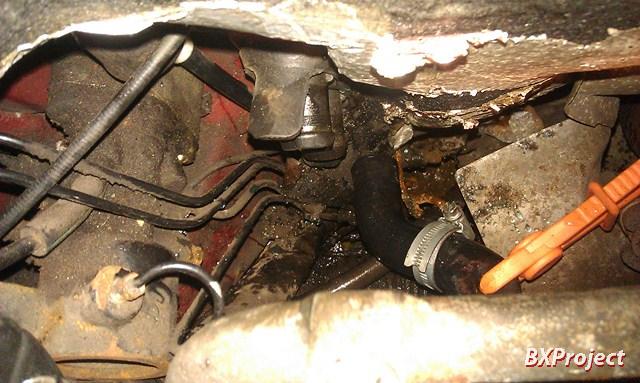
With the top hose removed you can start on the lower hose. This will drain ALL of the coolant in the engine by syphoning if you don’t do something about it. I've used a fuel line clamp, the orange pliers looking thing (£5 in Halfords).
That’s under the bonnet done with for now. Into the cabin.
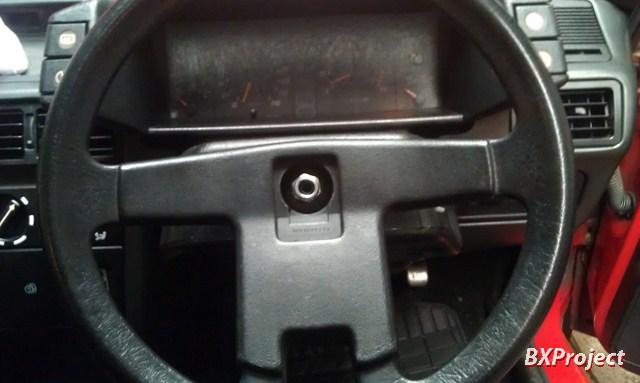
Just take the steering column out. This can be debated for many hours, and you can do the job without taking it out, but for the 5 minutes it takes, and 5 extra nuts, just do it. I’m going to whip the wheel off first though, it makes getting in and out of the car a little better.
Remove the centre cover from the steering wheel and undo the 21mm nut, remove the nut and spring washed behind it. Grab the steering wheel at 12 and 6 and rock the wheel back and forth (pushing the top while pulling the bottom, and then reverse), about 5 times and it should free off.
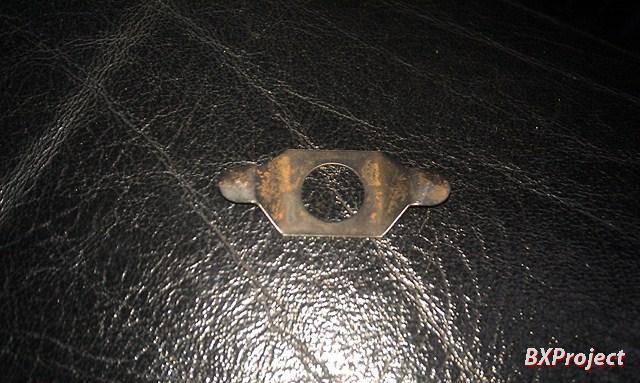
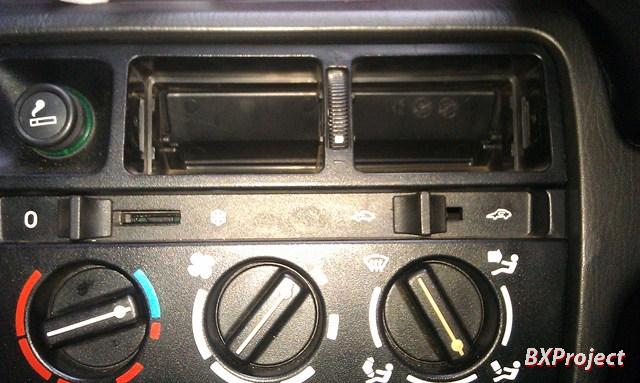
Centre console next. First take the vents out. If you look down the outside of the centre vents you’ll see a spring washer. When you take the vent out, this washer is going to exploded off into the car somewhere, so first CLOSE THE VENT. Trust me, you’ll be glad of this.
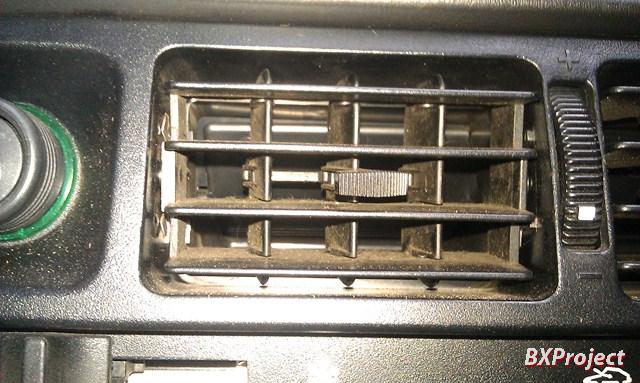
Did you close the vent? Okay, stick a wide flat bladed screw driver down the side of the vent, put slight side pressure on it and pull the screw driver end of the vent along the screw driver flat.
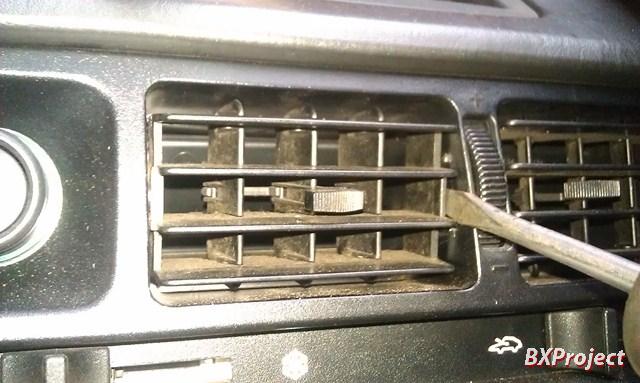
Don’t forget to recover the spring!
Vents out
Pull the knobs off. Sometimes they’re stiff and take a bit of a wiggle, this is good, it means there not broken like most of them. With the knobs off you need to remove the screws from behind the outer knobs. If you have aircon, with the sliders like below, you’ll be tempted to pull them off, DON’T, they’re fixed, you’ll only break them!
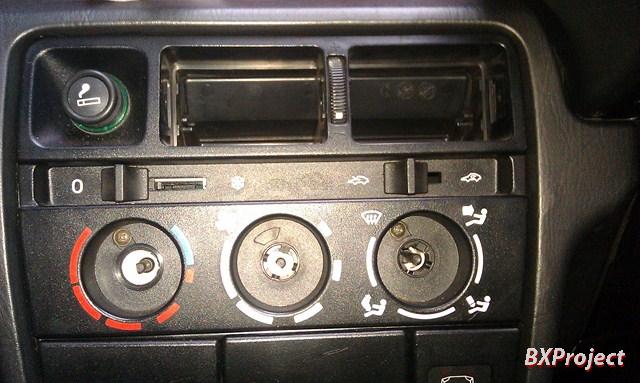
To pull the console out there are two big metal clips either side of the vent aperture. Stick a screw driver in, pull the spring out (lever the lip towards the aperture) and pull the console forward.
Once you've done both clips and pulled the fascia out, you’ll need to disconnect the fag lighter socket.

You’ll then be faced with this, the blower control. You might notice that I have done the MAX Blower mod, I’m not sure exactly why, but this has made no difference on my factory fit air con car. I suspect the AC wiring is a little different.
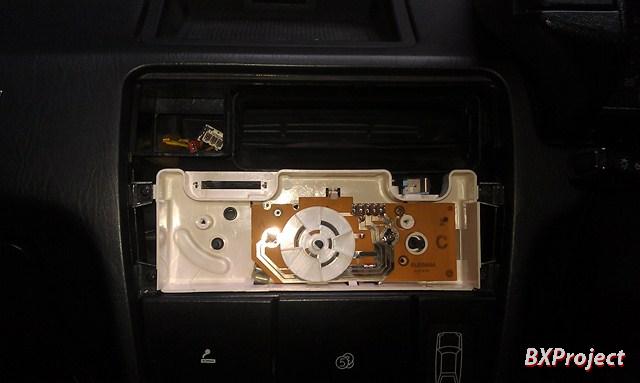
Notice this clip at the bottom of the circuit board, it holds the outer sheath of the Bowden cable which controls the heater tap.
Remove the four screws that hold the control panel retainer in place, then lift the white lugs over the black lugs in the dash.
Then do the other side. If you've got air con, the recirc switch will foul the centre vent duct. Fortunately the centre vent duct is incredibly pliable so it will pass with some gentle force.
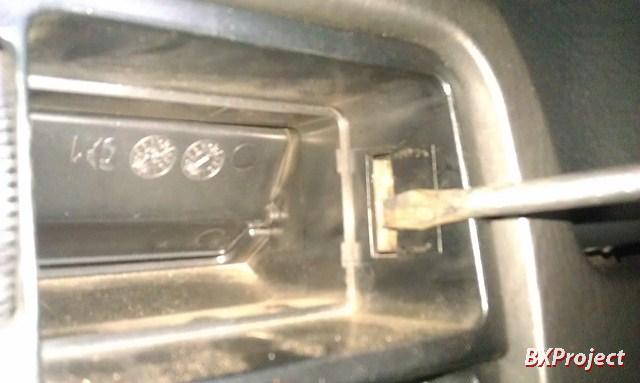
To get the retainer to roll forward you’ll need to remove the brown plug. This is often forgotten when reassembling!
Remember that spring clip, undo it, and disconnect the cable.
Okay, let’s take the bottom of the steering column off. First you need to remove the lower steering column shroud. There are four screws in the corners. I couldn't get a good picture of the whole shroud, but the screws are the ones that are sunk into the shroud.
Behind where the steering wheel was, there are two small screws that also need removal for the shroud to drop.
Disconnect the dimmer and the ‘doors open buzzer’
With the shroud removed, undo the four nuts holding the upper steering column to the car. I recommend putting one of the top nuts back on by three turns, it will save it from hitting you in the face!
Now until the pinch bolt on the universal joint half way down the steering column. It only fits one way around so don’t worry about marking it for re-fitment. You’ll need two 13mm spanners to undo it. The nut is oval so don’t be too worried if it’s not super tight! With the pinch bolt removed, undo the last nut holding the column up, pull the upper column off the lower column, and lower the whole lot into the foot well. There is no need to undo the wires to the stalks, but I would recommend undoing the two bolts holding the bonnet release leaver as this will give you much more freedom of movement in the upper steering column.
Man look at this for access.
PART 2
Using a bit of logical progression, we're going to now work from the dash to the bulkhead
Eventually we need to slid the heater core out by around 4" (100mm) in order to get the tap out of the bulkhead. These following steps will make this much easier, just at a point where a weaker person might be scratching there heads and possibly swearing in French.
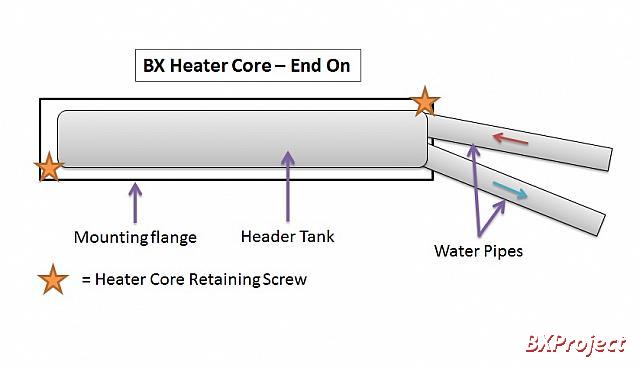
First remove the heater core retaining screws. Unfortunately i struggled to get a decent picture, so I'm going to have to combine a picture and a diagram. The stars show where the two retaining screws are. They are 7mm head and the one closest to the heater tap is often missing because it is rather difficult to get at.
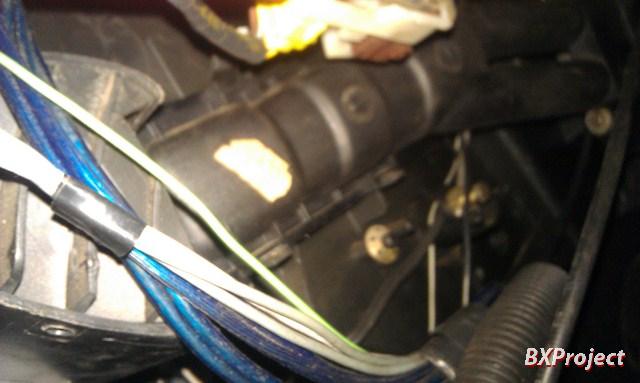
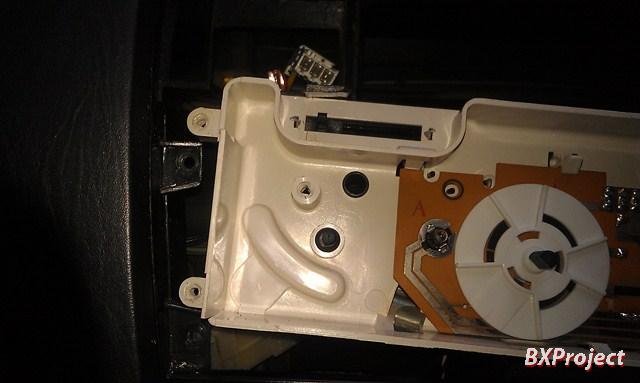
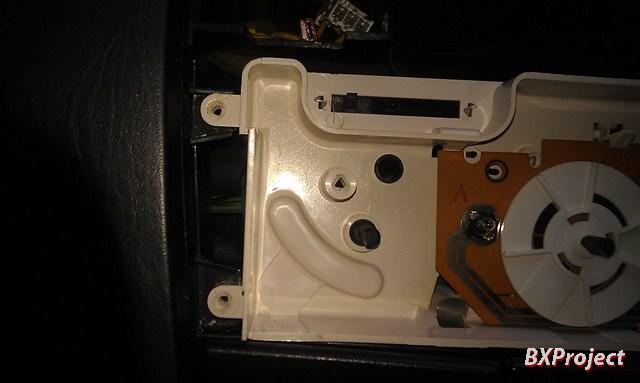
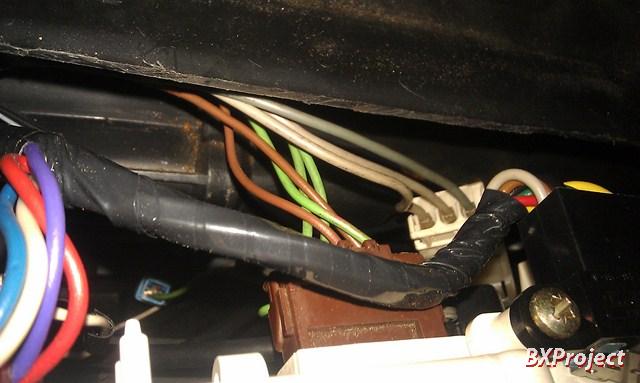
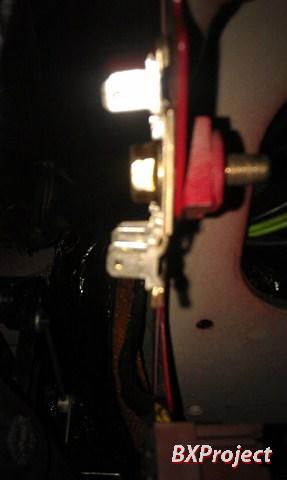
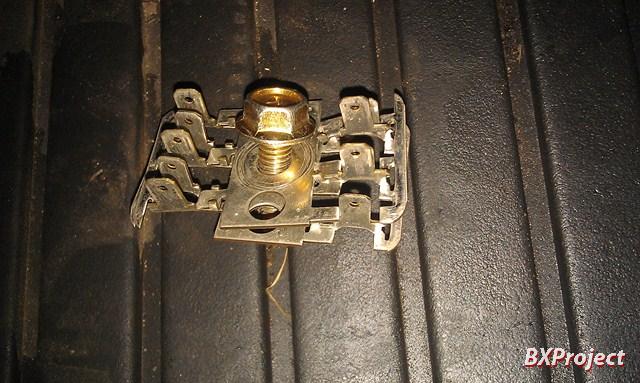
Next you need to remove the common instrument earth point. I don't think this is fitted to all models, but it holds the earth's for a lot of the 'toys' on the car. When you get to the end of the job and indicators, washers, tacho and door open warning lights don't work, you forgot to reconnect these! (its the white blob at the top of this picture;
Removal is straight forward, remove the cage type retainer by squeezing the sides, the disconnect the yellow and brown connectors.
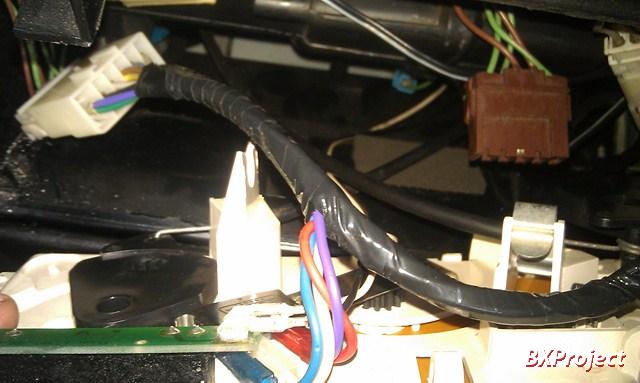
In the middle is a 10mm headed bolt to remove. The metal that the connectors plug into is actually in two pieces, but when they separate don't panic as they only go back together one way. There is potential for temptation to set in here, it is possible to pull the heater core out just enough with the connectors and white plastic cage removed, however damage to the metal pins is inevitable and not worth the extra 30 seconds to remove the bolt.
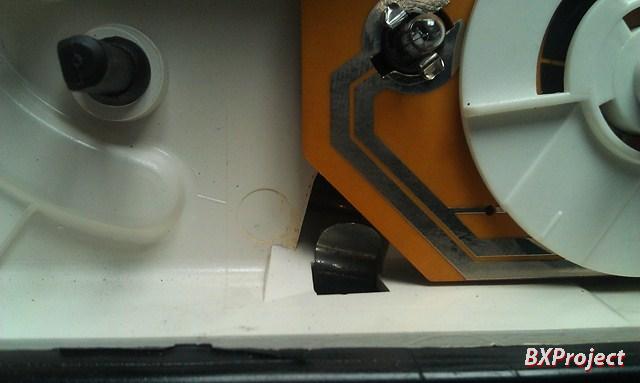
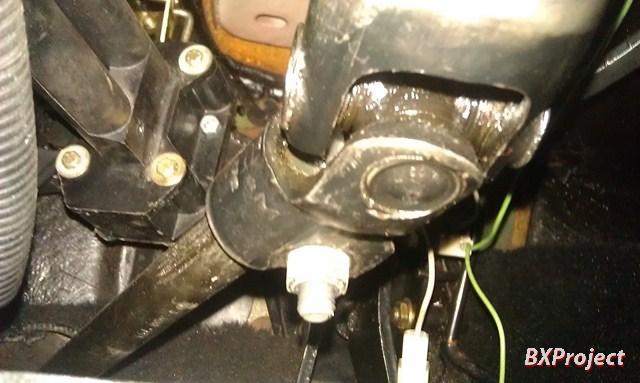
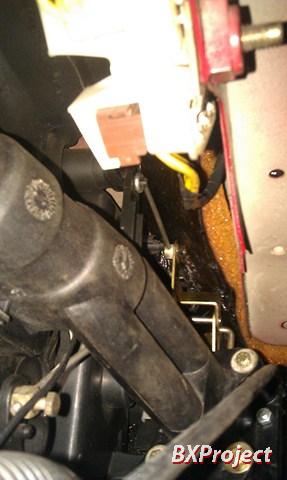
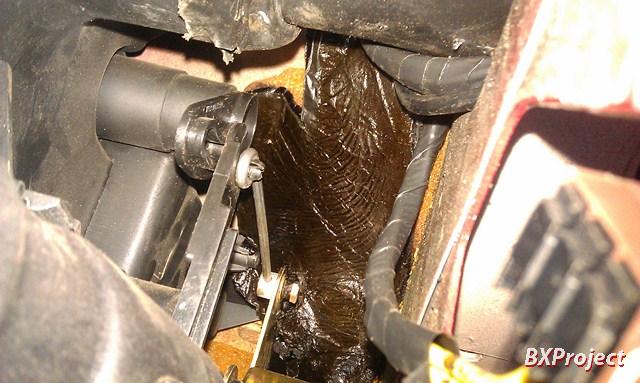
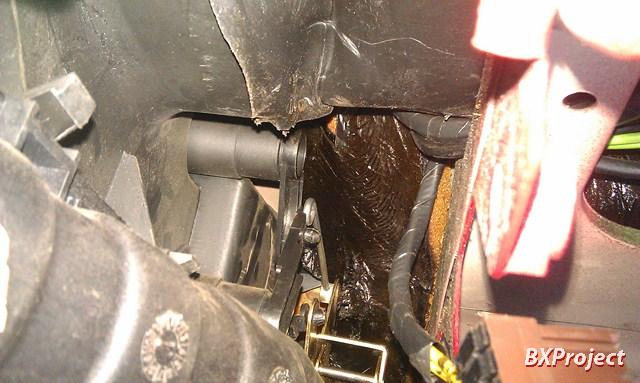
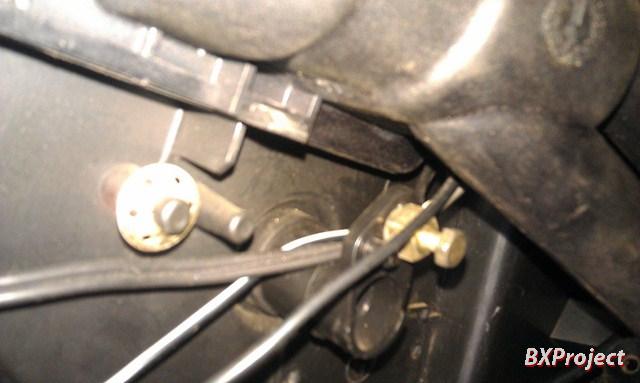
Now you need to remove the main fixing bolt for the heater tap. It is at the bottom left hand rear of the lower tap section and bolts the heater tap to the HVAC casing (HVAC is the big box of plastic that the air blows through!). It's hard to see and easy to miss. You don't want to miss it!!
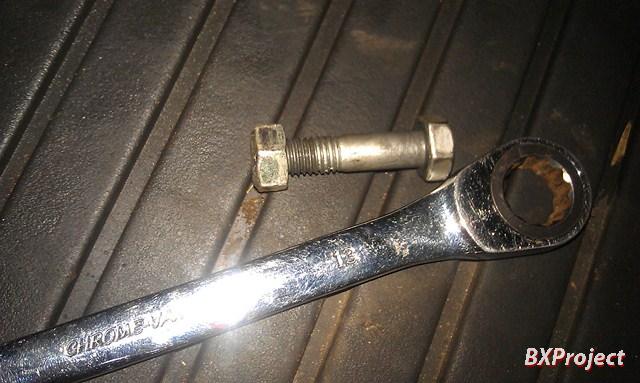
I've struggled to get a decent picture. I'll try again at some point.
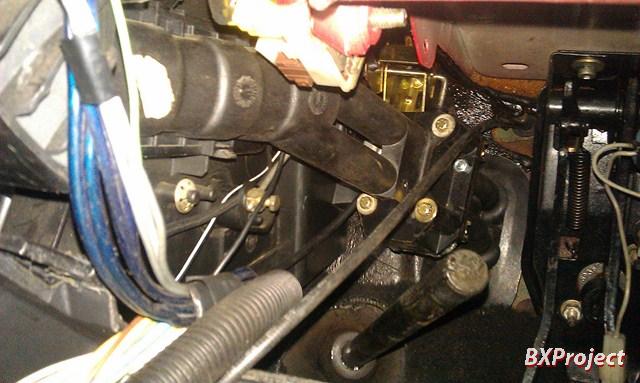
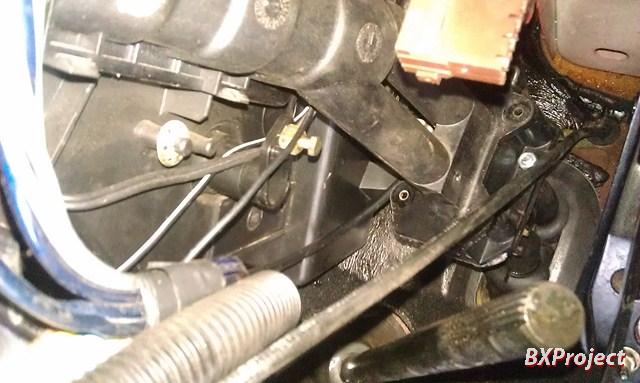
Next, disconnect the linkages. The hardest to reach is (for once) the easiest to remove simply put a flat bladed screw driver between the linkage arm (black) and the metal bar and slowly prise or twist off the linkage. It should pop off the mushroom headed stud without too much force.
you can see it popped off here
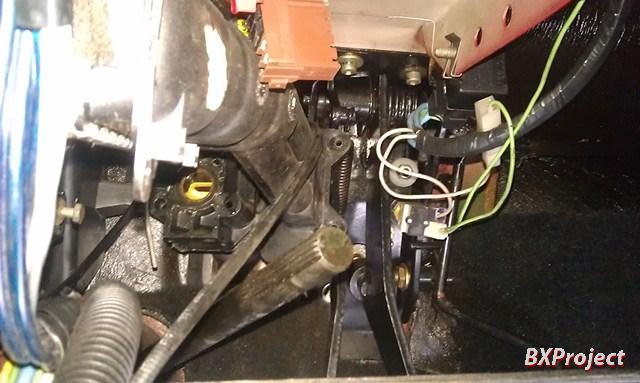
You'll also need to undo the lower linkage by undoing the screw holding the bar into the lever just below the heater matrix. Two turns should do it, there is no need to remove the screw completely or you'll be cursing later when you cant find it!
Okay so with the heater tap free, we can disconnect it from the heater core by removing the 4 long bolts (with 7mm heads). I recommend un doing the lower left and completely removing the bolt BEFORE tackling the upper left as this gives you a little more spanner wielding room. You can see in the picture below that the lower left bolt has been completely removed.
next, slide the heater core out. It is still held in place with four plastic clips which take a little bit of force to pop open. Don't be tempted to use a screw driver, it will only end in tears! You'll see here my mistake, at this point i hadn't taken off the bonnet release handle and the cable is right in the way of the pipes from the heater core!
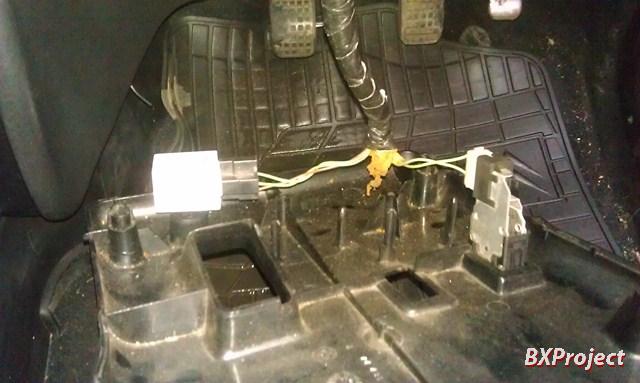
Well now the tricky part, getting the tap out! First un-wind the control cable (that we disconnected earlier) from the bowels of the dash, and point it into the foot-well. Its springy and likes to sleep in your eyeball, so be careful with it!
The tap is still held into the body of the car by a big rubber bung at the bottom of the pipes. You'll eventually need this bung out, and if you try to pull the pipes out without the bung you're going to load one of the pipes and probably break it, so try to remove the pipes with the bung. It is a case of gently tugging on the heater tap until it comes out. I take it right over towards the HVAC, under the heater core, then completely under the dash down the side of the clutch pedal. No number of pictures can explain this, so I'm not going to try! As a pointer, it can help if you move the big metal actuator about to clear the heater matrix pipes. You will get some resistance when trying to pull the tap out, usually from the rubber. Don't panic!
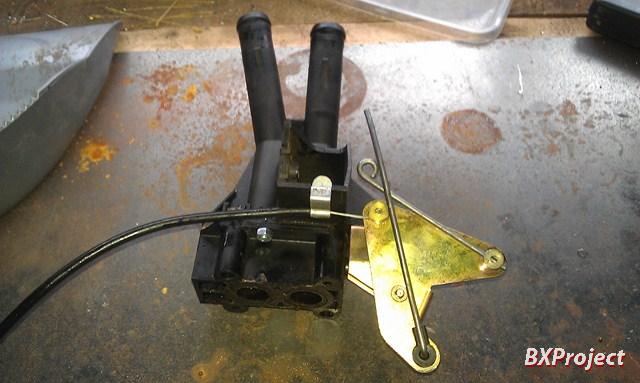
And here's one i pulled out earlier!
End of Part 2. Please Change the Cassette.