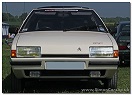
C'est Bleriot - 1987 17RD Hatchback
-
Tim Leech
- Over 2k
- Posts: 15629
- Joined: Tue Apr 15, 2008 11:12 am
- Location: Derbyshire
- My Cars: Various
- x 178
Re: C'est Bleriot - 1987 17RD Hatchback
Im happy to send you the spare motor if needs be for cost of the postage.
Lots of Motors, mostly semi broken....
-
vulgalour
- BXpert
- Posts: 553
- Joined: Mon Feb 04, 2013 11:30 am
- Location: Kent
- My Cars: 1980 Austin Princess 1.7 HL
1987 Citroen BX 17RD - x 105
Re: C'est Bleriot - 1987 17RD Hatchback
Jaba: I was trying to figure out if the flap was a hot/cold decider, or if it was just for regulating air flow. I expect all that's happened is a plastic clip or a rod has come unseated halfway since the rotation of the dial is perpendicular to the rotation of the flap, so there must be a mechanism or rod or cogs of some sort to convert the motion. I haven't had suitable time to have a look, just a ponder about it between other jobs.
Tim: noted. I'm not sure I need it at the moment, the motor in the car does seem powerful enough when the flap is manually opened. I'll shout up if it turns out my motor is worn out though, very kind of you to make the offer.
Tim: noted. I'm not sure I need it at the moment, the motor in the car does seem powerful enough when the flap is manually opened. I'll shout up if it turns out my motor is worn out though, very kind of you to make the offer.
-
Tim Leech
- Over 2k
- Posts: 15629
- Joined: Tue Apr 15, 2008 11:12 am
- Location: Derbyshire
- My Cars: Various
- x 178
-
vulgalour
- BXpert
- Posts: 553
- Joined: Mon Feb 04, 2013 11:30 am
- Location: Kent
- My Cars: 1980 Austin Princess 1.7 HL
1987 Citroen BX 17RD - x 105
Re: C'est Bleriot - 1987 17RD Hatchback
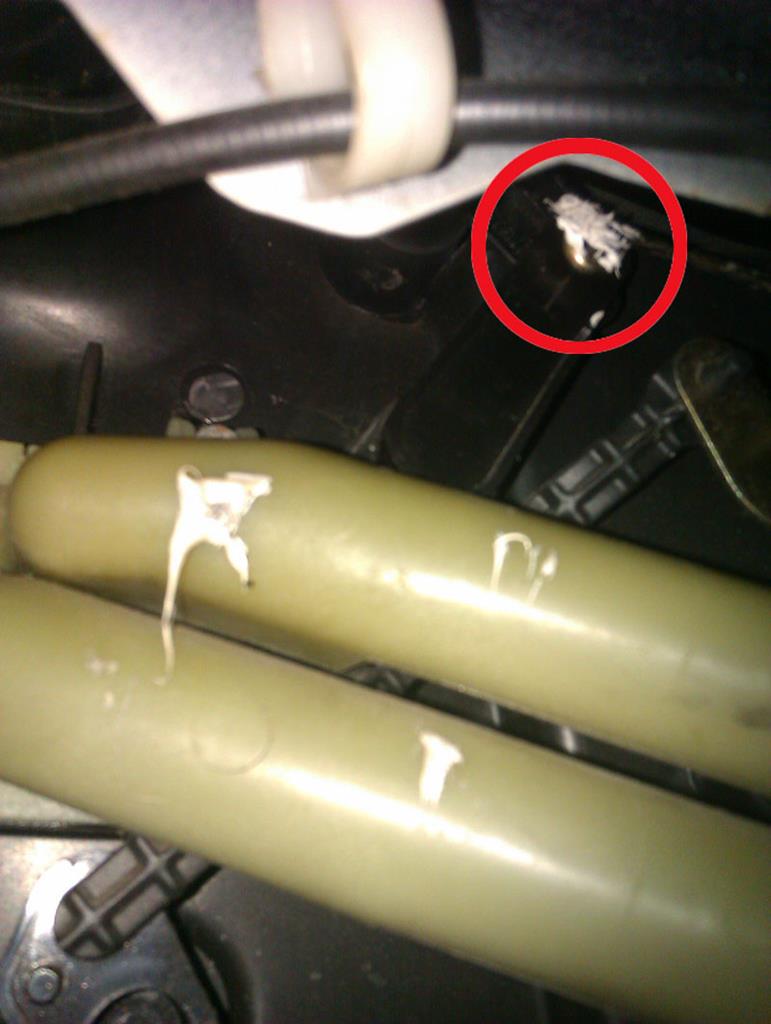
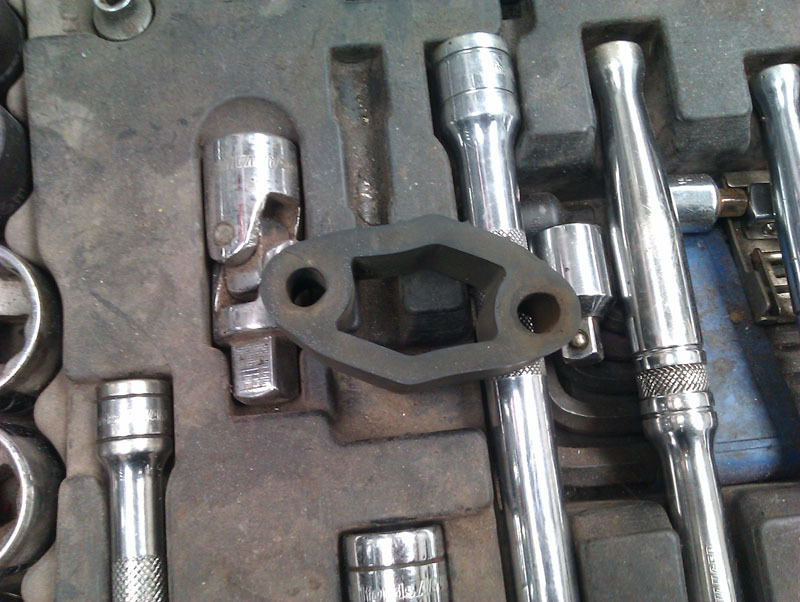
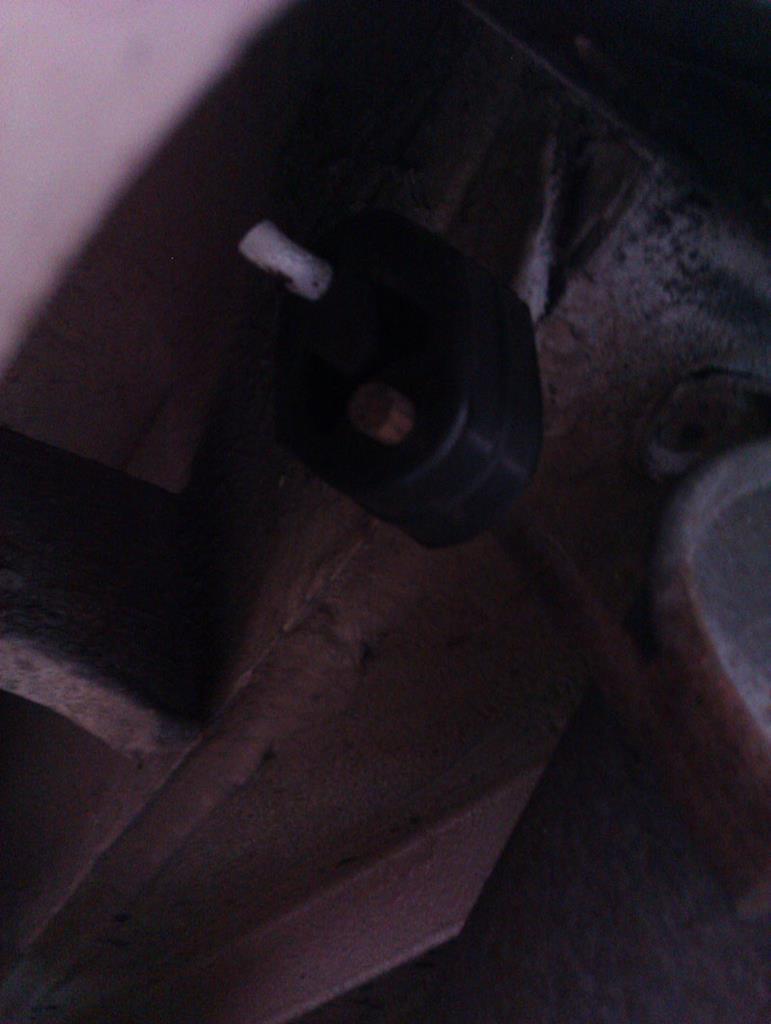
Great success! I located and fixed the issue with the blower fan flap operation, thanks to the helpful hint from Dean about having to fight for space with the pedals in the footwell. If you stick your head right in the footwell and look down the side of the centre console where Citroen didn't bother to put a trim panel, you can see a bunch of Stuff, part of which is a small black plastic peg and a short metal rod with an eye on one end. Now, it looks like someone has had this issue before and tried to resolve it with a blob of sealant but, due to the nature of the operation of this part, that's only worked for so long before popping off so I'll be using a push-fit spring clip fixing, like you use on emblem pegs, to hold this all together when I'm in the same place as the clips. I've circled the two bits that need to be connected, this was a faff because I couldn't actually see what I was taking a photo of because you get in your own way and to replace this you need to do it blind, which is just super.
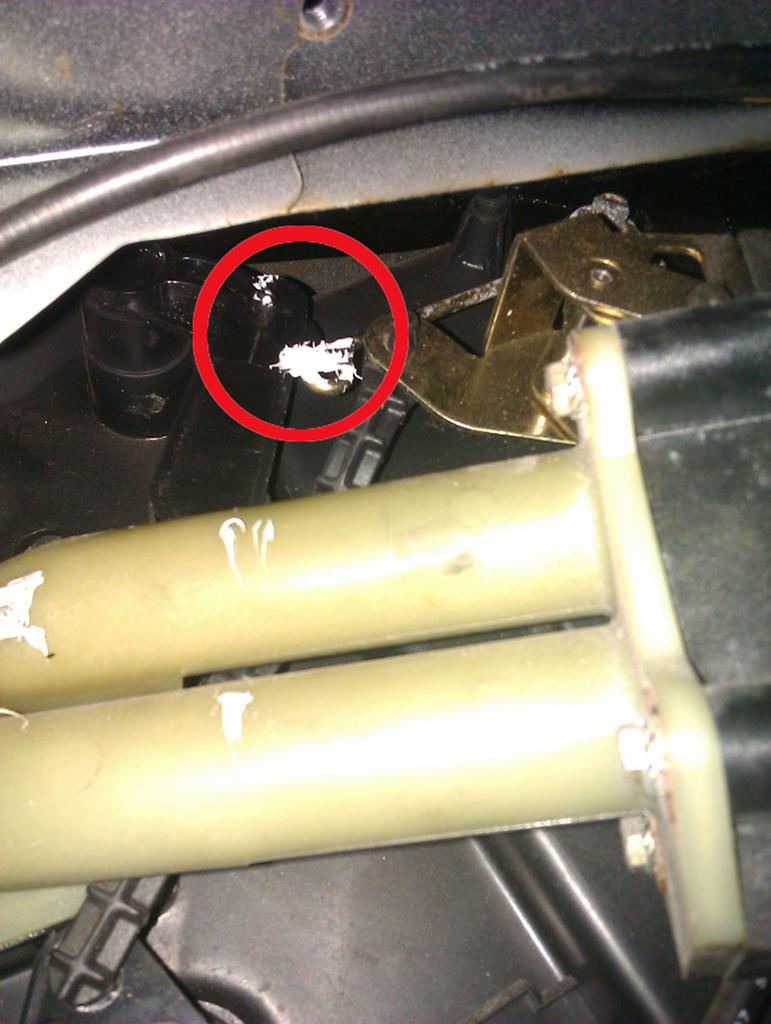
Before I got started, I manually operated the rod to see if it did what was expected and, when I found it did, after a bit of blind fumbling about, I got the peg in the hole.
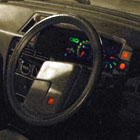
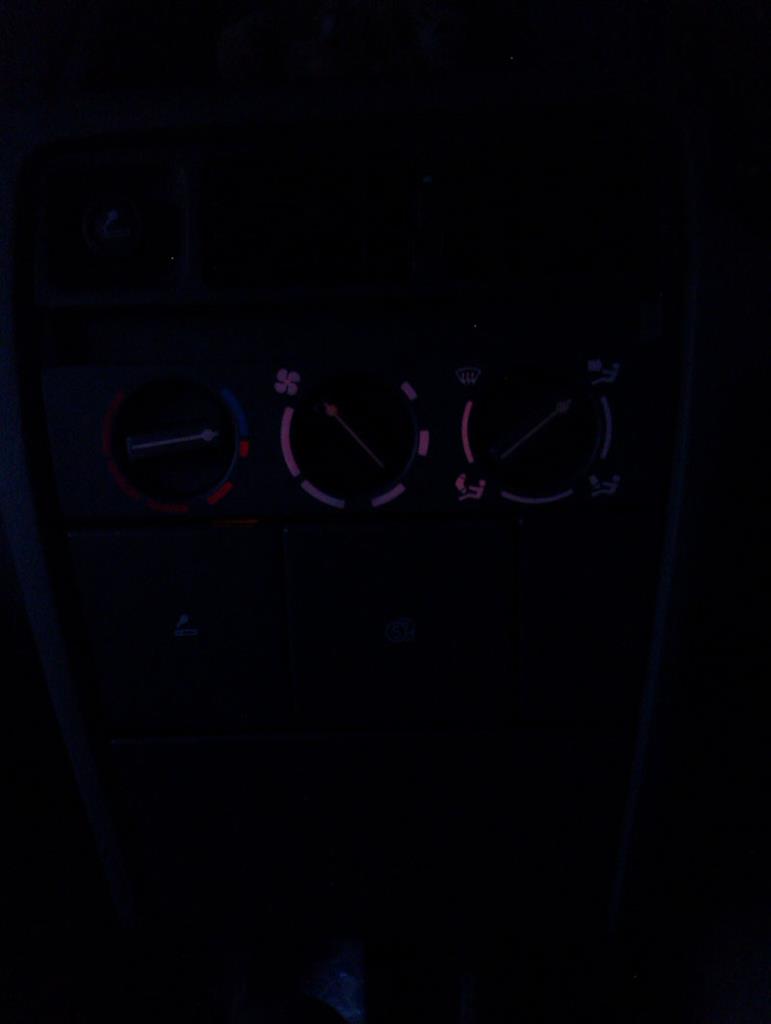
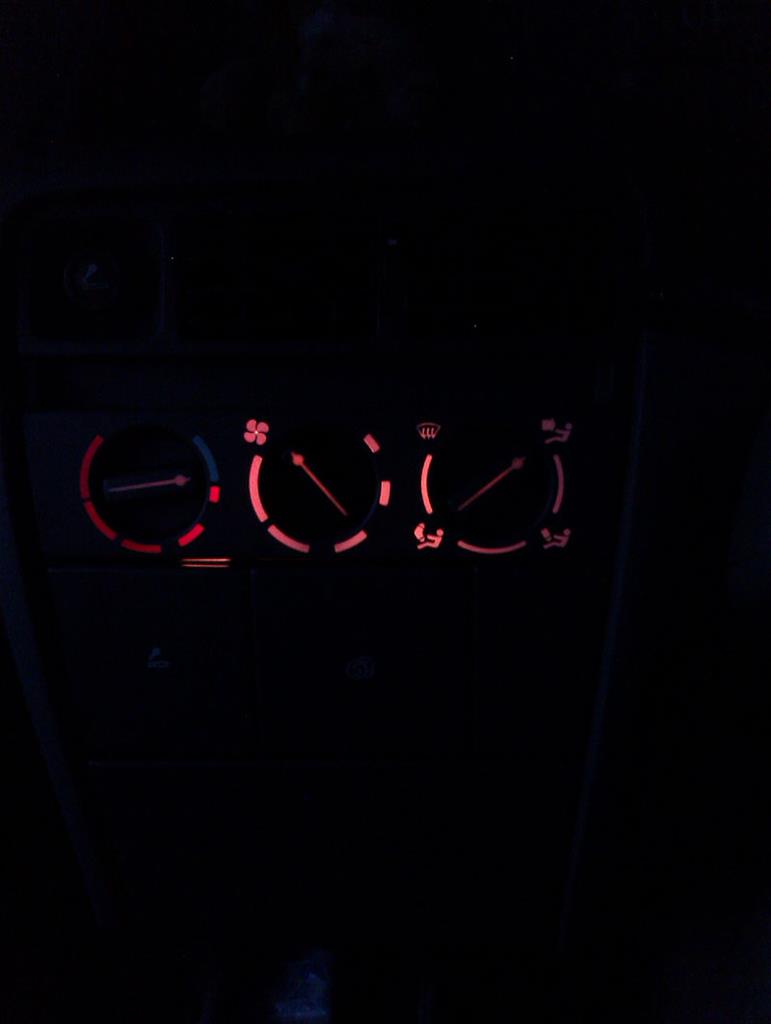
Happily, full air flow now reinstated and the blower fan can get air all the way to my face properly now. A relief that it was such a straightforward fix really and nice that I shan't need to dismantle bits of car. By the time I'd done this it was getting dark so I got to see what the centre console actually looked like for the first time since redoing all that. Looks like the cigarette lighter bulb has either blown, or the connector for it has come adrift, I'll pop the oddment tray out of the top of the dashboard and have a broggle when I've some light to work with, I bet the plug has come adrift a bit when I was putting everything back together.
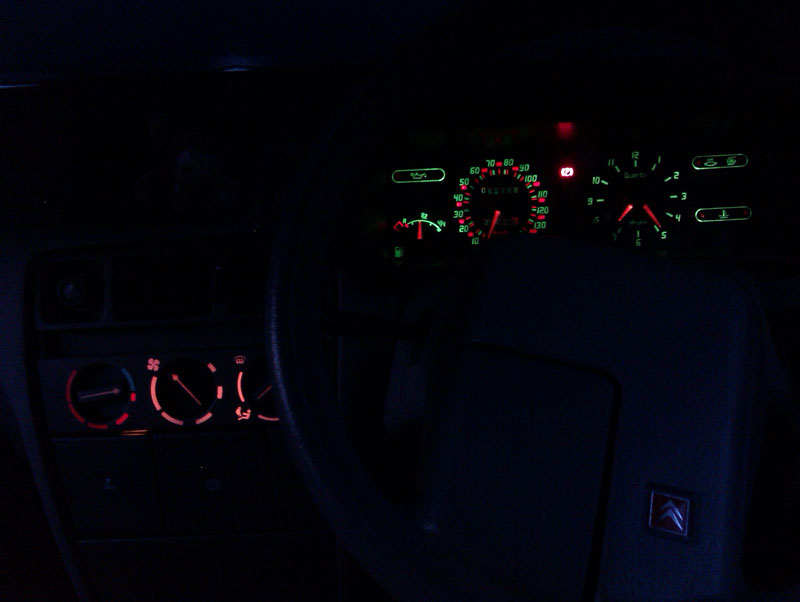
Rheostat affects the centre console as well as the instrument binnacle, which I didn't know, since I've never been in a BX where all the interior lights actually work.
A small victory.
Before I got started, I manually operated the rod to see if it did what was expected and, when I found it did, after a bit of blind fumbling about, I got the peg in the hole.
Happily, full air flow now reinstated and the blower fan can get air all the way to my face properly now. A relief that it was such a straightforward fix really and nice that I shan't need to dismantle bits of car. By the time I'd done this it was getting dark so I got to see what the centre console actually looked like for the first time since redoing all that. Looks like the cigarette lighter bulb has either blown, or the connector for it has come adrift, I'll pop the oddment tray out of the top of the dashboard and have a broggle when I've some light to work with, I bet the plug has come adrift a bit when I was putting everything back together.
Rheostat affects the centre console as well as the instrument binnacle, which I didn't know, since I've never been in a BX where all the interior lights actually work.
A small victory.
-
Tim Leech
- Over 2k
- Posts: 15629
- Joined: Tue Apr 15, 2008 11:12 am
- Location: Derbyshire
- My Cars: Various
- x 178
Re: C'est Bleriot - 1987 17RD Hatchback
I do like an easy fix! well done
Lots of Motors, mostly semi broken....
-
panky
- BXpert
- Posts: 670
- Joined: Mon Jan 22, 2018 4:44 pm
- Location: Widnes
- My Cars: 1985 BX 19 GT (DKK), 1971 Morris Minor Traveller, 1971 Commer Auto-Sleeper, 1969 Commer Jennings Roadranger.
'88 BX GTi (a long time ago) - x 170
Re: C'est Bleriot - 1987 17RD Hatchback
That dash reminds me about being called out to work at 2am to start up the hydrogen plant 
Enjoyed the drive there and back but the bit in between
Looks great and another job off the list
Enjoyed the drive there and back but the bit in between
Looks great and another job off the list
-
vulgalour
- BXpert
- Posts: 553
- Joined: Mon Feb 04, 2013 11:30 am
- Location: Kent
- My Cars: 1980 Austin Princess 1.7 HL
1987 Citroen BX 17RD - x 105
Re: C'est Bleriot - 1987 17RD Hatchback
It's a surprisingly nice place to be at night, a lot of 80s cars aren't. Found out that the issue with the cigarette lighter is that the bulb has blown so I'll replace that at some point if it ever bugs me enough. The flap rod hasn't fallen off and it's been quite nice to drive about with the windows shut and the blowers working.
-
vulgalour
- BXpert
- Posts: 553
- Joined: Mon Feb 04, 2013 11:30 am
- Location: Kent
- My Cars: 1980 Austin Princess 1.7 HL
1987 Citroen BX 17RD - x 105
Re: C'est Bleriot - 1987 17RD Hatchback
The BX is proving to be a very rewarding car to own, and I'm enjoying it very much. Cosmetic tittivation was on the cards today along with a very small mechanical fix. The exhaust had started to bang on start up and, looking under the car, the rear most rubber hanger was looking tired and overstretched (I know the feeling), so I acquired a replacement hanger and while I was messing about with paint, Mike quickly installed it. Probably the easiest exhaust rubber replacement job on any car ever because access is exceptionally good, which is not in keeping with Citroen's usual approach to these things.
The exhaust sits slightly better, but it's still too far inboard really so I'll have to get it on the lift at some point to see if we can correct that. The important thing is the exhaust no longer bangs on start up, so that's a job jobbed. The big one today was doing the door frames which were all the usual faded mess that BX door frames seem to be. This is a job that requires a lot of time on preparing and masking the surfaces and about five minutes of actually applying paint. I keyed all the old surfaces back and masked both the door holes to keep the black paint off the door shuts, and around all the frames. I was glad of the indoor space for this one, the weather was too changable to risk doing it outside at home as I'd planned originally.
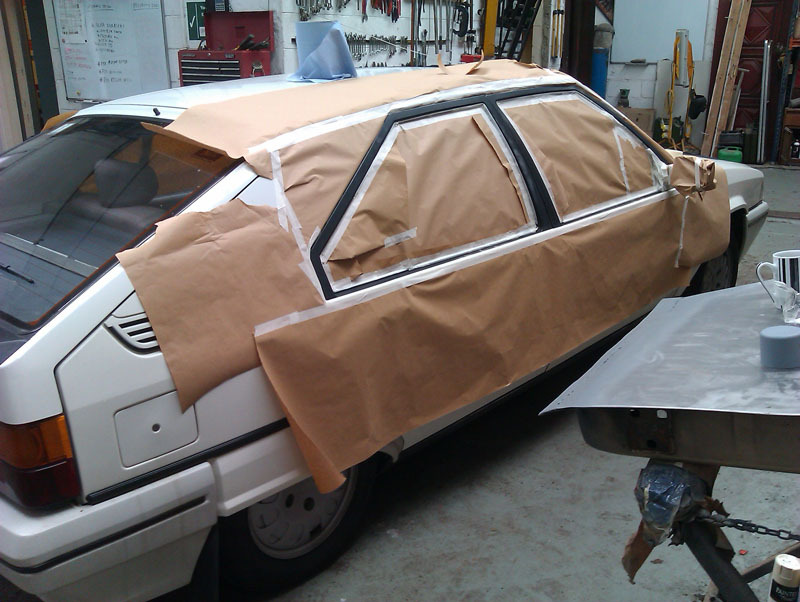
Northern skills were employed by reusing the paper that masked the roof, body sides, and windows on the other side. This also sped up the masking of the window since it meant I already had pieces the correct size. I know the proper way is new paper for both sides but, frankly, it wasn't necessary for this job and we only had so much paper available. A coat of zinc primer first to prevent any rust creeping back, and then a couple of coats of satin black over that before peeling all the paper and tape off. I was initially concerned that it might look too new because I'm so used to BXs having faded door frames.
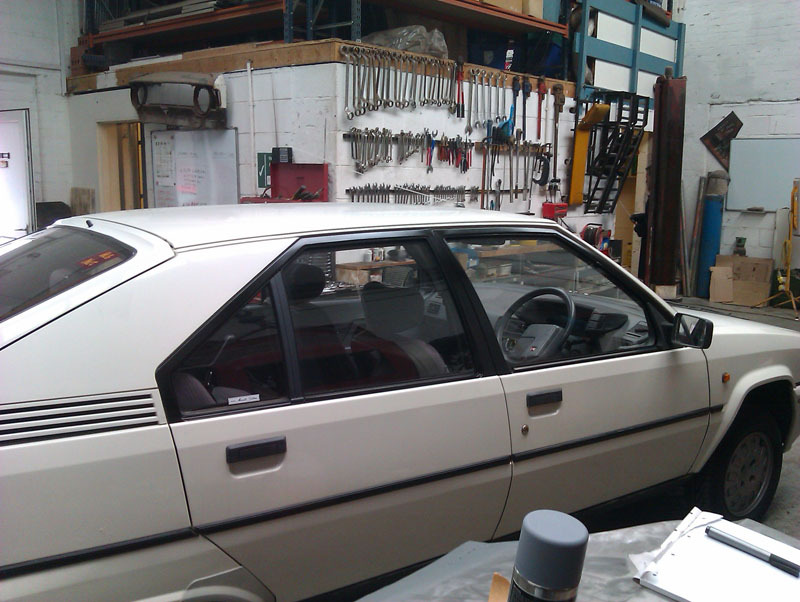
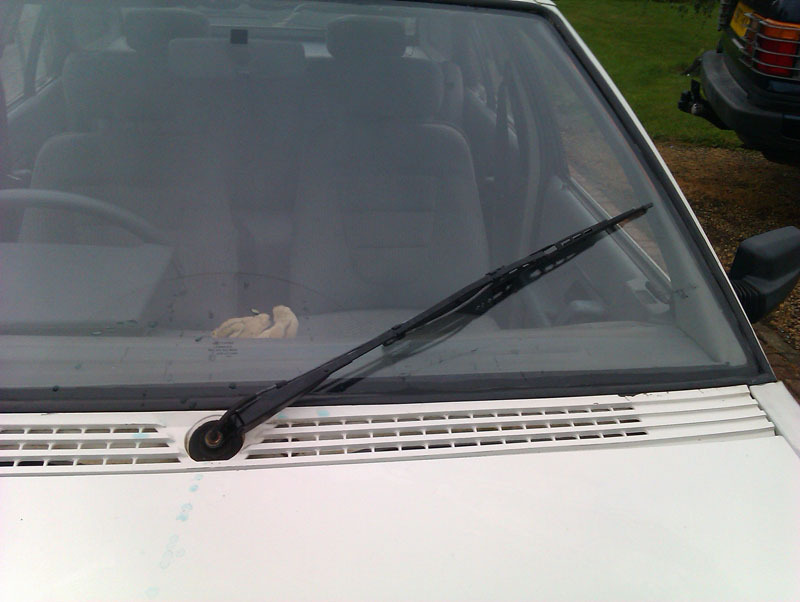
Concerns unfounded, it looks fantastic. The wind deflectors were removed before masking to make things easier and I'm seeing what the car is like without them for a bit before making up my mind about putting them back on, it looks a lot cleaner without them. We did the front wiper arm as well and as usual, applied a little bit of heat gun to it to help the paint. Trouble is, while this works exceptionally well with the Halford's satin black we normally use, this time we were trying out the Rustoleum alternative and it does not respond well to heat at all and the whole thing just blistered all over and had to be redone. That's why the repainted wiper arm is sat on my sideboard until the paint has hardened enough to handle and reassemble it. Luckily, the rain held off on the drive home. Also luckily, the wiper arm nut came off the spindle with no drama at all and the washer jet portion of the spindle is in great shape. I do need a new washer pipe, while all the clips on mine are fine, the pipe itself has certainly seen better days. Trundled the car outside to get some better shots of the repainted bits.
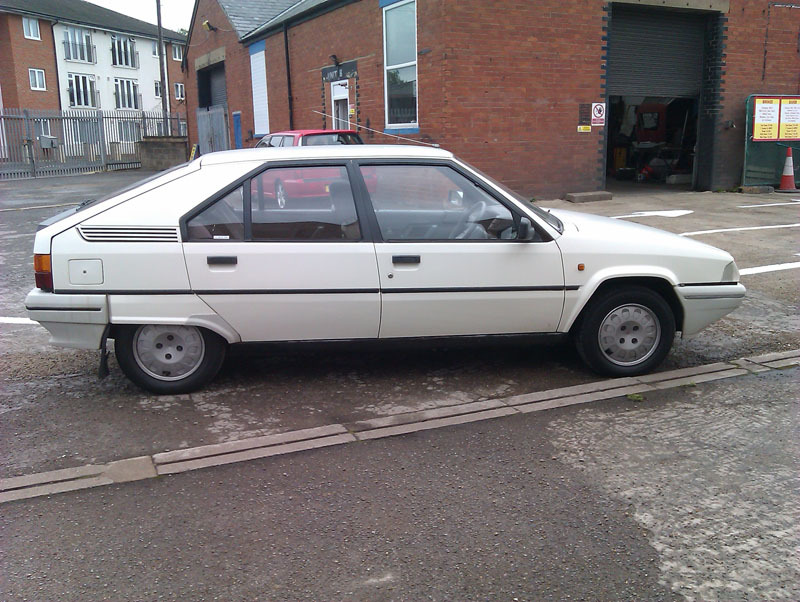
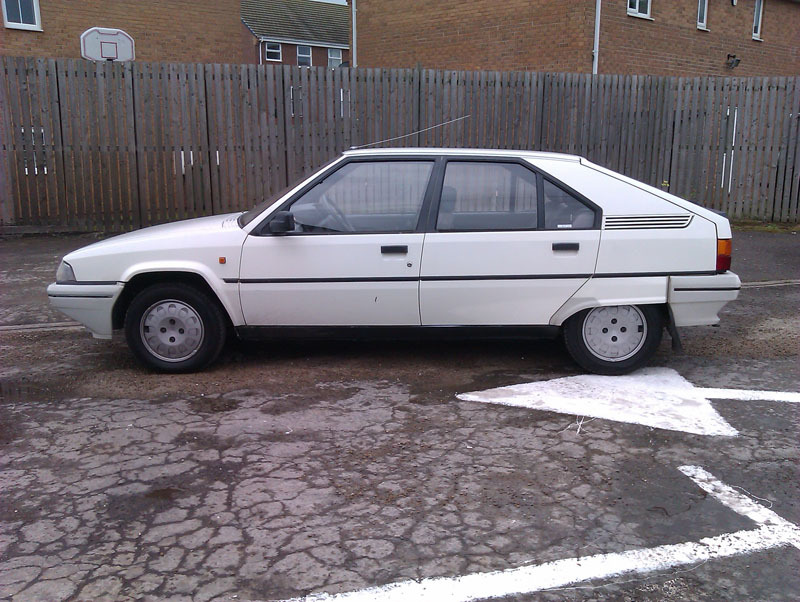
What a difference that makes. It does highlight that I need to repaint the front bumper trim since that has nearly no black paint left on it. The nice thing is that re-blacking the frames has actually made the rest of the bodywork look better, not worse, and while there are still areas I want to address, it's just nice to see the car visually slowly improving. I may be moving the rear reflector panel on too, I'm not feeling it as much as I was, I'm undecided at the moment. Might take it off and run the car without it for a bit, see how I feel.
The exhaust sits slightly better, but it's still too far inboard really so I'll have to get it on the lift at some point to see if we can correct that. The important thing is the exhaust no longer bangs on start up, so that's a job jobbed. The big one today was doing the door frames which were all the usual faded mess that BX door frames seem to be. This is a job that requires a lot of time on preparing and masking the surfaces and about five minutes of actually applying paint. I keyed all the old surfaces back and masked both the door holes to keep the black paint off the door shuts, and around all the frames. I was glad of the indoor space for this one, the weather was too changable to risk doing it outside at home as I'd planned originally.
Northern skills were employed by reusing the paper that masked the roof, body sides, and windows on the other side. This also sped up the masking of the window since it meant I already had pieces the correct size. I know the proper way is new paper for both sides but, frankly, it wasn't necessary for this job and we only had so much paper available. A coat of zinc primer first to prevent any rust creeping back, and then a couple of coats of satin black over that before peeling all the paper and tape off. I was initially concerned that it might look too new because I'm so used to BXs having faded door frames.
Concerns unfounded, it looks fantastic. The wind deflectors were removed before masking to make things easier and I'm seeing what the car is like without them for a bit before making up my mind about putting them back on, it looks a lot cleaner without them. We did the front wiper arm as well and as usual, applied a little bit of heat gun to it to help the paint. Trouble is, while this works exceptionally well with the Halford's satin black we normally use, this time we were trying out the Rustoleum alternative and it does not respond well to heat at all and the whole thing just blistered all over and had to be redone. That's why the repainted wiper arm is sat on my sideboard until the paint has hardened enough to handle and reassemble it. Luckily, the rain held off on the drive home. Also luckily, the wiper arm nut came off the spindle with no drama at all and the washer jet portion of the spindle is in great shape. I do need a new washer pipe, while all the clips on mine are fine, the pipe itself has certainly seen better days. Trundled the car outside to get some better shots of the repainted bits.
What a difference that makes. It does highlight that I need to repaint the front bumper trim since that has nearly no black paint left on it. The nice thing is that re-blacking the frames has actually made the rest of the bodywork look better, not worse, and while there are still areas I want to address, it's just nice to see the car visually slowly improving. I may be moving the rear reflector panel on too, I'm not feeling it as much as I was, I'm undecided at the moment. Might take it off and run the car without it for a bit, see how I feel.
-
vulgalour
- BXpert
- Posts: 553
- Joined: Mon Feb 04, 2013 11:30 am
- Location: Kent
- My Cars: 1980 Austin Princess 1.7 HL
1987 Citroen BX 17RD - x 105
Re: C'est Bleriot - 1987 17RD Hatchback
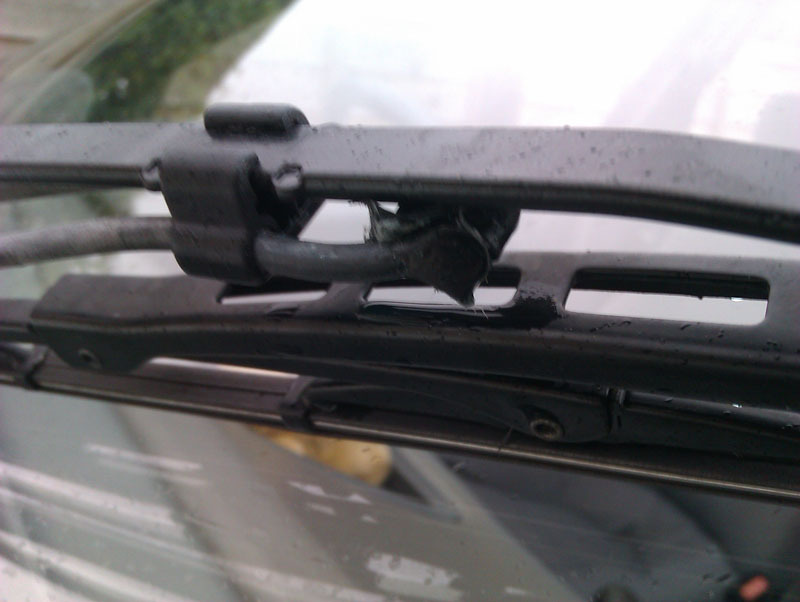
Wiper arm was dry enough to handle properly so that went back on and there are few things more satisfying than putting freshly painted wiper arms on a car. You can see here the bit of tape that's repairing something on the washer pipe too, I haven't removed the tape since it's doing the job it needs to do, but I will need to replace that pipe anyway. Ideas one what to get and where to get it from for this job are welcome, I was considering using just a length of rubber or silicone hose and stabbing some holes in it.
-
jamescarruthers

- BXpert
- Posts: 603
- Joined: Wed Nov 07, 2012 2:11 pm
- Location: Cambridge
- x 37
Re: C'est Bleriot - 1987 17RD Hatchback
It used to be possible to get the washer spray pipe but I can't remember where now? Maybe Chevronics or Citroen themselves maybe?
Car looks good by the way.
Car looks good by the way.
1987 Volvo 480 ES
2006 Citroen C6 Exclusive 3.0 petrol/LPG
Previous BX's:
A966 XRL -- BX 16 TRS
H767 BEG -- BX 14 TGE
B316 AMP -- BX 14 E
2006 Citroen C6 Exclusive 3.0 petrol/LPG
Previous BX's:
A966 XRL -- BX 16 TRS
H767 BEG -- BX 14 TGE
B316 AMP -- BX 14 E
-
Tim Leech
- Over 2k
- Posts: 15629
- Joined: Tue Apr 15, 2008 11:12 am
- Location: Derbyshire
- My Cars: Various
- x 178
Re: C'est Bleriot - 1987 17RD Hatchback
Little things make all the difference, my cars look good because I pay attention to the details, number plates, bumper inserts, wheels etc, you can have a lovely body let down by the extra “jewelleries”
Lots of Motors, mostly semi broken....
-
vulgalour
- BXpert
- Posts: 553
- Joined: Mon Feb 04, 2013 11:30 am
- Location: Kent
- My Cars: 1980 Austin Princess 1.7 HL
1987 Citroen BX 17RD - x 105
Re: C'est Bleriot - 1987 17RD Hatchback
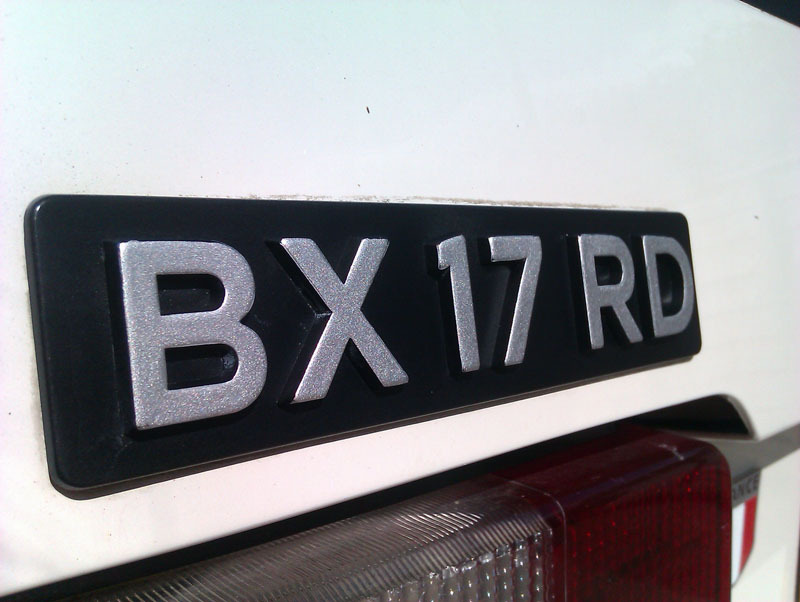
Speaking of number plates, does anyone know where I might get identical reproductions made to match the font of my rear plate? I really don't want to fit generic modern font or, worse still, modern plates with a blue bar on this car. The rear plate is still legible, but showing its age and the front is a generic cheap modern thing. I could also do with a self-coloured white plastic front bumper eventually too since it has some damage, that's going to prove more difficult to acquire I suspect.
-
jamescarruthers
- BXpert
- Posts: 603
- Joined: Wed Nov 07, 2012 2:11 pm
- Location: Cambridge
- x 37
Re: C'est Bleriot - 1987 17RD Hatchback
I agree, the new skinny font looks crap on old cars. It is tricky to find the older font but you can get number plates with the older style wider font from https://www.platesforcars.co.uk/. They call it "UK old legal". Technically these are show plates as they don't meet the new specification with the new skinny font. Once on the car, you're safe I'd say. I've certainly never had a problem at MOT time. I've bought three or four sets over the years and they are great.
If you want the original reproduced identically (e.g. Dealer logo) then I have a lead in Norfolk. I'm waiting for them to get back to me with reproducing a friend's car's plates. If it goes well, I'll post the details on here.
If you want the original reproduced identically (e.g. Dealer logo) then I have a lead in Norfolk. I'm waiting for them to get back to me with reproducing a friend's car's plates. If it goes well, I'll post the details on here.
1987 Volvo 480 ES
2006 Citroen C6 Exclusive 3.0 petrol/LPG
Previous BX's:
A966 XRL -- BX 16 TRS
H767 BEG -- BX 14 TGE
B316 AMP -- BX 14 E
2006 Citroen C6 Exclusive 3.0 petrol/LPG
Previous BX's:
A966 XRL -- BX 16 TRS
H767 BEG -- BX 14 TGE
B316 AMP -- BX 14 E
-
Tim Leech
- Over 2k
- Posts: 15629
- Joined: Tue Apr 15, 2008 11:12 am
- Location: Derbyshire
- My Cars: Various
- x 178
Re: C'est Bleriot - 1987 17RD Hatchback
I've used plates for cars, plus I've used a local sign company to scan and make copies of plates for my cars in the past with great success,
Lots of Motors, mostly semi broken....
-
vulgalour
- BXpert
- Posts: 553
- Joined: Mon Feb 04, 2013 11:30 am
- Location: Kent
- My Cars: 1980 Austin Princess 1.7 HL
1987 Citroen BX 17RD - x 105
Re: C'est Bleriot - 1987 17RD Hatchback
All of the Plates for Cars fonts are wrong for what I'm after. I specifically want the old acrylic Serck font and that's one that nobody seems to do, it wasn't really around for very long which is a shame because it looks so right on a car like the BX. I reckon it'll be a similar route to what Tim has taken, or getting the gear to make my own. Tippers do a nice period pressed aluminium which I'm tempted by for the Princess, another option that had a seemingly very short run from the late 70s into the early 80s and overlapped with the earlier raised digit type and the later smooth acrylic options.
---
Finally bought myself a set of proper screwdrivers today, rather than relying on the set I've got that has bits you stick in a ratchet handle. For years, I've just been borrowing everyone else's proper screwdrivers, and when a set like this is only £12.50 in an actual shop where I can go and buy them without waiting on a courier, it's hard to see why I didn't buy my own sooner.
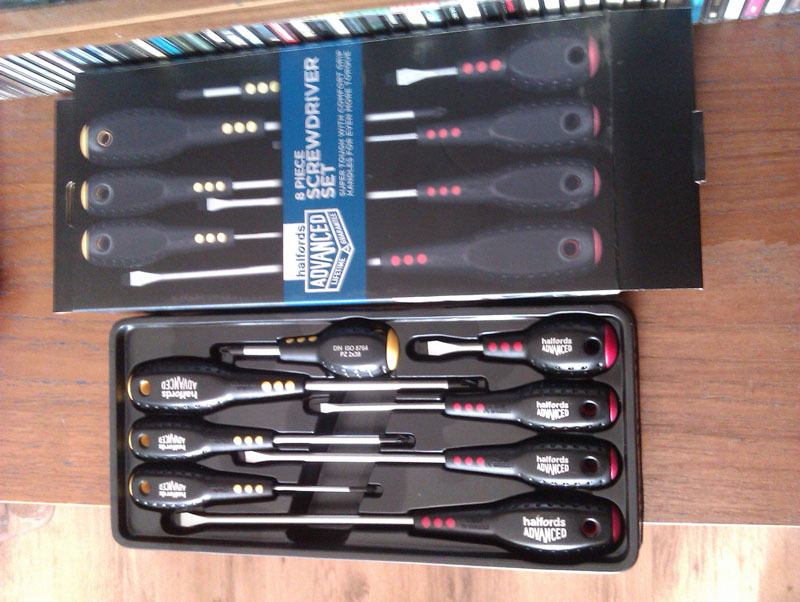
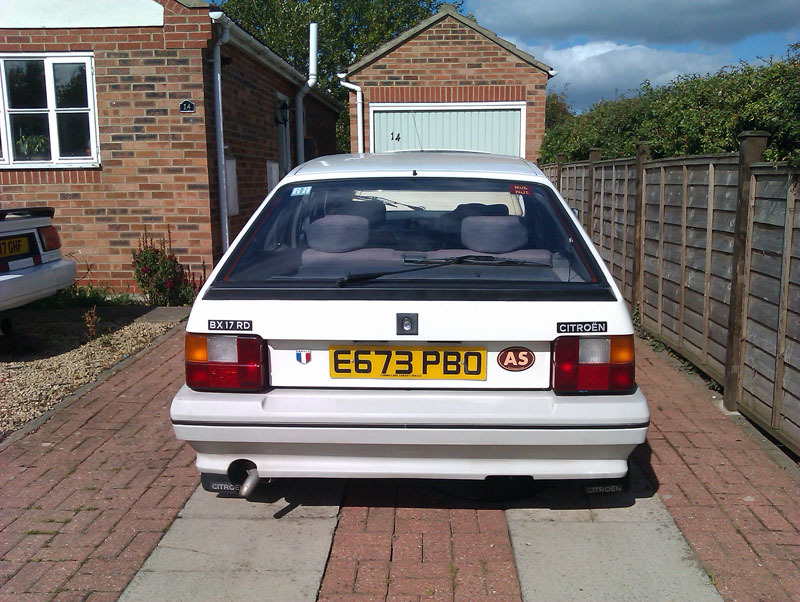
Bit of an impulse purchase really since I was buying paint and the screwdrivers were right there next to the paint. Tried them out when I got home by removing the rear reflective panel on the BX. I like the BX both with and without the reflective panel so I'll keep the panel back for now unless someone desperately wants it or I decide it's getting in the way and I don't want to refit it to the car. I'm seriously considering getting the tools and materials to exactly replicate the original number plates on the car, as per the one on the rear, because I'm loathe to put a modern generic plate on or an anachronistic older style plate. You can also see the chrome pen I used on the badges has worn off the Citroen badge almost completely while the BX badge remains pretty much unscathed, not really sure why that would be, so I'll be trying again with these another day and using some sealant on top to prevent the paint rubbing off.
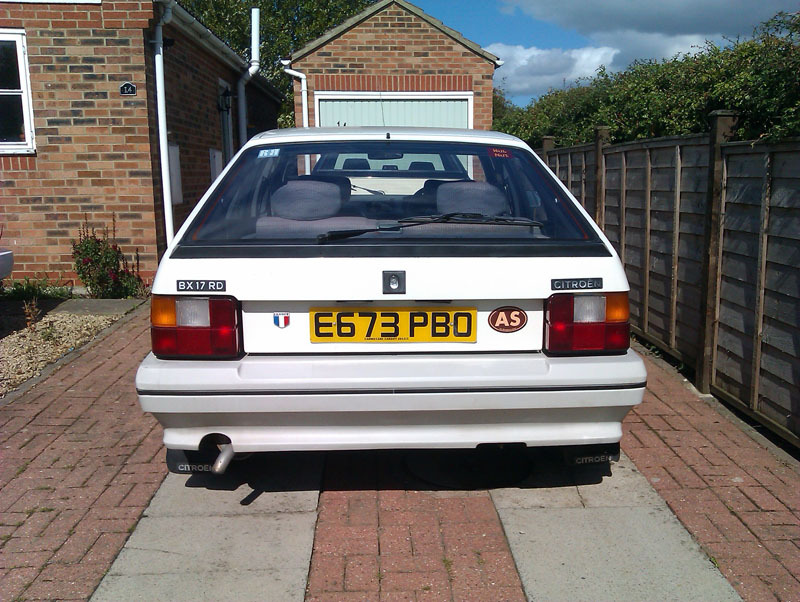
I had a few minutes spare so decided to try out the new plan for the rear badges since all the materials were to hand. Total time from grabbing materials to removing masking tape was 20 minutes, so this is a quick one.
Tools for this job:
Isopropyl alcohol and cotton buds or similar for cleaning the badges before paint
Some paper and good masking tape
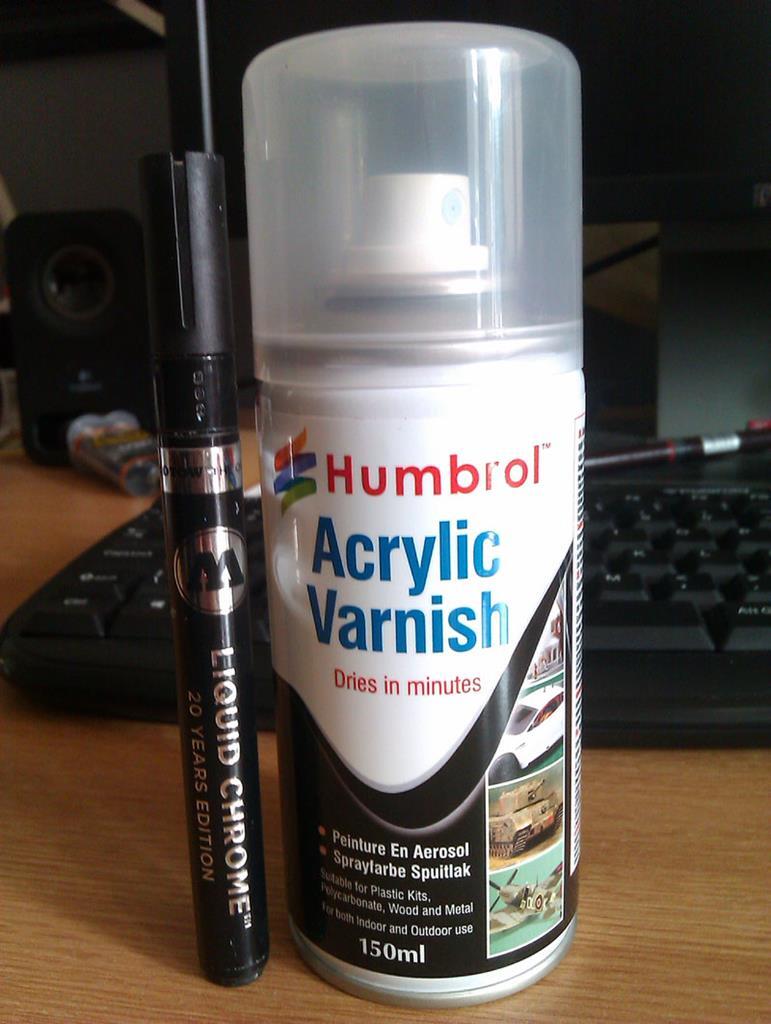
Molotow liquid chrome pen
Humbrol acrylic varnish in Satin (not matt or gloss, this is important)
A steady hand
It's really straightforward. Before you start, clean off the surface of the badge with the alcohol based product to remove any dirt and polish residue and prep your surface. Then simply colour the surface of the letters on the badge with the Molotow pen. If you go slowly with the pen you will reduce the streaking you sometimes get and stubborn streaks can be carefully removed by dotting the pen on them and letting the paint/ink in the pen flow out and smooth. With all the letters coloured, let the chrome flash off, no need to wait for it to fully dry, which will take a while with these pens, and it might even be favourable not to given what happens next. If you get the chrome anywhere you don't want to, a dab with purple methylated spirit will remove it in most instances.
Once you've done the chrome, mask off around each badge (I find it easier to do now, you might find it easier to do this first before the chroming). I stuck some tape to the paper first and then slid the edge of the tape under the edge of the badge, this gives a nice clean finish and while it's a bit fiddly to slide the tape under sometimes, it is worth the effort. After that, give everything 2-4 light coats of the satin varnish. The chrome paint didn't react with the satin in my case, and hasn't any other time I've done this, but I offer no guarantees since we're mixing brands here. The chrome paint should start to flow a little under the varnish and will sparkle a bit as it resettles, this is not a problem for the finish we're going for on this.
When the varnish is touch dry, pull off the masking et voila! Badges redone. It's not exactly the factory finish, I suspect they're tampo or pad printed from new rather than painted like this. The satin dulls down the chrome enough to make it look more like the bright silver of factory and looks less spray-painted than if you use something like wheel silver. The varnish also helps seal and protect the black plastic of the badge, preventing fading, and providing everything has gone as it should you shouldn't have issues with the varnish peeling off later since it is designed for use on plastics.
Another small detail that really helps the car look fresher and less tired.
---
Finally bought myself a set of proper screwdrivers today, rather than relying on the set I've got that has bits you stick in a ratchet handle. For years, I've just been borrowing everyone else's proper screwdrivers, and when a set like this is only £12.50 in an actual shop where I can go and buy them without waiting on a courier, it's hard to see why I didn't buy my own sooner.
Bit of an impulse purchase really since I was buying paint and the screwdrivers were right there next to the paint. Tried them out when I got home by removing the rear reflective panel on the BX. I like the BX both with and without the reflective panel so I'll keep the panel back for now unless someone desperately wants it or I decide it's getting in the way and I don't want to refit it to the car. I'm seriously considering getting the tools and materials to exactly replicate the original number plates on the car, as per the one on the rear, because I'm loathe to put a modern generic plate on or an anachronistic older style plate. You can also see the chrome pen I used on the badges has worn off the Citroen badge almost completely while the BX badge remains pretty much unscathed, not really sure why that would be, so I'll be trying again with these another day and using some sealant on top to prevent the paint rubbing off.
I had a few minutes spare so decided to try out the new plan for the rear badges since all the materials were to hand. Total time from grabbing materials to removing masking tape was 20 minutes, so this is a quick one.
Tools for this job:
Isopropyl alcohol and cotton buds or similar for cleaning the badges before paint
Some paper and good masking tape
Molotow liquid chrome pen
Humbrol acrylic varnish in Satin (not matt or gloss, this is important)
A steady hand
It's really straightforward. Before you start, clean off the surface of the badge with the alcohol based product to remove any dirt and polish residue and prep your surface. Then simply colour the surface of the letters on the badge with the Molotow pen. If you go slowly with the pen you will reduce the streaking you sometimes get and stubborn streaks can be carefully removed by dotting the pen on them and letting the paint/ink in the pen flow out and smooth. With all the letters coloured, let the chrome flash off, no need to wait for it to fully dry, which will take a while with these pens, and it might even be favourable not to given what happens next. If you get the chrome anywhere you don't want to, a dab with purple methylated spirit will remove it in most instances.
Once you've done the chrome, mask off around each badge (I find it easier to do now, you might find it easier to do this first before the chroming). I stuck some tape to the paper first and then slid the edge of the tape under the edge of the badge, this gives a nice clean finish and while it's a bit fiddly to slide the tape under sometimes, it is worth the effort. After that, give everything 2-4 light coats of the satin varnish. The chrome paint didn't react with the satin in my case, and hasn't any other time I've done this, but I offer no guarantees since we're mixing brands here. The chrome paint should start to flow a little under the varnish and will sparkle a bit as it resettles, this is not a problem for the finish we're going for on this.
When the varnish is touch dry, pull off the masking et voila! Badges redone. It's not exactly the factory finish, I suspect they're tampo or pad printed from new rather than painted like this. The satin dulls down the chrome enough to make it look more like the bright silver of factory and looks less spray-painted than if you use something like wheel silver. The varnish also helps seal and protect the black plastic of the badge, preventing fading, and providing everything has gone as it should you shouldn't have issues with the varnish peeling off later since it is designed for use on plastics.
Another small detail that really helps the car look fresher and less tired.