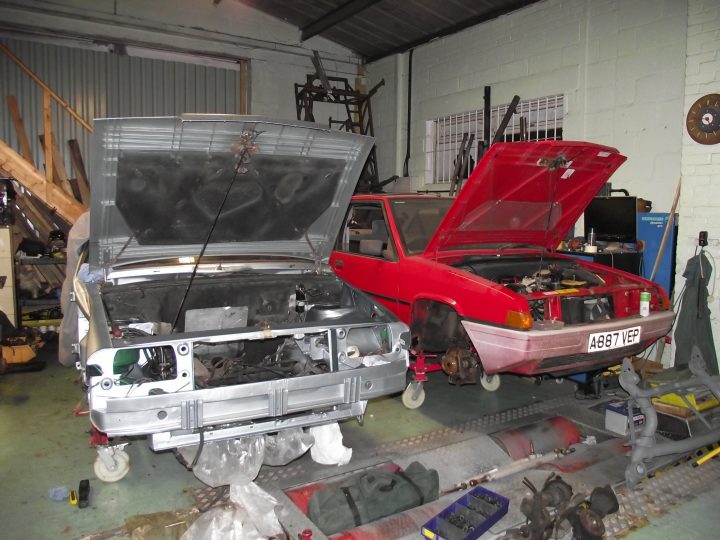
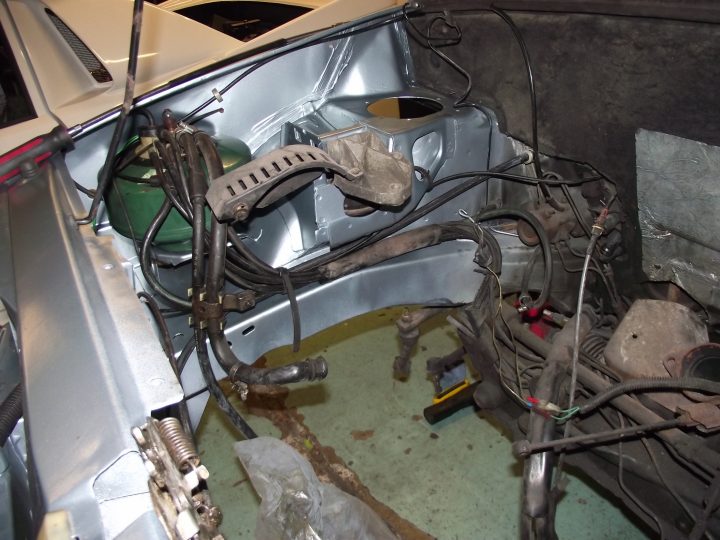
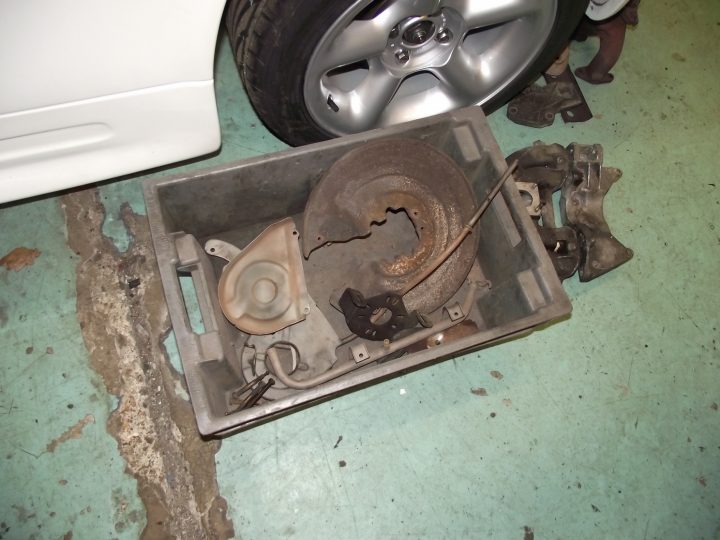
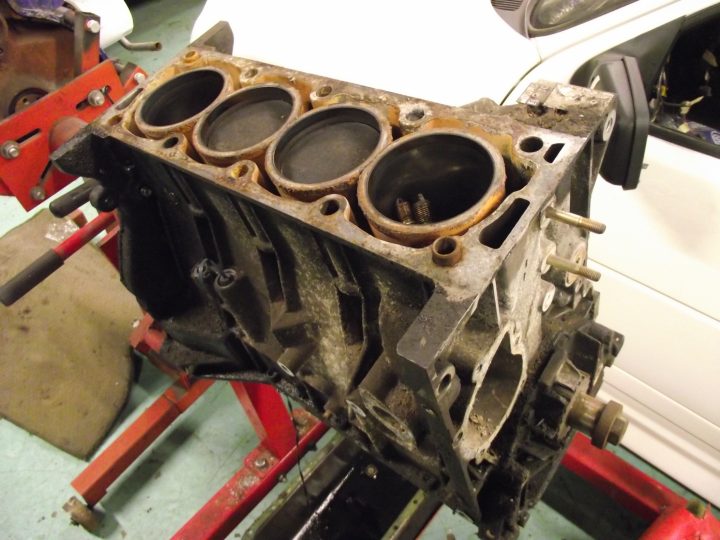
Operation wake up GT! (no one has 56k anymore, right?!)

Tell us about life with your BX, or indeed life in general!
Kitch
Over 2k
Posts: 6425
Joined: Sun Jul 03, 2005 9:36 pm
Location: Fareham, Hants
My Cars: Too many to list
x 90

Re: Operation wake up GT! (no one has 56k anymore, right?!)

Post by Kitch »

Tinkley wrote:Excellent job, Kitch. I will admit having new wishbone bushes a couple of years ago certainly was worth it. Not too hard to change IF the bolt/pin comes out..... :wink: Just need a big F***off vice to press in the new ones. Impressive welding, have you thought of MIG brazing? it might flow better and is acceptable MOT wise and for most structural areas of the car. Just gives you better clean up and flow. just wish you could silver solder....it works on my bandsaw blades.... :wink: then I might be tempted to start some proper sheet metal work. God knows this wreck (current car) could use it, I dare not clean it properly underneath because I know what I will find - at least the structural bits are OK. Will have to be done some time though, lets hope next summer is decent weather wise and I'll give it a go.

At least the work you've done will see it in good stead for a LONG time. Did it come from 'oop north or live by the sea? The Auto I have is almost rust free on a J plate, just a trace or two at the rear ie exhaust hanger.
Cheers, the old wishbones were actually quite quiet, but the rubber's clearly had it!

Never considered MIG brazing, no. With MIG welding being so simple to do, I'm happy enough to carry on doing what I'm doing. The idea of doing anything else other than welding, to me at least, seems a bit of a bodge as welding is not only proven to work, it's the way the thing was put together in the first place. I confess to know nothing about brazing though!

I bought the car from Brighton, but it came out of a garage in a block and I don't think the guy I bought it from had owned it long. We've got lots of hand-written receipts for various things on it over the years though, so there's bound to be an address on there somewhere. This is certainly one of the rustiest BXs I've ever seen.
One third of a three-spoke BX columnist team for the Citroenian magazine.

CCC BX registrar: The national BX register - click to submit a car!
Tinkley
1K Away
Posts: 1502
Joined: Sat Jun 06, 2009 11:27 am
Location: N Hants England
x 8

Re: Operation wake up GT! (no one has 56k anymore, right?!)

Post by Tinkley »

Re the rubber bushes. They just seem to suddenly perish to pieces, they look intact on the Auto, I checked when I did the drop links. But on mine they just frayed away like your 'before' picture. Must be some element of mileage and potholes involved. They were 'silent' but you could push the pin around slightly showing the wear, it was the drop links that were noisy... I did find some new 16mm pins were available from Citroen dealers in France + French ebay, I got one for a fiver! Bushes were about a tenner a side. Not too hard to cut the old ones out with a hacksaw to relieve the annular pressure, then push out.

Have to say my current wreck having lived 17/18 years in the north definitely is more rusty than any of the southern cars I've owned. Hence my questioning the origin. It is not particularly mileage or useage related. In fact the more regularly used probably the better.

The advantage of brazing is it flows along a joint and fills it completely. So where the spot welded steel panels meet and have 'jointing' compond stuffed in afterwards, you don't really need it with brazing as it will have filled the entire length. Nowhere for water to get into and behind. It's how they used to put push bike frames together - tube into housing. Similar to plumbing solder too, just a lot stronger.... As you've got the MIG welding stuff, better to stick with it. Just have to grind off more!

Looks very very good though. Had a short drive this am with a pair of new Michelins on the front, having done n/s wheel bearing, reminded me why I like the flaming things. Just seemed to float in comfort......now to spend Christmas dealing with that stuck R clip in the rear suspension and the arm bearings....MOT runs out today...... :wink: might have to put that Auto back on the road.....
Kitch
Over 2k
Posts: 6425
Joined: Sun Jul 03, 2005 9:36 pm
Location: Fareham, Hants
My Cars: Too many to list
x 90

Re: Operation wake up GT! (no one has 56k anymore, right?!)

Post by Kitch »

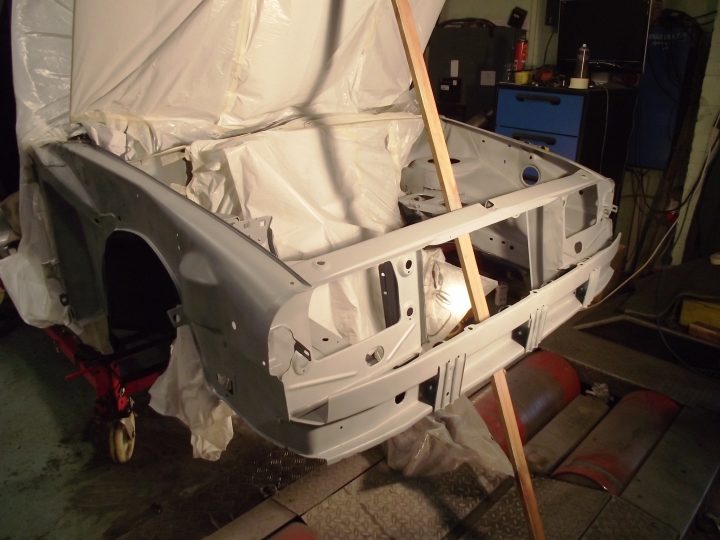
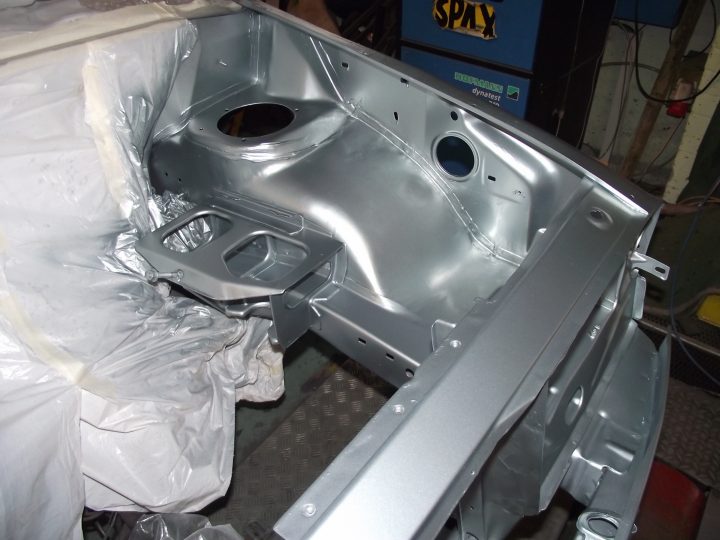
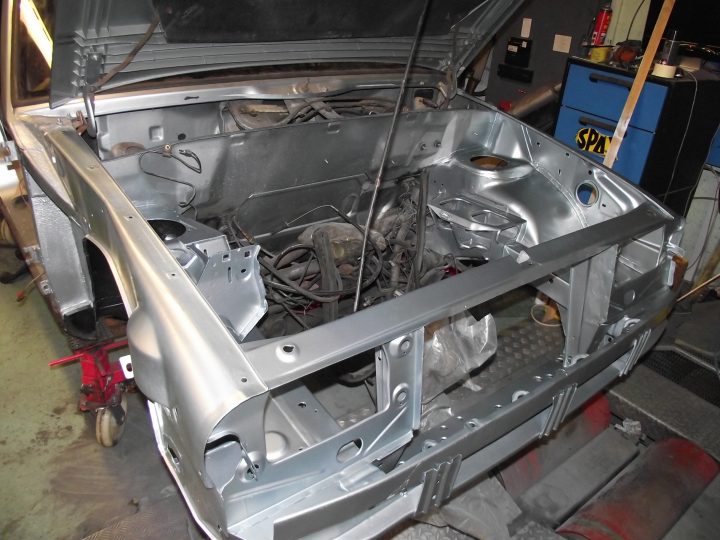
My original plan was to have front end all sorted, painted, assembled and powered by Xmas, leaving me free to continue with the interior. Well, that's obviously not going to happen. However, I did manage to get the front painted today, meaning I'm at a point where I can start putting the front back together. That's a nice feeling!

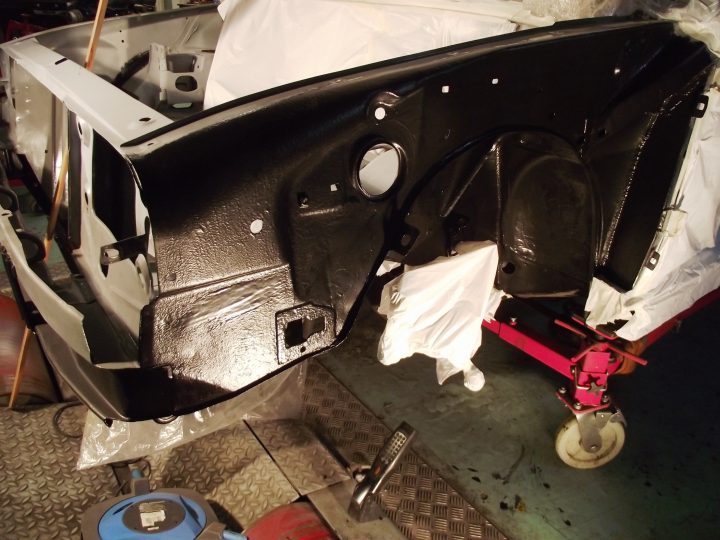
So the nearside wing was completed. The original rustproofing wasn't as good as the other side, so I went with the Rustbuster all over. The whole lot's getting primed and painted both sides, and it's totally out of sight so I'm happy to do this. Did manage to practice the 'orange peel' effect usually created by factory spray underseal thought, which is good practice for later. Managed it using more mastic, less thinners and giving it 20mins to start to cure, before going at it with a stipple effect technique:

Image

Then it was on with primer:

Image
Before going at it with the top coat:

Image
Image

All the masking sheets (or really shit, cheap car seat covers I had no use for - you decide!) removed. Time to refit the first part. Can anyone guess what it was?

Image

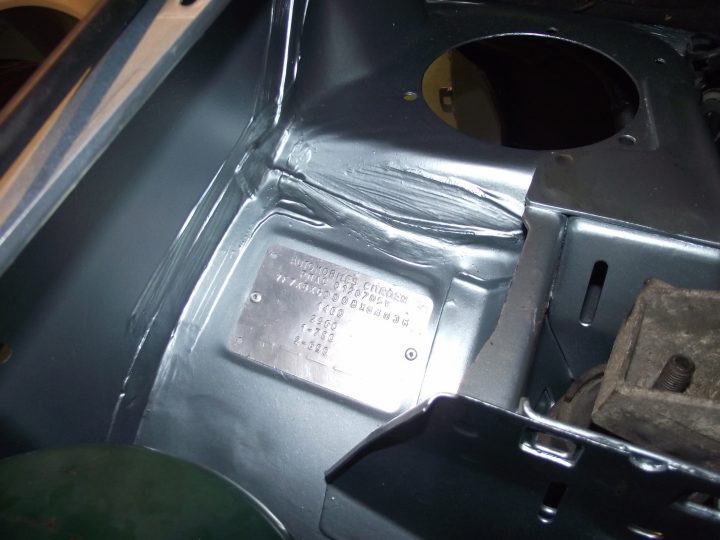
Next up, VIN plate. When I can find it....
One third of a three-spoke BX columnist team for the Citroenian magazine.

CCC BX registrar: The national BX register - click to submit a car!
User avatar
Tim Leech
Over 2k
Posts: 15617
Joined: Tue Apr 15, 2008 11:12 am
Location: Derbyshire
My Cars: Various
x 160

Re: Operation wake up GT! (no one has 56k anymore, right?!)

Post by Tim Leech »

I can't wait to see it when it's all done. Please... No modern number plates. There's a ds going round with halfords gb ones....Awful
Lots of Motors, mostly semi broken....
Kitch
Over 2k
Posts: 6425
Joined: Sun Jul 03, 2005 9:36 pm
Location: Fareham, Hants
My Cars: Too many to list
x 90

Re: Operation wake up GT! (no one has 56k anymore, right?!)

Post by Kitch »

No it'll have some pre-2001 font versions made up. Old cars look wrong on modern font plates IMO.
One third of a three-spoke BX columnist team for the Citroenian magazine.

CCC BX registrar: The national BX register - click to submit a car!
Kitch
Over 2k
Posts: 6425
Joined: Sun Jul 03, 2005 9:36 pm
Location: Fareham, Hants
My Cars: Too many to list
x 90

Re: Operation wake up GT! (no one has 56k anymore, right?!)

Post by Kitch »

Picked the GT back up in the last few days. Next job after getting the engine bay all sorted was to begin refitting everything. Not amazing progress sadly, but then time is in pretty short supply. Plus trying to remember where everything goes, cleaning it and looking for the relevant fixings is massively time-consuming!

One of the first bits to go back on, after a quick clean and brush up:

Image

Luckily, I found a way to give me a guide as to where most of the stuff would have been installed from the factory:

Image

Really handy having the other BX there as I've already found a number of components which have been laid out incorrectly, presumably by garages/owners in the past who were trying to save time. I can get my anal attention to detail kicks from this job!:

Image

Spent time collating all the bits I need to clean up in the parts washer, or blast in the grit blaster. There will be some bits I'll send away for zinc-plating, but I'll try and do as much as I can myself to keep costs low. It's not going to be a show car or anything like that!

Image

The bit I'm not looking forward to:

Image

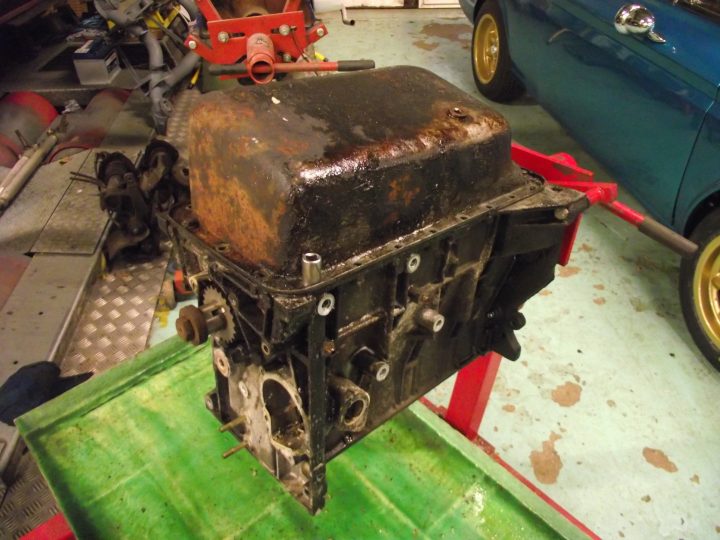
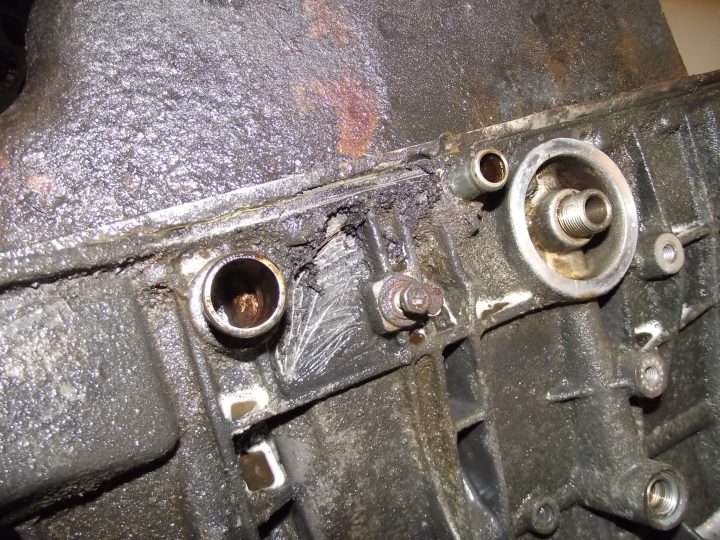
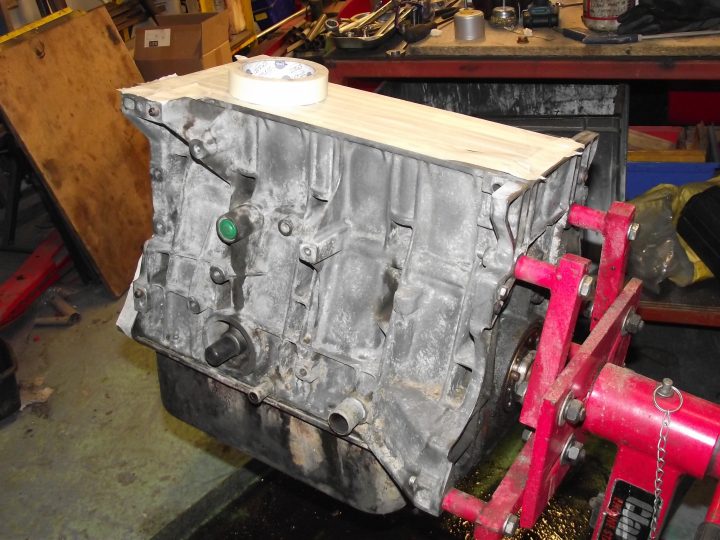
It doesn't need to look mint, but I don't want it to let the engine bay down either. Problem is the engine's old now, and hasn't been cleaned anytime recently.....or ever, by the look of it. There's grease, oil, Waxoyl (baked on - nice) and lots of alloy corrosion. I'm running behind schedule so I can't justify spending hours cleaning the thing up, and having just spent an hour trying to pretty it up I realised I was fighting a losing battle. Tomorrow it's Gunk and a power washer, and we'll see how it ends up!

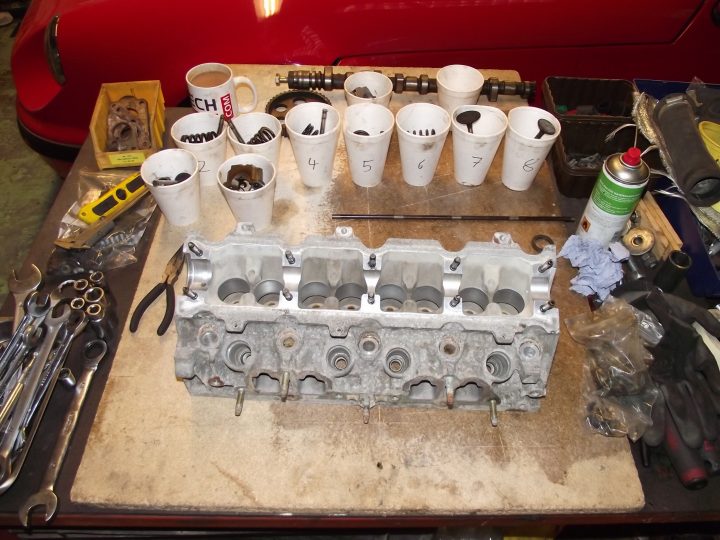
Another issue I'm going to have is self inflicted, by my own stupidity. I removed the valves from the head ages ago, mainly to decoke the head but also to renew the valve seals. I removed all the valves, collets, springs, lifters and shims, and placed them all in plastic cups, numbered 1 to 8. I then hid them so they wouldn't get knocked over or the like. Sound sensible? I thought so! And it has been, in terms of storage.
What hasn't been sensible, is the fact that PSA nubmer their cylinders backwards, meaning 1 is at the flywheel end, and 4 at the timing end. And I can't remember whether I numbered in PSA style, or in human style. Me being me, it could easily be either. And genius that I am, I haven't left any clues since stripping the head two years ago. So I'm going to have to refit it all, measure the valve clearances and hope they give me the clues as to whether I've got it all right or not. Great!

I'm such a bellend sometimes!!
One third of a three-spoke BX columnist team for the Citroenian magazine.

CCC BX registrar: The national BX register - click to submit a car!
Tinkley
1K Away
Posts: 1502
Joined: Sat Jun 06, 2009 11:27 am
Location: N Hants England
x 8

Re: Operation wake up GT! (no one has 56k anymore, right?!)

Post by Tinkley »

Don't beat yourself up Kitch about the valve clearances, you would have to adjust them anyway, most likely. Might be a good opportunity to change the valve guides though as well as seals so it stays as oil tight as possible. If you decoked it before you will have lightly reseated all the valves? A quick spin of the valves on Cyl 1 - with your No 1 and 4 by hand with a trace of say pencil in a star pattern on the valve seat should be equally smeared IF the fit is correct. This will not be as clean IF the valve is from the other end of the block. I'd probably try a compass pattern of pencil marks on the seat, maybe a tiny bit of a very thin paste, or fast dry ink, something that leaves a witness when turned a minute amount and also when fully spun an equal smear. The valves and seats you have will be best matched to their correct positions, it should show.

I'd bet you could find which end matches which quite quickly. If you have not changed the guides maybe that might help too, though these are harder to judge. I know if I take the head off the Athena, I will regrind the seats with paste to ensure a good seal and do the wretched stem seals. Not uncommon for these early unleaded engines to have some less than perfect seatingafter some miles.

Coming on very nicely, trouble is it keeps reminding me of how they should look... :wink:
User avatar
Tim Leech
Over 2k
Posts: 15617
Joined: Tue Apr 15, 2008 11:12 am
Location: Derbyshire
My Cars: Various
x 160

Re: Operation wake up GT! (no one has 56k anymore, right?!)

Post by Tim Leech »

I need to get my GT up to scratch now!!
Lots of Motors, mostly semi broken....
User avatar
mat_fenwick
Moderator
Posts: 7328
Joined: Tue Sep 20, 2005 4:08 pm
Location: North Wales
x 20

Re: Operation wake up GT! (no one has 56k anymore, right?!)

Post by mat_fenwick »

Would you consider getting a zinc plating kit yourself? I got one last Christmas, and I've plated a few bits in it. Might be a service you can offer out too, as in terms of time most of it is just waiting for the plating to deposit, rather than actually spending man hours on it.
Image

1993 1.9 TZD Turbo Estate
1996 3.9 V8 Discovery
1993 VW LT35 campervan
1985 Hyundai Stellar V8
2016 Hyundai iLoad
Kitch
Over 2k
Posts: 6425
Joined: Sun Jul 03, 2005 9:36 pm
Location: Fareham, Hants
My Cars: Too many to list
x 90

Re: Operation wake up GT! (no one has 56k anymore, right?!)

Post by Kitch »

mat_fenwick wrote:Would you consider getting a zinc plating kit yourself? I got one last Christmas, and I've plated a few bits in it. Might be a service you can offer out too, as in terms of time most of it is just waiting for the plating to deposit, rather than actually spending man hours on it.
I would, I just know nothing about them. Might have to look into it if people are DIYing them!
One third of a three-spoke BX columnist team for the Citroenian magazine.

CCC BX registrar: The national BX register - click to submit a car!
Kitch
Over 2k
Posts: 6425
Joined: Sun Jul 03, 2005 9:36 pm
Location: Fareham, Hants
My Cars: Too many to list
x 90

Re: Operation wake up GT! (no one has 56k anymore, right?!)

Post by Kitch »

Tinkley wrote:Don't beat yourself up Kitch about the valve clearances, you would have to adjust them anyway, most likely. Might be a good opportunity to change the valve guides though as well as seals so it stays as oil tight as possible. If you decoked it before you will have lightly reseated all the valves? A quick spin of the valves on Cyl 1 - with your No 1 and 4 by hand with a trace of say pencil in a star pattern on the valve seat should be equally smeared IF the fit is correct. This will not be as clean IF the valve is from the other end of the block. I'd probably try a compass pattern of pencil marks on the seat, maybe a tiny bit of a very thin paste, or fast dry ink, something that leaves a witness when turned a minute amount and also when fully spun an equal smear. The valves and seats you have will be best matched to their correct positions, it should show.

I'd bet you could find which end matches which quite quickly. If you have not changed the guides maybe that might help too, though these are harder to judge. I know if I take the head off the Athena, I will regrind the seats with paste to ensure a good seal and do the wretched stem seals. Not uncommon for these early unleaded engines to have some less than perfect seatingafter some miles.

Coming on very nicely, trouble is it keeps reminding me of how they should look... :wink:
I kept all the shims etc together with the respective valves hoping I could just lob it all back together. It wasn't tappy before, and it'll probably only cover 1000miles a year or something low, so there's no issue really. I'll have to work through it and figure it out.

Last car I did valves on was the Saxo, bent 12 of them when a cambelt snapped. Bought some used dirty valves on ebay from a Peugeot 106, fitted straight into the head, no lapping or cleaning, just straight in. Didn't have time to do anything else.

Thing runs like a peach and kicks out more power on the dyno than a standard one should do! :lol:
One third of a three-spoke BX columnist team for the Citroenian magazine.

CCC BX registrar: The national BX register - click to submit a car!
User avatar
mat_fenwick
Moderator
Posts: 7328
Joined: Tue Sep 20, 2005 4:08 pm
Location: North Wales
x 20

Re: Operation wake up GT! (no one has 56k anymore, right?!)

Post by mat_fenwick »

Kitch wrote:I would, I just know nothing about them. Might have to look into it if people are DIYing them!
I got mine from here:
http://www.gaterosplating.co.uk/Zinc-Plating-kit.php

I struggled with large items due to insufficient current I think, but small stuff like bolts came out great!
Image

1993 1.9 TZD Turbo Estate
1996 3.9 V8 Discovery
1993 VW LT35 campervan
1985 Hyundai Stellar V8
2016 Hyundai iLoad
Kitch
Over 2k
Posts: 6425
Joined: Sun Jul 03, 2005 9:36 pm
Location: Fareham, Hants
My Cars: Too many to list
x 90

Re: Operation wake up GT! (no one has 56k anymore, right?!)

Post by Kitch »

Cheers, might look into that.
One third of a three-spoke BX columnist team for the Citroenian magazine.

CCC BX registrar: The national BX register - click to submit a car!
Kitch
Over 2k
Posts: 6425
Joined: Sun Jul 03, 2005 9:36 pm
Location: Fareham, Hants
My Cars: Too many to list
x 90

Re: Operation wake up GT! (no one has 56k anymore, right?!)

Post by Kitch »

So, where we at? Engine-related stuff at the moment!

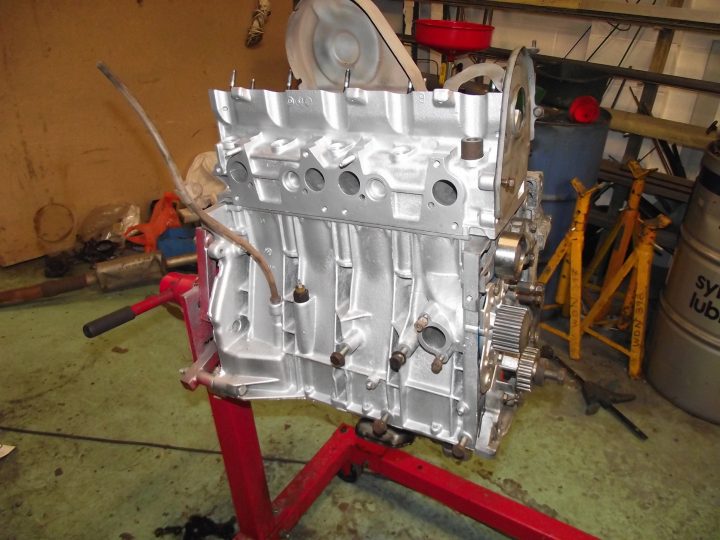
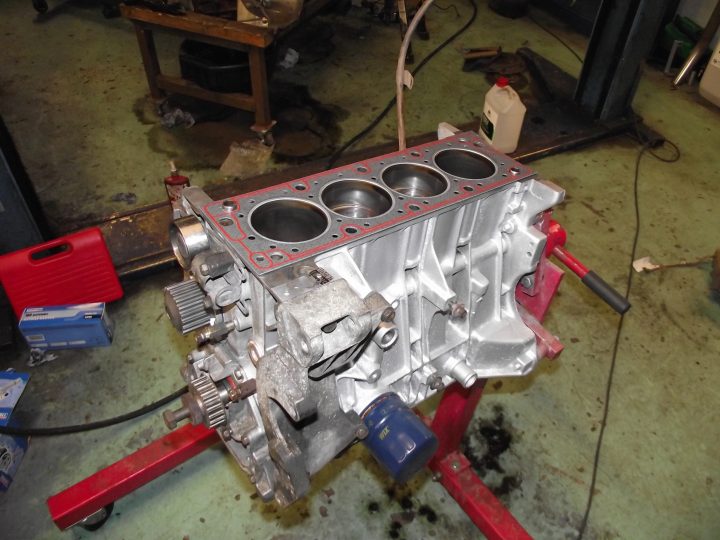
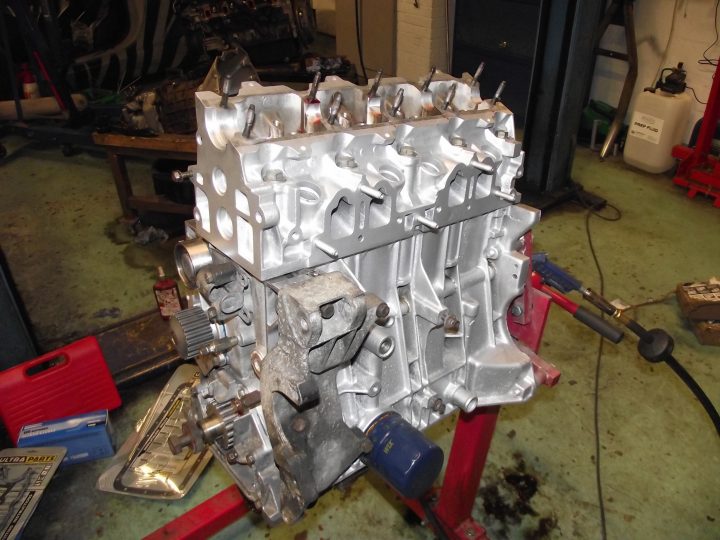
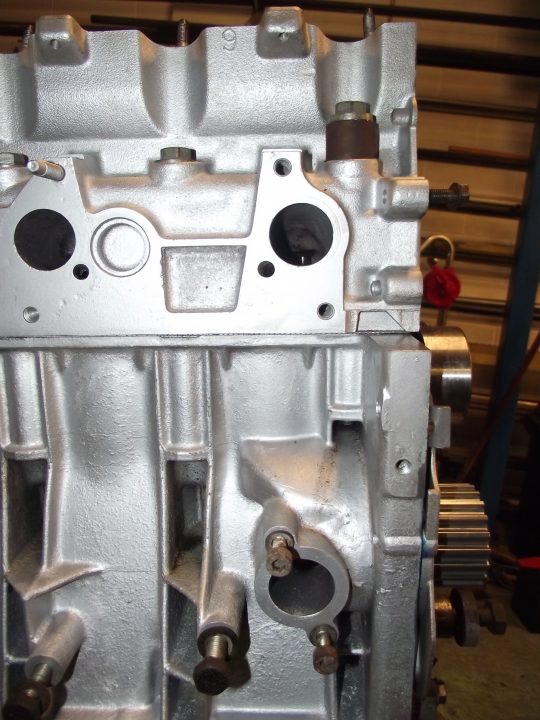
Well, I managed to get the head and block looking a bit more respectable. Beaulieu motor museum have got nothing to worry about as really to do it properly, the whole shebang would need stripping of every nut and bolt, glass bead blasting and fully overhauling. Ain't nobody got time fo dat, so a quick brush up, degrease and bullshit silver spray was order of the day!

Degreasing took ages:

Image

Pretty thick and grim:

Image

But got there in the end:

Image

Same treatment for the head:

Image

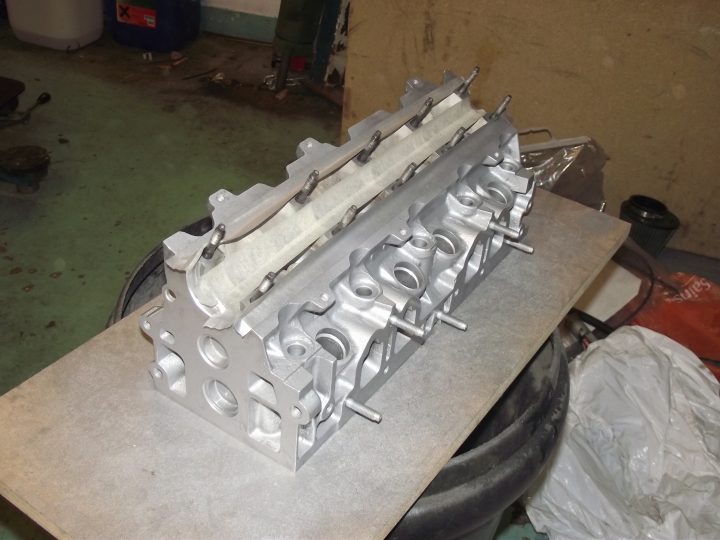
Licked up in silver:

Image

Block painted too, and head plonked on top for pics:

Image

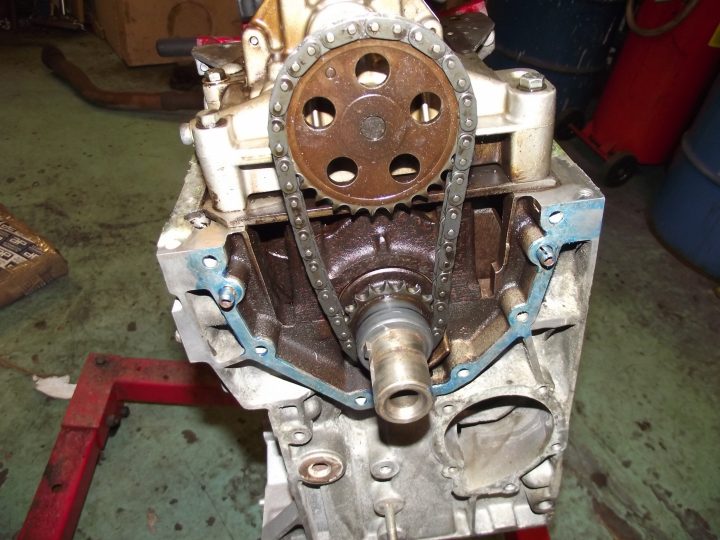
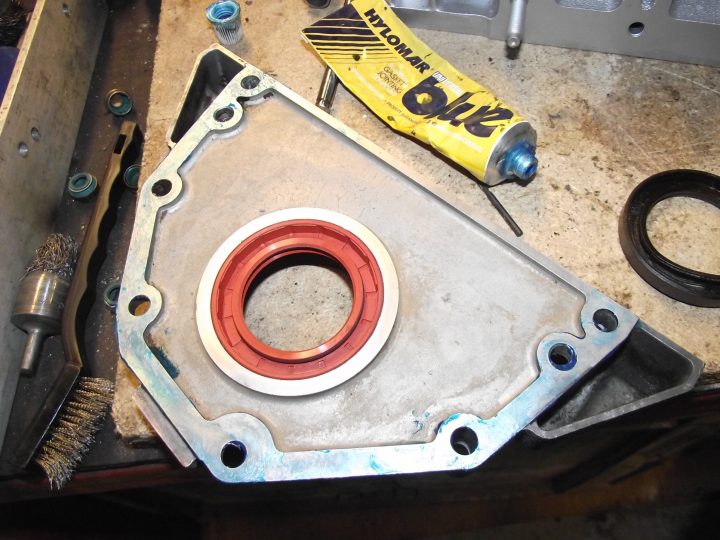
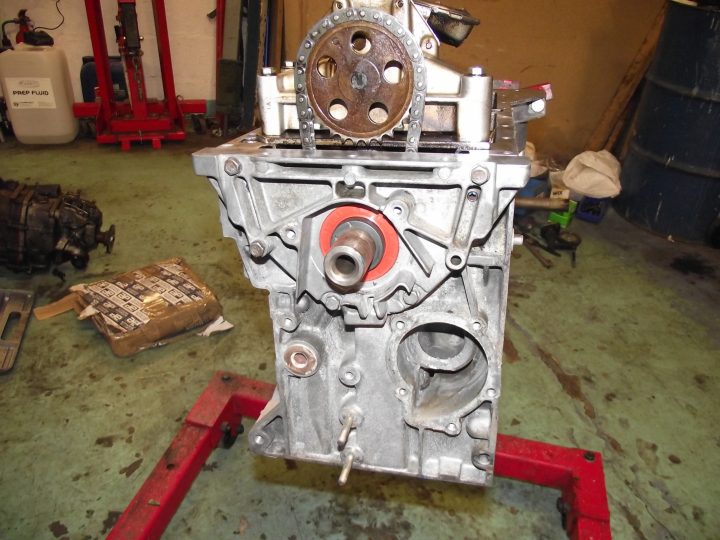
Oil pump chain cover off to clean the sludge off of, and fit a new front crank seal:

Image
Image
Image

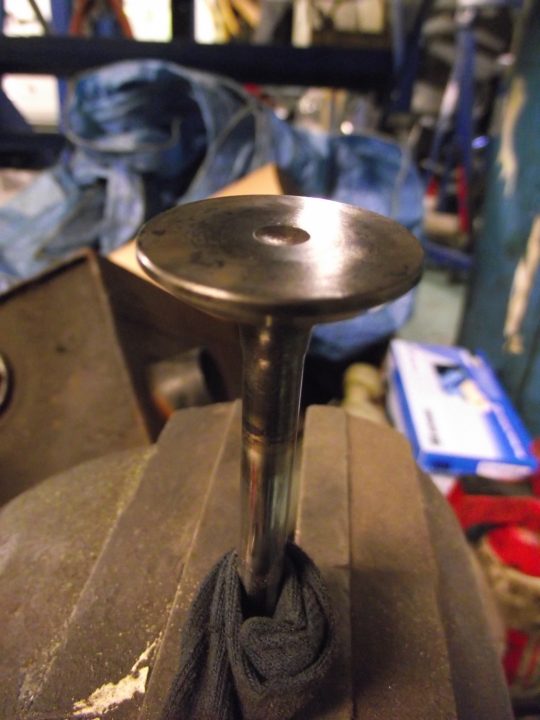
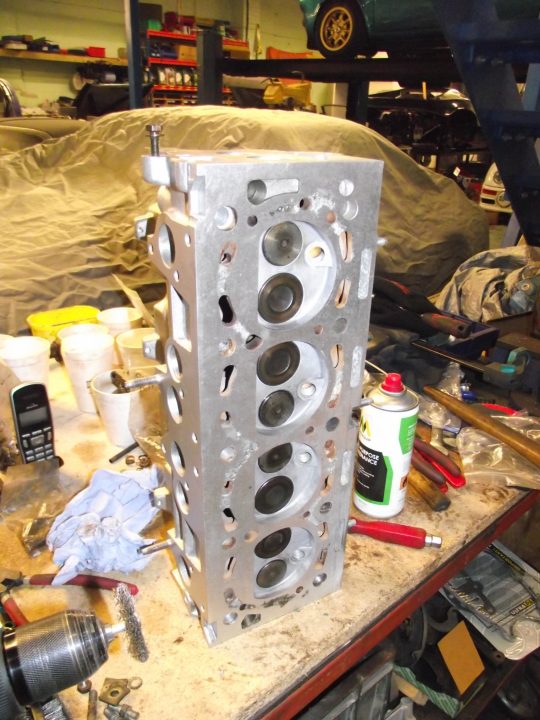
So with paint done, time to build the head back up. Valves look a bit......meh:

Image

But a bit of work, and:

Image

Be good for another 190,000!

Renewed valve steam seals. Old ones had almost turned to plastic! Amazing that it wasn't pissing blue smoke everywhere! Should be good now:

Image

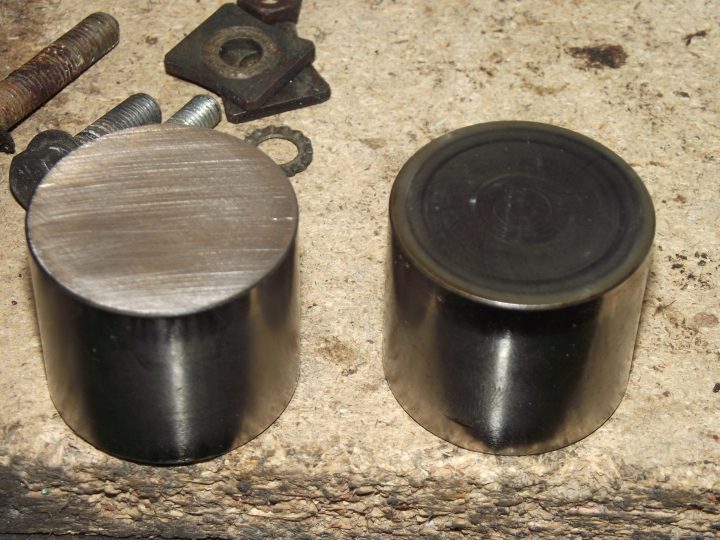
Gave the buckets a little redress. They're pretty hard and there wasn't much wear, even with the mileage. Doesn't take 5 mins when you've got a linisher to hand though. No more days of doing 15mins each of figure-8s with 16 valves!:

Image

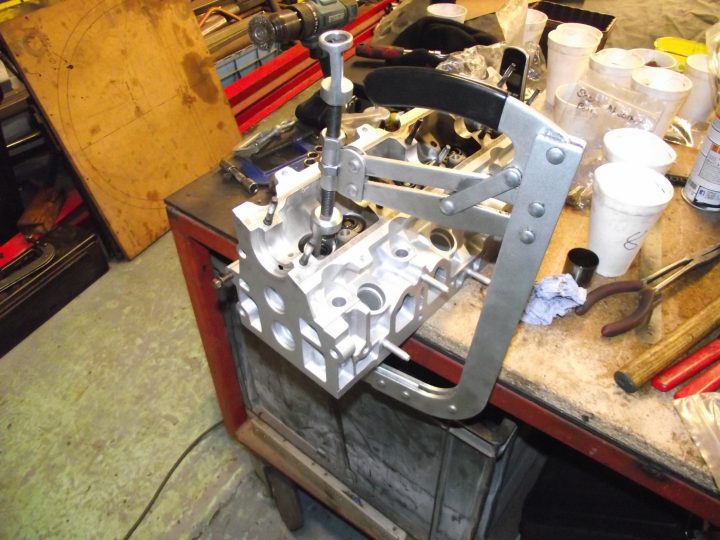
Valves going in:

Image

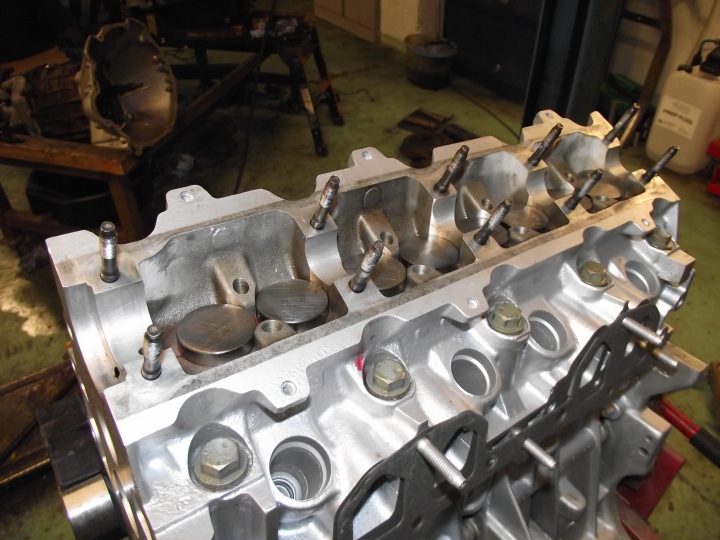
Head's a little bit corroded underneath, but had it pressure tested and all ok. Did faff about for a while trying to find another head, but they're seriously thin on the ground now. Had this one refaced and it's good enough, to be honest. I'm going to convert it to waterless coolant too, so it'll halt any further corrosion.

Image

Head gasket in place:

Image

Head bolted down:

Image

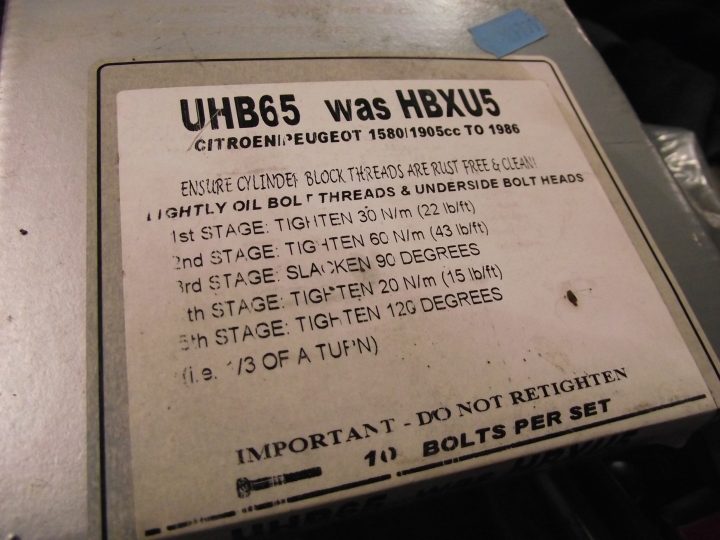
How's this for a tightening sequence?!:

Image

Are we sure that's enough stages!?

Remembered the spacer. Many a block have been wrecked by missing that out! I'll let you figure out why....:

Image

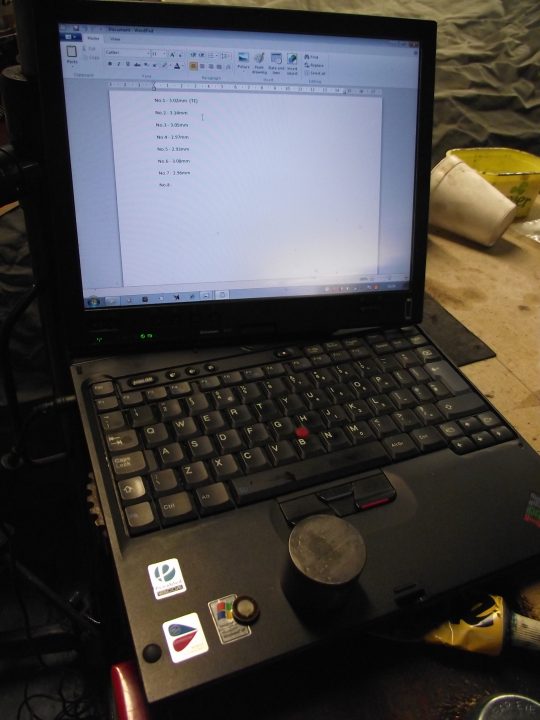
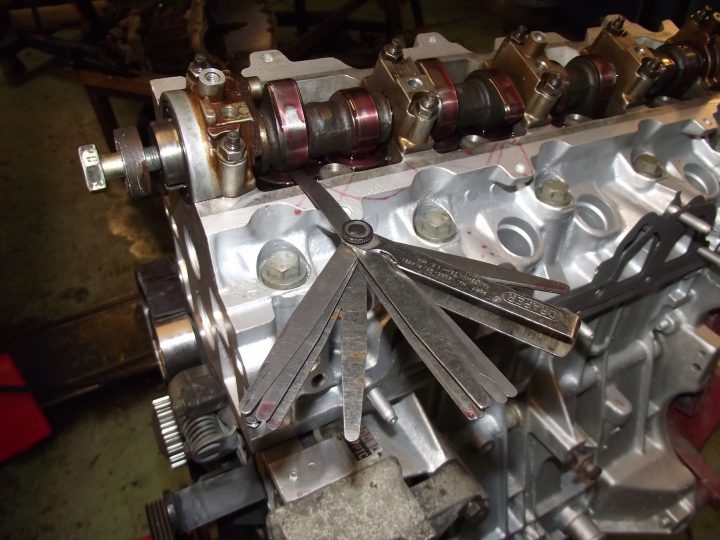
The BX valve clearances on the XU (except the 16v - they're proper engines with hydraulic lifters) are dealt with by way of a solid bucket lifter, and a shim placed underneath. Owing to my previous potential mix-up, I was worried I'd clamp the camshaft in place and find that I had all the valve clearances wrong. So first up, I measured all the shim sizes and recorded them as I went:

Image

Not that they really had any wear, but I fitted them upside down to how they were previous fitted in case there was an indent in the shim opening the gap slightly:

Image

All aboard!:

Image

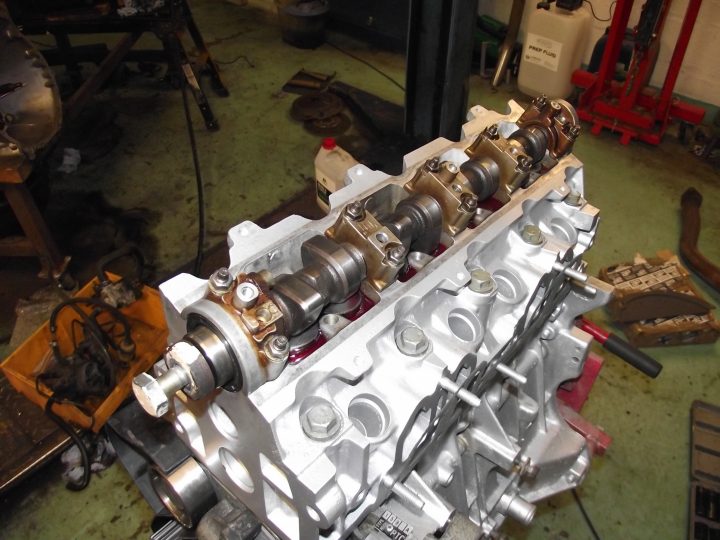
Then it was in with the camshaft....:

Image

...and check the clearances (and keep fingers crossed!):

Image

I have no spare shims, so was hoping I would find all the clearances ok. Inlet range is 0.15mm-0.25mm, and exhaust is 0.35mm-0.40mm. Everything was bob on within range. Happy days!

A bit of blasting and painting to be done over the next day or two, before refitting the belt, timing it up and moving on to the gearbox. Then I can think about refitting it!
One third of a three-spoke BX columnist team for the Citroenian magazine.

CCC BX registrar: The national BX register - click to submit a car!
mds141
Over 2k
Posts: 5288
Joined: Sat Jul 31, 2010 1:26 am
Location: Lancaster
x 9

Re: Operation wake up GT! (no one has 56k anymore, right?!)

Post by mds141 »

Excellent work Kitch. :) =D>
Mark Smith

Is it just me or is everything shit?

1989 BX GTi 16 valve. Blanc Alpine. Completed the Citroen Classic Challenge Ecosse and 1337 miles without a hitch.
2000 XM VSX 2.1 td Auto. Rouge Magenta.
TGD saloon many years ago.

1990 Swift 'Corniche' 12/2 aka BXClub HQ.
Honda Firestorm. Gone, but not forgotten.
2015 Triumph Tiger Explorer XC.