I fitted a new quarter light a couple of weekends ago but haven't had time to update this thread since then. I'm sure there are other ways to complete this job but here's a couple of 'field notes' from a first-timer for anyone who's curious.
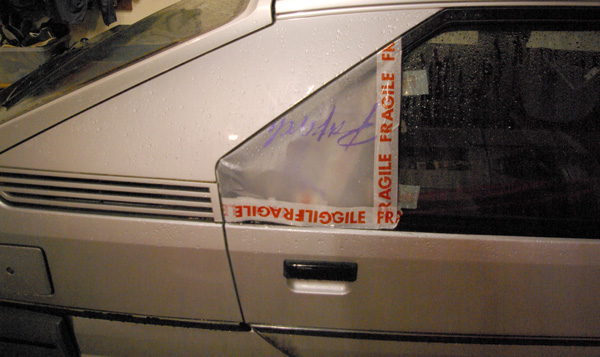
Here's Maurice wearing his temporary rear window covering. I can thoroughly recommend plastic bags from Paperchase for this job. I folded it over the window frame to create a double skin (double glazing?) and we drove the car around like this for a week without a drop of rain getting in, even on motorway journeys.
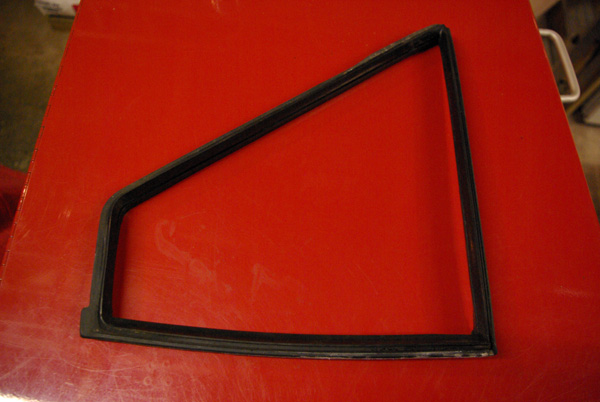
Once the Paperchase window was removed, the first job was to get the remainder of the broken glass out of the rubber window surround. Removing the rubber surround will probably shower most of the remaining bits of broken glass all over the show, so make sure you have a broom or a hoover handy. Once the surround is out of the car you can just poke the rest of the glass out with a slim screwdriver, being careful not to tear the rubber.
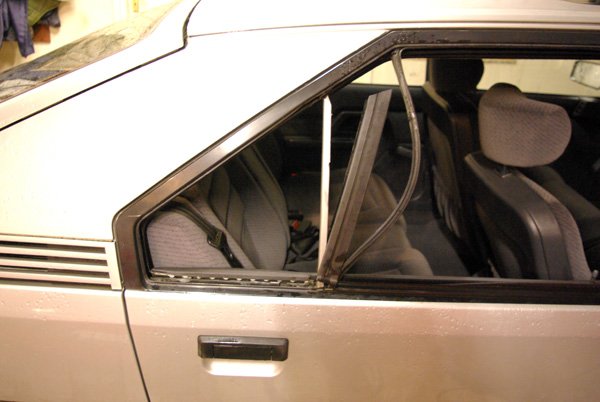
To create enough access for refitting the new glass, you need to wind the main rear window down and then pull the trim over to the right-hand side. The plastic trim piece in the middle of the photo can be fully removed and that's probably worth doing at this stage.
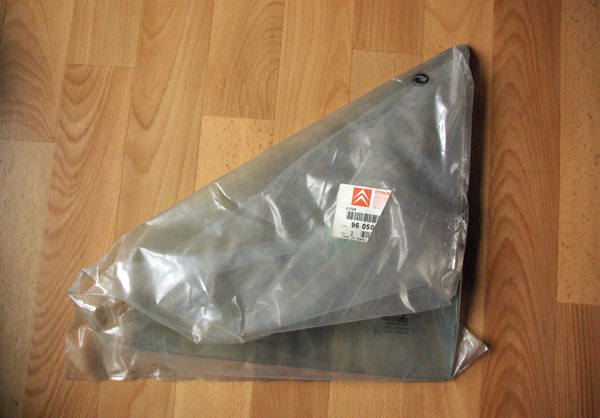
NOS piece of glass waiting to be refitted:
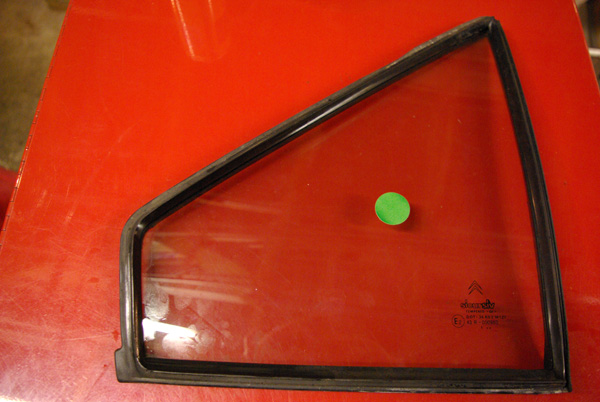
New glass fitted into rubber window surround. The Haynes manual mentioned something about putting a thin bead of mastic into the surround but I couldn't see any evidence that this had been done on my car so in the interests of sticking to original form, I didn't break out the mastic gun here. Hopefully this decision won't come back to bite me on the arse at a later date.
You will undoubtedly be feeling fairly smug with yourself by this point and will almost be able to taste the celebratory tea and biscuits at the end of a job well done. Whoa there sunshine, step away from the biscuit barrel because this is where things get interesting. I concur with Paul and Tim that this next step is fiddly, although fortunately I was able to call on another pair of hands at this point which did make things easier. To improve access for fitting the new glass in place, I removed part of the inner door card and moved it downwards out of the way.

I also gave the rubber window surround a quick blast with silicone seal lubricant to help it slide into the window channel a bit easier. Then, working from the inside of the door, we slid the glass into position towards the back of the door. Applying firm but consistent pressure seemed to work well here. The trim removal tool which I'd used for the door card was also helpful for gently pushing the rubber window surround over the lip of the window channel in some areas.
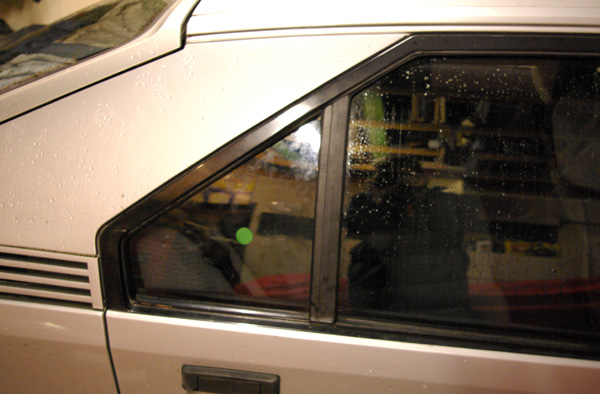
Once the glass finally slots into place, it's simply a case of refitting the various trim pieces and then you really can reach for the biscuit barrel.